How to Set Up Midland Weather Radio in 3 Easy Steps
To set up your Midland Weather Radio in three easy steps, you need to first decide if you want alerts for a single county or multiple counties.
Once you make that choice, program your home location and select the correct NOAA channels for those areas.
Next, confirm and save your settings to ensure the alerts are accurate.
Finally, connect the radio to power and insert backup batteries. This way, you’ll stay prepared during outages.
Keep following along to discover tips for maintaining reliable alerts and ensuring ideal performance!
Selecting Single or Multiple Counties for Alerts
When setting up your Midland weather radio, you’ll need to decide whether to receive alerts for a single county or multiple counties.
You can program your radio to focus on just your home county, ensuring you get timely warnings specific to your immediate area.
To increase alert coverage, select the SET LOCATION menu and choose MULTIPLE to add more counties.
Always start programming with your home county first to guarantee accurate alerts for your primary location.
Begin with your home county to ensure precise and timely weather alerts.
Adding multiple counties means more alerts, so switch between SINGLE and MULTIPLE modes based on your preferences.
This flexibility lets you customize your radio’s alert frequency and coverage, keeping you informed about weather events affecting your home and surrounding areas.
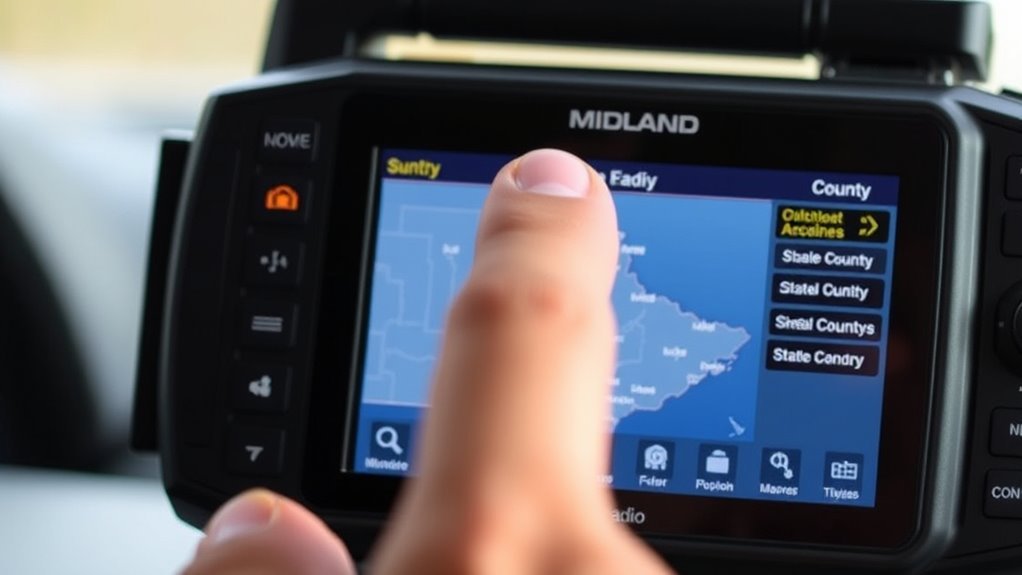
Entering Your Location and Programming Channels
To enter your location and program channels, start by accessing the SET LOCATION menu.
Choose SINGLE for one county or MULTIPLE for several.
Then select USA or CANADA, followed by your state and home county using the alphabetized list or county codes.
Next, program channels by selecting the appropriate NOAA frequency for your area.
Follow these steps to program your radio efficiently:
- Choose your home county carefully to ensure accurate weather alerts.
- Press SELECT to confirm your county and then press SET CHANNEL to program the correct NOAA frequency.
- If selecting multiple counties, add others by choosing “02 SAME” or higher, then save your settings.
This approach to artificial programming guarantees your Midland Weather Radio delivers timely weather alerts.
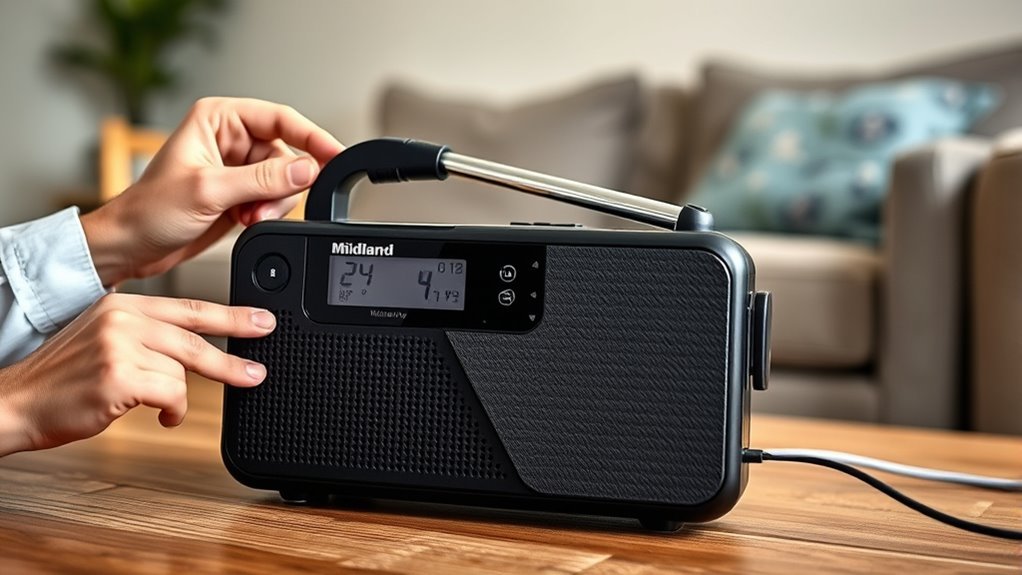
Finalizing Setup and Managing Power Options
Although you’ve programmed your Midland Weather Radio, you can’t rely on it unless you keep it powered continuously.
Your Midland Weather Radio needs continuous power to keep you reliably informed and prepared.
For constant operation, keep the radio plugged in to a wall outlet and switch it ON for 24/7 use. This ensures continuous operation and alert reliability.
To manage power options effectively, install three AA batteries as backup power.
This backup will keep your radio functional during a power outage, maintaining your emergency preparedness.
Before finalizing, perform a display check to confirm it shows 12:00 AM, ensuring correct setup.
Don’t forget to regularly replace batteries to maintain alert reliability.
Using the WEATHER/SNOOZE button, you can listen to or mute alerts as needed.
Frequently Asked Questions
How Do You Set Your Midland Weather Radio?
You set your Midland weather radio by pressing MENU.
Then, choose your location type and select your state and county.
If needed, you can add multiple counties too.
Next, confirm the NOAA channels.
Finally, save your settings to receive accurate weather alerts promptly.
How Do I Reset My Midland Radio?
Think of resetting your Midland radio like rebooting a frozen computer.
Turn it off, remove power, hold MENU while reinserting batteries, or press the reset pinhole for 10 seconds.
This wipes settings, so you’ll need to reprogram it.
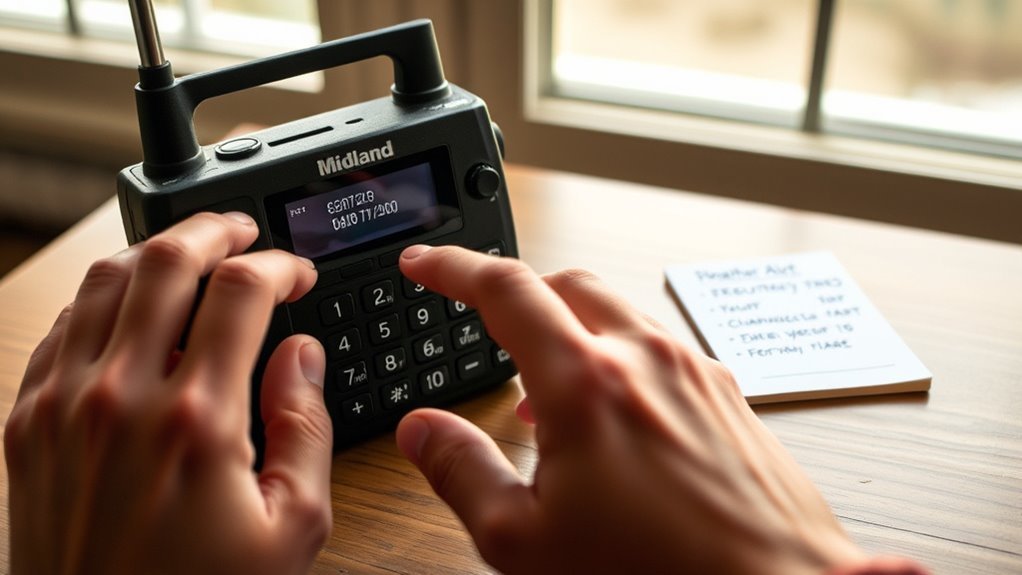
How to Set a Channel on Midland Radio?
You access the MENU, choose “SET CHANNEL,” then use arrow keys to find your NOAA frequency.
Press SELECT to confirm, and save your setting before exiting to make certain your Midland radio stays tuned properly.
How to Set Time on Midland Er310 Weather Radio?
Time flies, so don’t waste a second!
Press MENU, select “SET TIME,” use arrows to adjust hour, minute, and AM/PM, then press SELECT.
Double-check the time to make certain your Midland ER310 shows the right hour.
Conclusion
Now that you’ve bravely navigated the thrilling world of Midland weather radio setup, you’re officially ready to dodge surprise storms and unsolicited weather drama.
By picking your counties, entering your location, and managing power like a pro, you’ve basically become the neighborhood’s unofficial weather guru.
So sit back, relax, and let your Midland radio do the worrying—because who needs calm weather when you’ve got perfectly programmed alerts keeping life endlessly exciting?
In conclusion, you’ve mastered the art of setting up your Midland weather radio.
With just a few simple steps, you can stay informed and prepared for any weather surprises.
Now you’re equipped with the knowledge to ensure safety and excitement in your daily life, becoming the go-to source for weather information in your community.