How to Put Weather Stripping on Your Garage Door in 5 Easy Steps
To put weather stripping on your garage door, you’ll want to ensure a good seal to keep out drafts, moisture, and pests. This DIY project is simple and can greatly improve your garage’s energy efficiency.
First, remove the old stripping carefully with gloves on.
Next, clean the door surface thoroughly and let it dry.
Then, measure and cut your new weather stripping to fit the door edges.
Install it by fitting the strips into the channels or pressing the adhesive side firmly in place.
Finally, test the seal by closing the door and adjusting for any gaps.
Keep following these tips to guarantee a perfect, long-lasting seal.
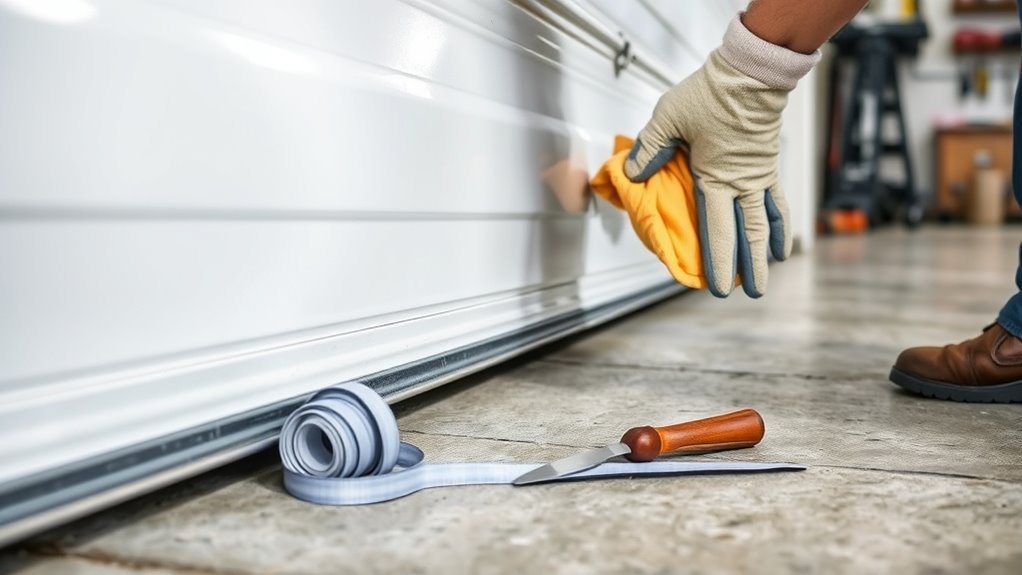
Remove the Old Weather Stripping
Before you install new weather stripping, put on work gloves to protect your hands as you remove the old seal.
Open the garage door fully to access the entire bottom edge with ease.
To remove the old weather stripping, gently pull it away from the metal track, applying steady pressure.
You’ll likely feel some resistance, especially in stubborn sections. When that happens, use a flat tool to carefully pry the weather stripping loose without damaging the door or track.
Make sure you remove the entire length of the old weather stripping before moving on.
This thorough removal ensures a clean surface for proper adhesion and sealing during the next step.
Proper removal sets you up for effective cleaning and a lasting new seal.
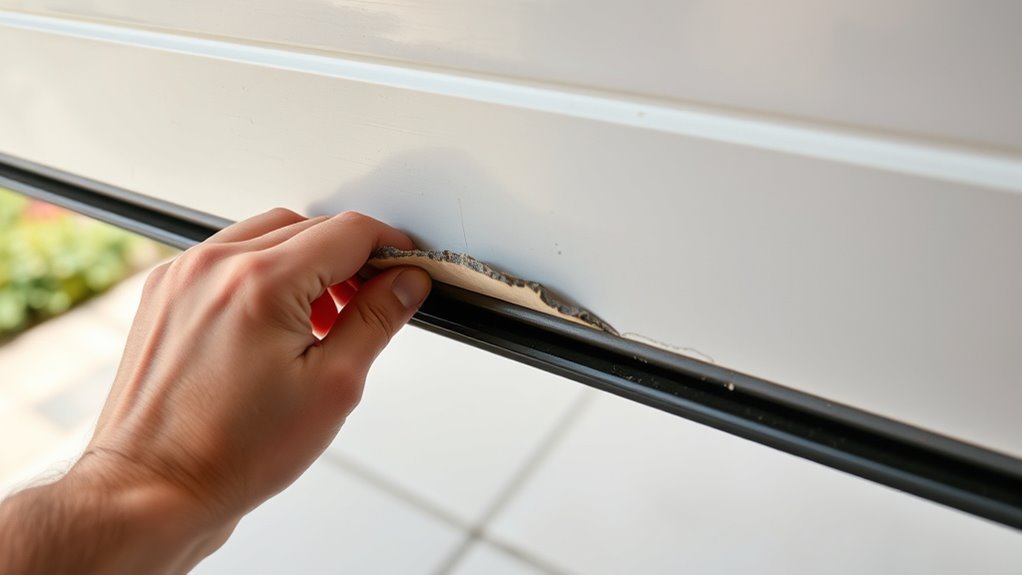
Clean the Garage Door Surface
How thoroughly you clean the garage door surface directly affects how well the new weather stripping will stick.
To guarantee proper adhesion, you need to clean thoroughly by wiping down the entire garage door surface with a damp cloth or sponge.
Ensure proper adhesion by thoroughly wiping the entire garage door surface with a damp cloth or sponge.
Remove dirt, dust, grease, and any grime residue that could interfere with the seal.
For stubborn spots or old adhesive, use a mild detergent or a cleaner made for metal surfaces.
After cleaning, make sure to prepare the surface to dry completely before moving on.
This step is vital in preparing the surface for installation and achieving a tight seal.
Regularly clean the garage door before sealing and perform maintenance on the weather stripping to extend its lifespan and keep your garage protected from drafts and moisture.
Measure and Cut the New Weather Stripping
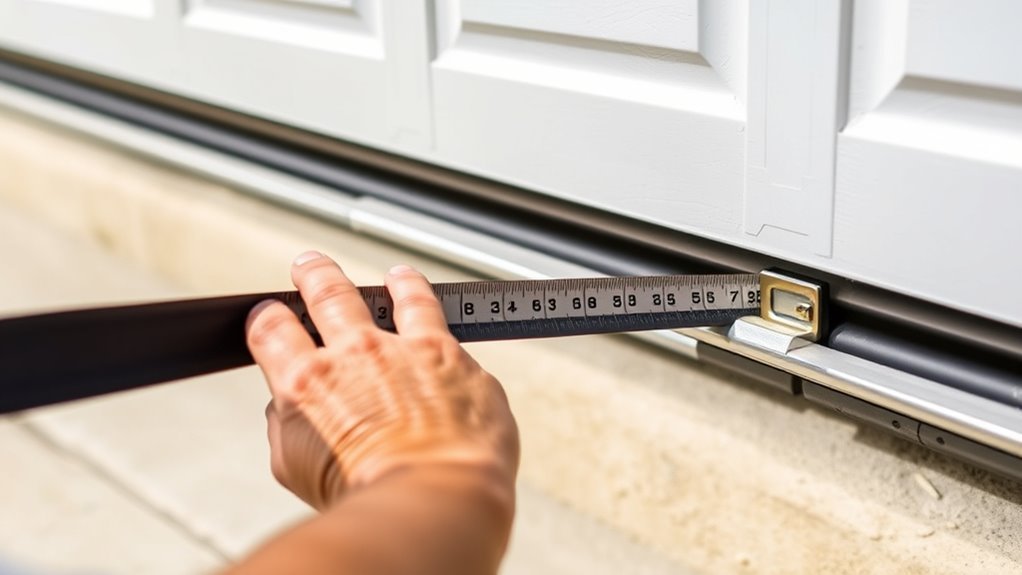
Once the garage door surface is clean and dry, you can move on to measuring and cutting the new weather stripping.
First, measure each spot—the top, bottom, and sides—to get accurate measurements for your weather stripping.
Use a tape measure to ensure precision, and mark the measurement points directly on the weather stripping material with a pencil before you cut.
When cutting, use a sharp utility knife or scissors to achieve clean edges.
After cutting, do a fit check by holding each piece against the garage door edges to confirm proper sizing.
If you find any excess material, trim it carefully to avoid gaps or overlaps.
This careful measuring and cutting guarantees your weather stripping will seal snugly and effectively around your garage door.
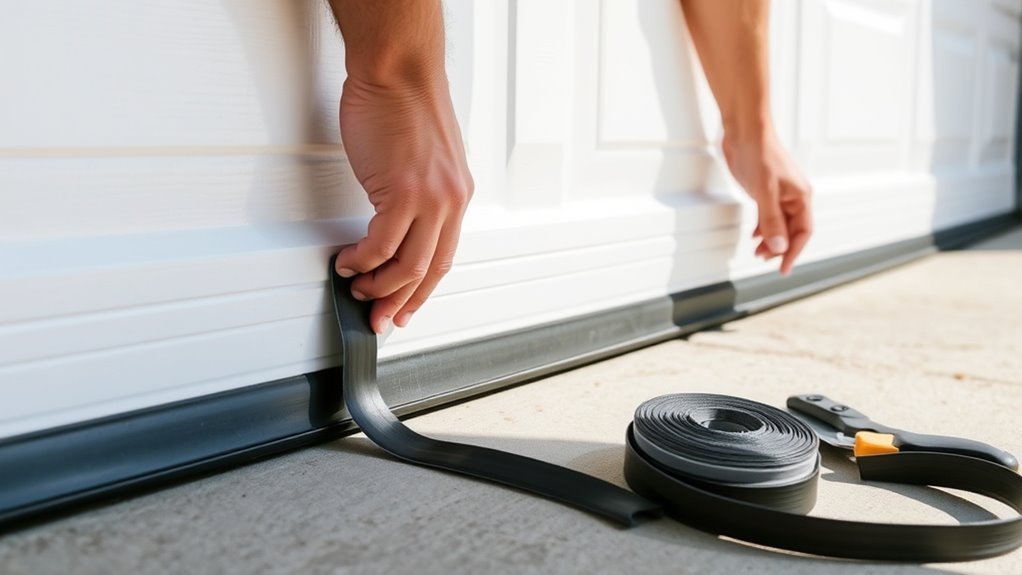
Install the Weather Stripping Properly
Although measuring and cutting are essential, installing the weather stripping properly guarantees an effective seal around your garage door.
To install the weather stripping and ensure your garage door seals tightly, follow these steps:
- Guide the weather stripping through the end channels, fitting it snugly into the grooves for proper alignment.
- If your strip has adhesive backing, peel off the protective layer and press firmly to secure the strip along the edges.
- Work in sections, pressing the seal firmly to maintain a gap-free fit and strong contact with the door.
- Trim excess material with a utility knife, leaving about 1/2 inch on each side for a tight seal.
Finally, close the garage door gradually to confirm the weather stripping compresses evenly and creates a proper seal.
Test and Adjust the Seal
After installing the weather stripping, you’ll want to close the garage door and carefully inspect the bottom seal for any gaps or light leaks to make certain it fits properly.
During this inspection, look closely for spots where the seal might be too tight or too loose.
If you find a gap or the seal is overly compressed, adjust it by trimming or repositioning as needed.
To test the seal’s effectiveness, slide a piece of paper or a dollar bill between the seal and the floor; if you feel resistance, the seal fits well.
Reopen and close the door several times to verify the seal maintains consistent contact along its length.
Make any small adjustments necessary to ensure the door seals tightly without obstruction or gaps.
Frequently Asked Questions
What Nails to Use for Garage Door Weather Stripping?
You should use corrosion-resistant finish nails, like galvanized or stainless steel, that’re slightly shorter than your weather stripping’s thickness.
For thicker strips, use nails with larger heads.
And always pre-drill holes to avoid splitting the door.
How to Install Rubber Weather Stripping Around a Door?
You’ll clean the door frame, then measure and cut the rubber weather stripping to size.
After that, attach it with adhesive or nails.
Press firmly to secure it, ensuring the strip seals tightly without gaps for effective insulation.
How Do I Seal Gaps Around My Garage Door?
You seal gaps around your garage door by measuring the gaps, removing old stripping, and installing new weather stripping snugly along all edges.
Use a level for even alignment, and regularly inspect to maintain a tight seal.
It’s important to keep an eye on things to ensure everything stays in good shape!
What Not to Do When Painting a Garage Door?
Don’t paint over weather stripping or use oil-based paints.
Avoid painting in extreme temperatures, high humidity, or rain.
Don’t apply thick coats—use multiple thin layers to prevent cracking, peeling, and damage to your garage door’s surface.
Conclusion
Now that you’ve installed your new weather stripping, you’re helping save energy—did you know that properly sealed garage doors can reduce your energy bills by up to 15%?
That’s a significant saving just by keeping out drafts, dust, and pests.
Taking these simple steps not only protects your garage but also boosts your home’s efficiency.
Keep an eye on the seal over time, and enjoy a more comfortable, cost-effective space year-round.
In conclusion, adding weather stripping to your garage door is a smart investment.
It not only enhances your home’s energy efficiency but also keeps unwanted elements at bay.
So, remember to check that weather seal regularly to maintain that cozy, draft-free space.
With just a little maintenance, you can enjoy lower energy bills and a more pleasant garage environment all year long!