How to Install Garage Door Weather Seal in 3 Easy Steps
To install a garage door weather seal in three easy steps, you’ll want to start by ensuring that you have a clean and dry surface to work with.
First, clean and dry the door’s bottom edge, removing any old seal or debris. This is crucial for guaranteeing good adhesion.
Next, take accurate measurements of your garage door.
Cut the new seal slightly longer than needed for a perfect fit.
Finally, you’ll align and secure the seal with nails or adhesive.
Just be sure it doesn’t block the door’s movement when opening and closing.
Keep reading for tips on achieving a snug, lasting fit and avoiding common mistakes!
Clean and Prepare the Garage Door
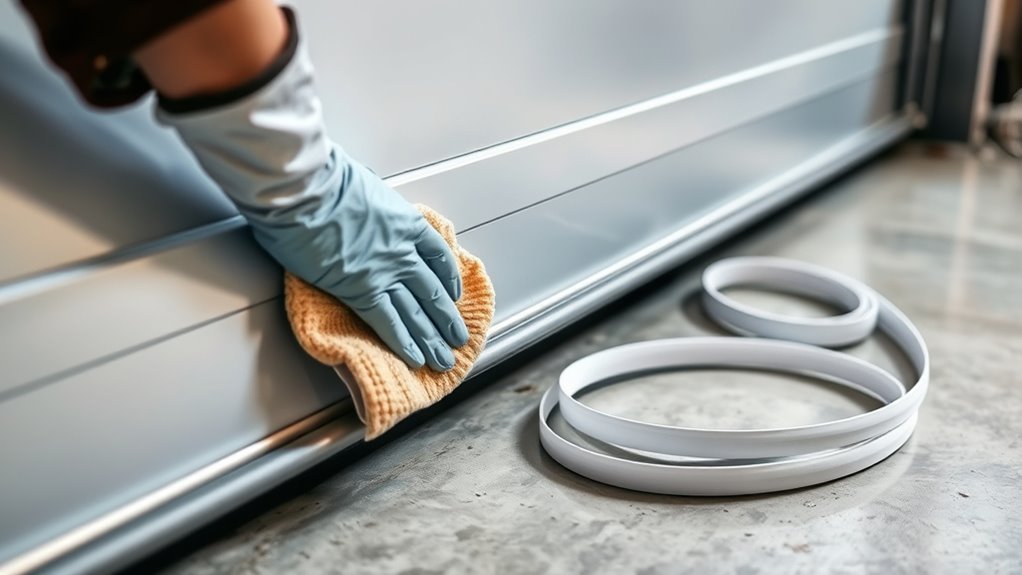
Before you install the new weather seal, make sure you clean and prepare the garage door thoroughly.
Start by opening the garage door fully and stabilizing it for easy access. Use a damp cloth or mild cleaner to remove dust, dirt, and debris from the entire bottom edge.
Open the garage door fully and clean the bottom edge with a damp cloth or mild cleaner.
Next, inspect the door edges carefully for any cracks, warping, or damage that could affect the weather seal’s adhesion.
If you find old weatherstripping or adhesive residue, use a flathead screwdriver for gentle removal without damaging the surface.
Confirm you remove all adhesive traces to create a smooth, clean base.
Once cleaned, dry the garage door completely to promote proper adhesion of the new weather seal.
Proper cleaning and preparation are key to a lasting installation.
Measure and Cut the Weather Seal
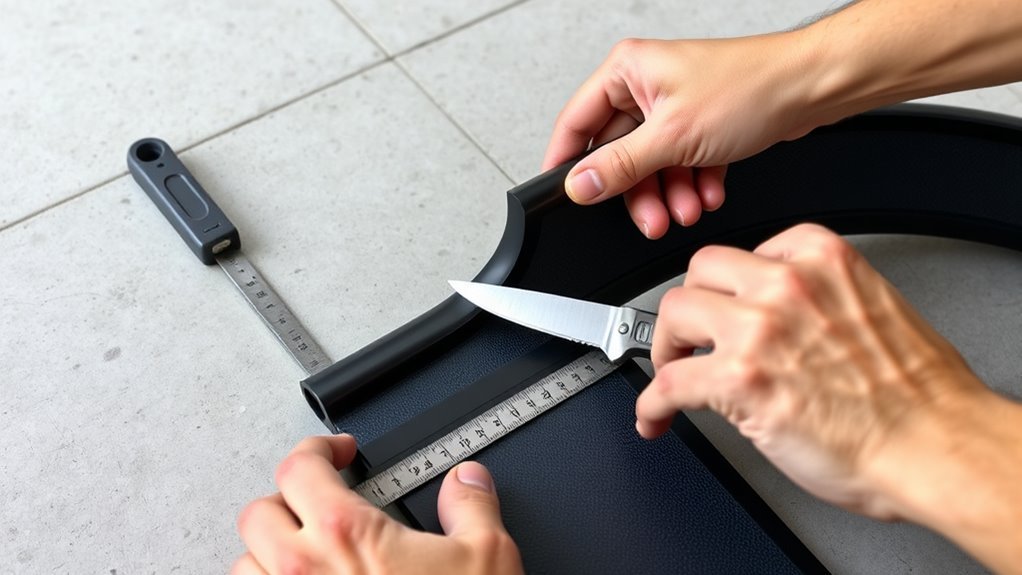
When you measure the garage door edges, be sure to record each length accurately so the weather seal fits perfectly.
Use a tape measure to get precise measurements of the bottom, sides, and top of your garage door.
Note any gaps or irregularities to ensure the weather seal will provide a tight fit.
Once you have your measurements, transfer them carefully onto the weather seal material.
Remember to cut the weather seal slightly longer than the recorded size to allow for any necessary adjustments during installation.
Select a sharp utility knife or scissors suitable for the material, whether rubber, vinyl, or foam.
Taking accurate measurements and cutting carefully helps guarantee the weather seal fits your garage door snugly, preventing drafts and moisture from entering.
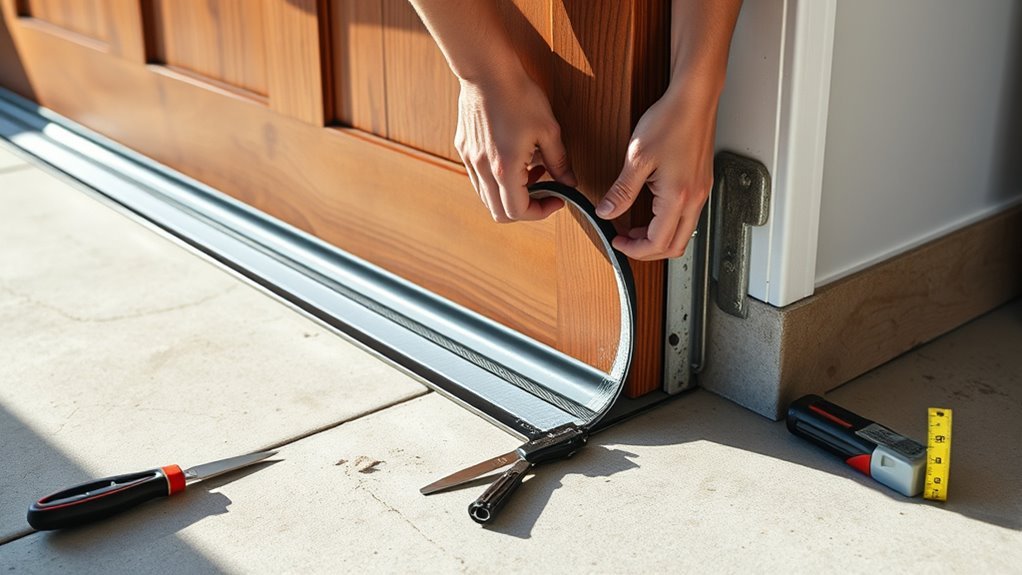
Install and Secure the Weather Seal

How do you guarantee your new weather seal stays firmly in place?
Begin by aligning the weather seal with the bottom of the garage door, pressing it firmly into the retainer track.
Ensure proper contact and alignment using a level or straight edge.
For rubber or vinyl seals, secure them with nails or screws to prevent shifting during door operation.
Apply adhesive or sealant where needed to enhance adhesion and seal any gaps.
Finally, test the garage door’s movement to confirm the seal doesn’t hinder door operation.
| Step | Action | Tip |
|---|---|---|
| 1 | Align seal with retainer track | Use a level for alignment |
| 2 | Press firmly | Ensure proper contact |
| 3 | Secure with nails/screws | For rubber & vinyl seals |
| 4 | Apply adhesive/sealant | Prevent leaks and gaps |
| 5 | Test door operation | Confirm seal doesn’t obstruct |
Frequently Asked Questions
What Is a Step by Step Plan to Replace a Garage Door Weather Seal?
You start by removing the old seal carefully.
Then, clean the bottom track thoroughly.
Next, insert the new seal snugly, trim any excess, and finally, test the door to guarantee a tight, gap-free fit.
What Nails to Use for Garage Door Weather Stripping?
Measure twice, nail once—you’ll want galvanized or stainless steel ring shank nails, 1 to 1.5 inches long.
They’ll hold your garage door weather stripping firmly without rusting.
This ensures a tight seal and smooth door movement.
How to Stick Down a Garage Door Seal?
You stick down a garage door seal by cleaning the surface, aligning the seal carefully,
then pressing it firmly along the entire length.
Use a rubber mallet or roller to guarantee strong adhesion.
Let it cure properly before use.
How to Install Rubber Seal Bottom of Garage Door Track?
You’ll measure the door’s width, cut the rubber seal to size,
remove the old seal, clean the track,
then slide the new seal into the bottom track firmly.
Secure it with screws if needed for stability.
Conclusion
By taking these simple steps, you’re giving your garage door a little extra hug against the elements.
Installing a weather seal isn’t just about keeping out drafts—it’s about creating a cozy, protected space that cares for your home and belongings.
With a bit of effort, you’re not just sealing gaps; you’re welcoming comfort and peace of mind every time you close that door.
It’s a small touch that makes a big difference.
In conclusion, installing a garage door weather seal is a straightforward yet impactful way to enhance your home.
Not only does it keep out drafts and moisture, but it also contributes to energy efficiency.
By taking this simple step, you ensure a more comfortable environment while protecting your valuables.
So, go ahead and give your garage door that extra layer of protection—it’s a small investment for long-lasting comfort and peace of mind!