How to Fix Weather Stripping on a Door Step by Step
Fixing weather stripping on a door is a simple yet effective way to enhance your home’s energy efficiency and keep drafts at bay. By following these straightforward steps, you can ensure your door seals properly, preventing unwanted air leaks. This not only improves comfort but can also lead to energy savings.
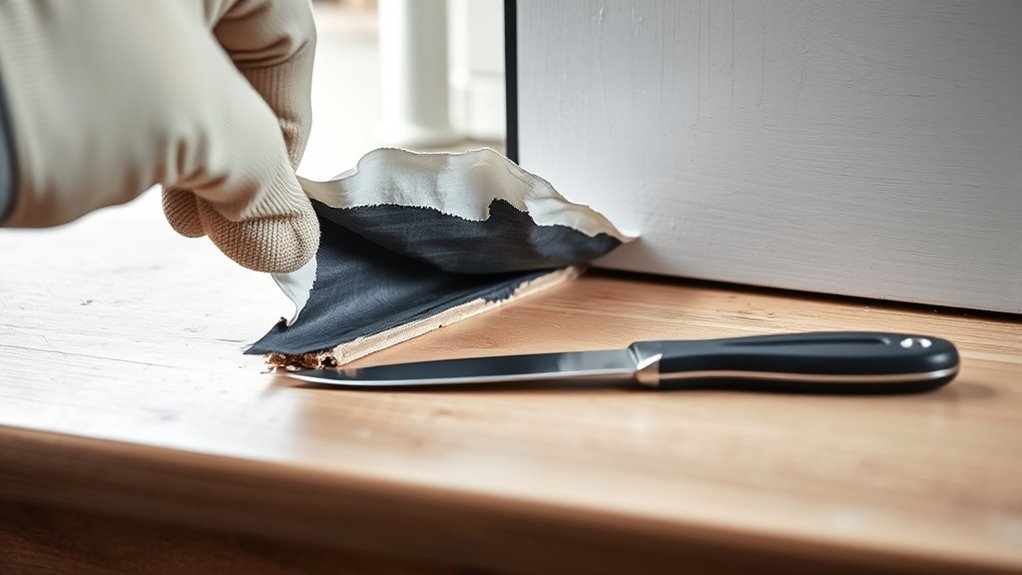
Start by removing the old weather stripping carefully. Use a utility knife or putty knife, making sure not to damage the door frame.
Once you’ve removed the old material, clean the surface thoroughly.
Next, measure the door edges precisely and cut the new weather stripping to fit.
Press the new strips firmly into place, ensuring they seal gaps without blocking the door’s movement.
Finally, add door sweeps or corner seals for extra protection.
By following these steps, you’ll make your door draft-proof and energy-efficient.
Soon, you’ll discover how to perfect the process!
Signs Your Door Needs New Weather Stripping
If you notice visible gaps or cracks around your door’s edges, it’s a clear sign that the weather stripping needs replacing.
These gaps around the door allow cold air to seep in, especially during winter, making your home less energy-efficient.
Another key sign your door needs new weather stripping is when you see light peeking through the sides or bottom of the door.
You might also feel cold spots or drafts near the door, indicating the seal has deteriorated.
Inspect the weather stripping closely for wear and tear—peeling, cracking, or missing sections are definite indicators it’s time for a replacement.
Keeping an eye on these signs helps you maintain a tight seal and avoid unnecessary energy loss in your home.
Tools and Materials Needed for Repair
You’ll need a few essential tools like a utility knife, screwdriver, and measuring tape to get started.
Choose the right weatherstripping material—foam tape, door sweep, or V strip—based on your door’s gaps and seal type.
Before installing, clean the door surface thoroughly to make certain the new strip sticks properly and lasts longer.
Essential Repair Tools
Before you start fixing your door’s weather stripping, gather the essential tools to make the job easier and more precise.
You’ll need a utility knife or scissors to cut the weatherstripping to the right size.
A pry bar or putty knife helps you safely remove old weatherstripping without damaging the door frame.
Use a tape measure to accurately measure the door jambs and gaps, ensuring you buy the correct length of replacement material.
Additionally, a drill and screwdriver are necessary to securely fasten new door sweeps or corner seals.
Depending on the weatherstripping type, you might also need adhesive or sealant to keep everything firmly in place.
Having these tools ready will help you complete the repair efficiently and neatly.
Weatherstripping Material Types
Although choosing the right weatherstripping material depends on your door’s specific needs, knowing the common types helps you pick the best fit.
Each material offers unique benefits and installation methods. Here are five popular options to consider:
- Foam tape: Self-adhesive and easy to apply. It’s perfect for sealing small gaps around doors.
- Door sweeps: These are attached to the bottom of doors and block drafts. They often require screws and trimming for proper installation.
- Tubular rubber or vinyl seals: These materials are durable and fit into door jamb grooves. They provide excellent long-term insulation.
- V strip: Made from flexible metal or plastic, these strips fold to seal gaps along door edges.
- Felt: This option is affordable but less durable. It’s good for low-traffic areas that need light draft protection.
Understanding these materials helps you choose what fits your door’s condition and your repair goals best.
Preparing for Installation
Since accurate measurements and a clean surface are essential, start by gathering essential tools like a tape measure, utility knife, putty knife, and safety glasses.
Next, pick the right weather stripping material—foam tape, door sweeps, or tubular rubber—based on the gaps and door type.
Inspect the door frame carefully to spot any worn or peeling weather stripping that needs replacing. Measure each section of the door frame where you’ll be installing weather stripping to guarantee a snug fit.
Before you begin, clean the area thoroughly by removing dust, dirt, and old weather stripping.
This prep work helps the new weather stripping adhere properly and improves the overall effectiveness of your repair.
Proper preparation sets you up for a smooth, lasting installation.
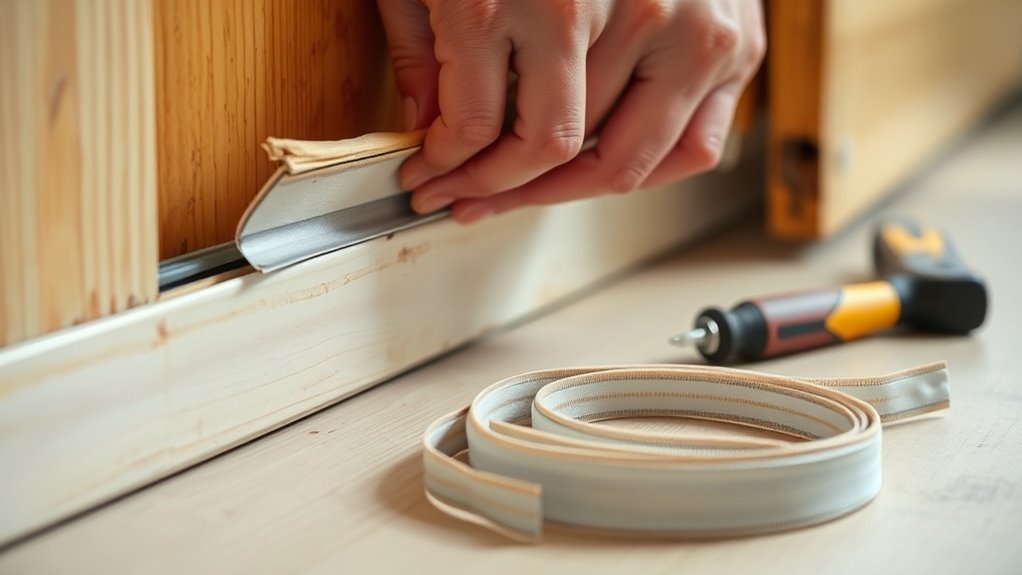
Removing Old Weather Stripping Safely
Before you start removing the old weather stripping, gather the right tools like a utility knife, putty knife, and a clean cloth.
Carefully cut along the edges to avoid damaging the door frame.
Then, gently peel or pry off the material.
Taking your time and working safely will help you prepare the surface for a fresh, effective seal.
Tools for Removal
When you remove old weather stripping, having the right tools makes the job safer and easier.
Using proper removal tools helps you avoid damaging the door frame and ensures a clean surface for installing new weather stripping.
Here’s what you’ll need:
- Utility knife or scissors to cut away adhesive or foam weather stripping.
- Putty knife or flat pry tool to gently lift old weatherstripping from the jamb.
- Needle-nose pliers for removing metal or spring-metal strips.
- Pry bar or small screwdriver to remove leftover nails, staples, or adhesive.
- Safety glasses to protect your eyes from debris or splinters.
With these tools ready, you can tackle the removal of old weatherstripping safely and efficiently before applying new sealing materials.
Safe Stripping Techniques
Although removing old weather stripping can be straightforward, it’s important to follow safe techniques to protect both yourself and your door.
Start by wearing safety glasses to shield your eyes from any debris.
Use a putty knife or flat-head screwdriver to gently pry off the weatherstripping without damaging the door or jamb.
If the strip has adhesive backing, soften the adhesive by applying heat with a hairdryer, which makes removal easier.
Carefully peel the weatherstripping away, pulling slowly to avoid tearing or leaving residue behind.
For stubborn adhesive or material, use a utility knife to cut through it safely and cleanly.
Following these steps ensures you remove old weatherstripping effectively while keeping your door intact and preparing it for new sealing.
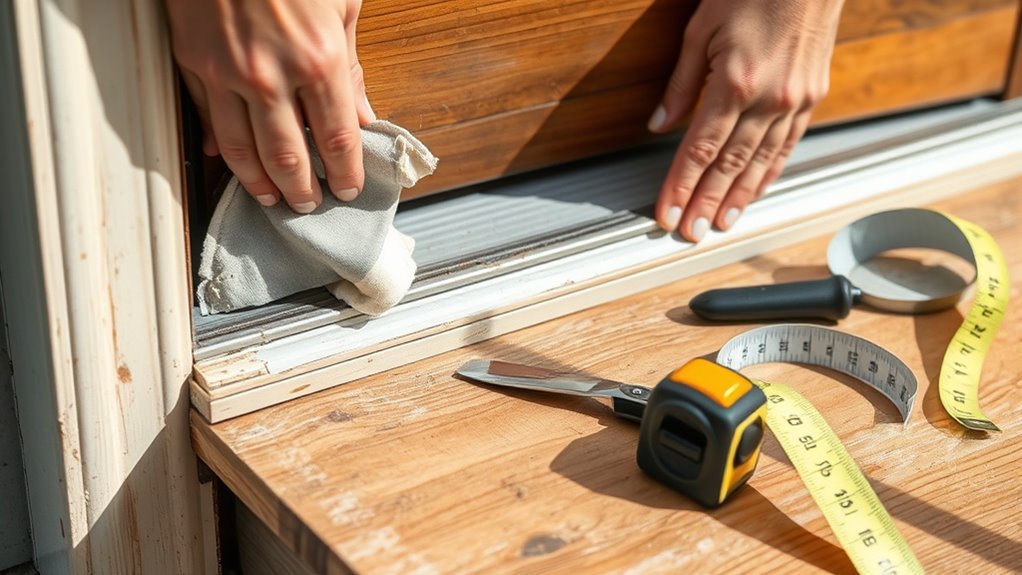
Preparing the Door Frame for Installation
Since a clean, well-prepared door frame guarantees the new weatherstripping adheres properly and seals effectively, you’ll want to start by removing any old weatherstripping, dirt, or debris.
Next, thoroughly clean and dry the door frame to ensure the best adhesion for your new weather stripping.
Inspect the frame carefully for cracks or gaps that might reduce sealing effectiveness.
Also, check the door’s fit within the frame and tighten hinge screws as needed to avoid sagging or misalignment.
Here’s what to focus on:
- Remove existing damaged weather stripping and debris
- Clean and dry the door frame completely
- Inspect for cracks, gaps, or uneven surfaces
- Verify the door fits correctly in the frame
- Tighten hinge screws to prevent misalignment
These steps prepare your door frame for a flawless weather stripping installation.
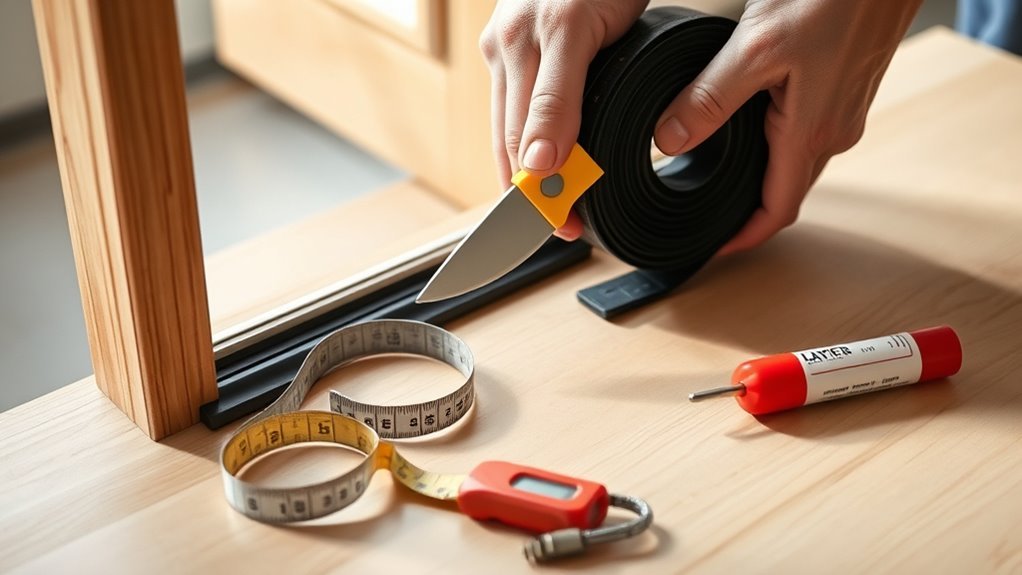
Measuring and Cutting New Weather Stripping
After preparing the door frame, the next step is to measure and cut your new weather stripping to fit perfectly.
Start by measuring each side of the door jamb accurately with a tape measure to ensure a proper fit.
When measuring, remember to add an extra inch to the length to allow for slight adjustments during installation.
If your door frame has rounded or irregular edges, use a flexible ruler or template to trace the shape onto the weather stripping material.
Use a sharp utility knife or scissors for cutting, following your measurements carefully.
Once cut, double-check each piece against the door frame to confirm it fits snugly without any gaps before moving on.
Accurate measuring and cutting are key to effective weather stripping.
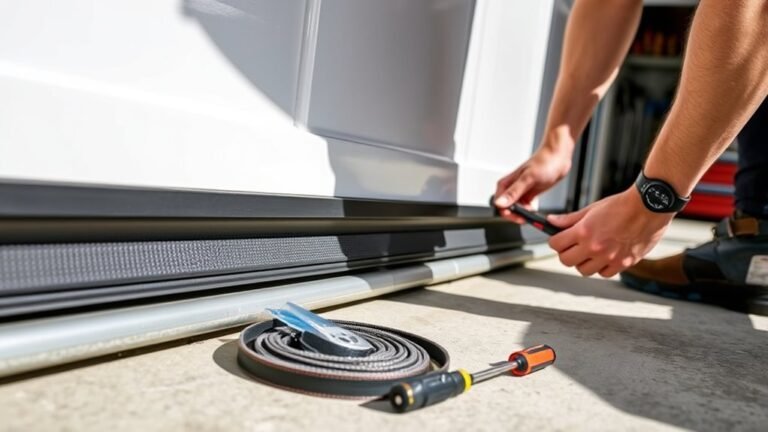
Installing Weather Stripping on Door Edges
Before you install new weather stripping, make sure to remove any old or damaged material from the door edges. This way, the new strips can stick securely and create an effective seal.
To install weather stripping correctly, follow these steps:
- Measure the length of each door edge to cut the weather stripping accurately.
- Cut the weather stripping with straight edges to ensure a proper fit.
- Press the weather stripping firmly along the entire door edge for a snug seal.
- Check that the weather stripping fits evenly without gaps or overlaps.
- Finally, test the door’s closure to confirm the strip doesn’t block movement but seals tightly.
With these steps, you’ll have a well-sealed door in no time!
Adding Door Sweeps and Corner Seals
Although weather stripping along the door edges helps, adding door sweeps and corner seals can further block drafts and keep pests out.
Start by measuring your door’s width to cut the door sweeps to size.
Then, attach the sweep securely at the bottom of the door with screws or nails to seal gaps that let in cold air and debris.
Next, apply corner seals by peeling off their adhesive backing and pressing them firmly into the door’s bottom corners.
These small rubber pieces target tiny leaks that door sweeps might miss.
Together, door sweeps and corner seals create a tighter barrier against drafts, reduce energy loss, and improve your home’s comfort during colder months.
This simple step boosts your weather stripping effectiveness considerably.
Testing and Adjusting for a Proper Seal
Once you’ve installed door sweeps and corner seals, it’s time to check how well the door is sealed.
Testing and adjusting guarantees no leaks compromise your home’s comfort or energy efficiency.
Here’s how to verify and improve the seal:
– Close the door and feel for drafts around the edges.
Alternatively, use a lighted match or incense stick to spot air leaks.
– Perform the dollar bill test by closing the door on a bill.
If it slips out easily, the seal needs tightening.
– Adjust weatherstripping position or compression to eliminate visible gaps.
If the door sticks or won’t close smoothly, consider trimming or repositioning the weatherstripping.
– Finally, inspect seasonally for leaks or damage.
Adjust or replace weatherstripping as needed to maintain a good seal.
Frequently Asked Questions
How to Repair Weather Stripping Around a Door?
You inspect the weather stripping for damage,
clean the area, then reattach loose parts.
Use adhesive for small tears or remove and replace the strip entirely if it’s severely damaged,
ensuring a tight seal around your door.
What Is the Proper Way to Weatherstrip a Door?
Think of weatherstripping as a snug jacket for your door.
You’ll remove old strips, clean the frame, measure carefully,
pick the right material, press it firmly in place,
and test to guarantee a tight, smooth seal.
How to Remove and Replace Door Weather Strip?
You’ll start by peeling off the old weather stripping carefully.
Then, measure and cut the new strip to size.
Finally, press or nail it into place, ensuring a tight seal for your door.
Are Door Sealing Strips Easy to Install?
You might think it’s tricky,
but door sealing strips are actually easy to install.
You’ll just clean the frame, measure, trim,
and stick or screw them in.
Most take less than 30 minutes,
no pro needed!
Conclusion
Did you know that properly installed weather stripping can reduce your energy bills by up to 25%?
By fixing your door’s weather stripping, you’re not just keeping drafts out—you’re saving money and boosting comfort.
With the right tools and a bit of effort, you can seal gaps, stop leaks, and make your home more energy-efficient.
So, take the steps we covered, and enjoy a cozier, more cost-effective living space all year round!
In conclusion, addressing your door’s weather stripping is a smart move for both comfort and savings.
Not only does it help eliminate drafts, but it also enhances your home’s energy efficiency.
By investing a little time and effort, you’ll enjoy a more comfortable living space while cutting down those energy bills.
Start today and reap the benefits of a well-sealed door!