How to Clean WeatherTech Mats in 5 Easy Steps
To clean your WeatherTech mats in five easy steps, it’s essential to follow a methodical approach that ensures they stay in top condition.
Start by removing the mats from your vehicle and pre-rinsing them to eliminate any loose dirt and debris.
This initial step helps to prepare the mats for a deeper clean.
Next, apply a suitable cleaner designed for rubber or vinyl materials.
Make sure to scrub thoroughly, paying extra attention to the grooves and textured areas where dirt can accumulate.
Once you’ve scrubbed them clean, rinse off the cleaner completely, ensuring no residue is left behind.
Dry the mats thoroughly to avoid any damage or mildew.
After they are completely dry, apply a protector evenly across the surfaces to condition and shield them from future wear.
Finally, reinstall the mats into your vehicle once they’re dry.
Regular maintenance is key to keeping them looking great for years to come.
Keep going to discover detailed tips for each step!
Remove and Pre-Rinse the Mats

Before you start cleaning, carefully remove your WeatherTech mats to keep dirt from spreading inside your vehicle.
Once removed, shake or tap the mats to dislodge loose dirt, mud, and debris.
After removal, shake or tap mats to loosen and remove dirt, mud, and debris effectively.
This step helps prevent grime from transferring back into your car during washing.
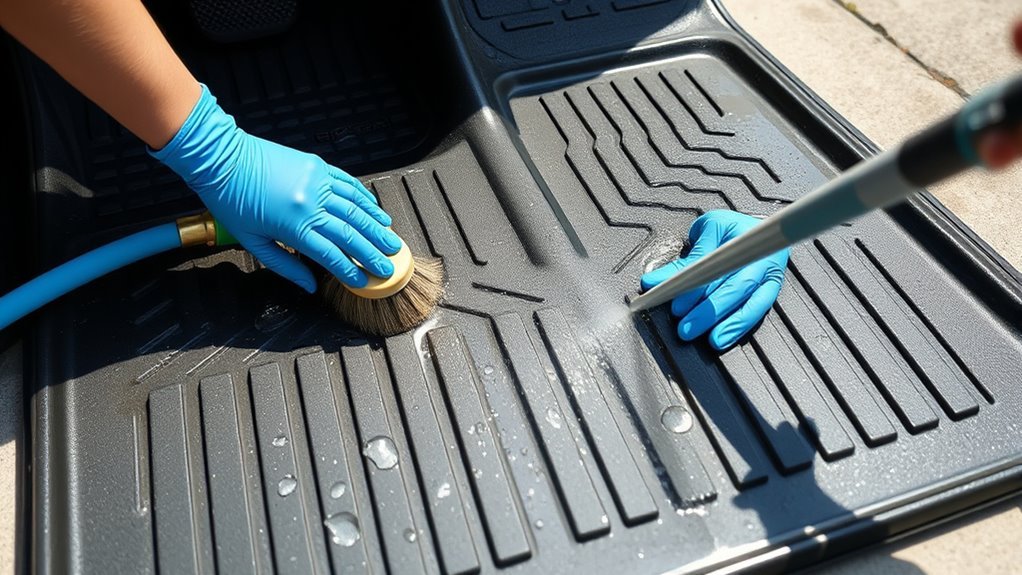
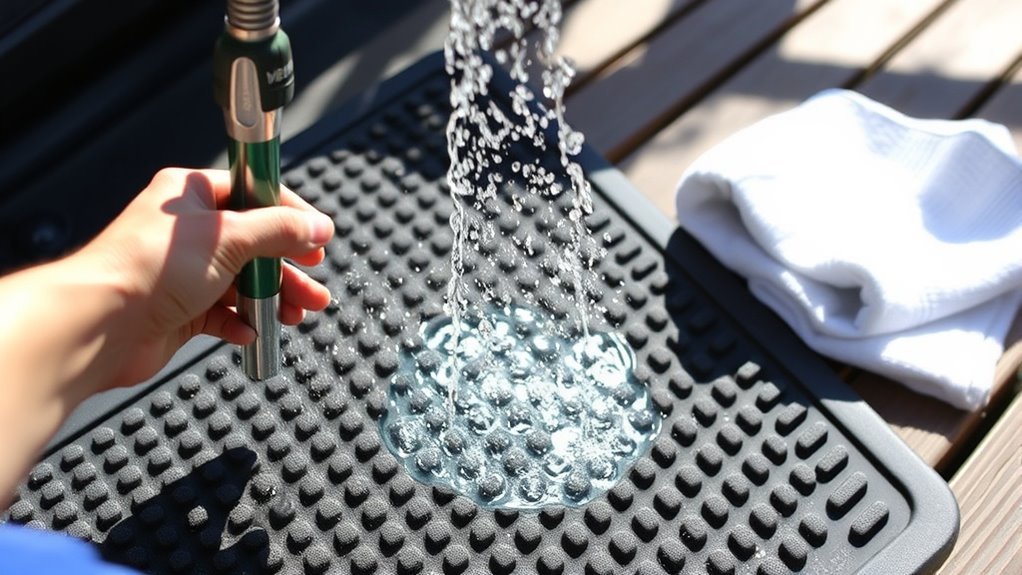
Next, pre-rinse the mats thoroughly using a garden hose or a bucket of water.
Focus on washing away all surface dirt before you begin scrubbing.
Use a soft brush or sponge to gently scrub textured areas and grooves where dirt tends to settle.
Avoid using high-pressure washers, as they may damage the rubber or the mat’s textured surfaces.
Pre-rinsing and gentle scrubbing prepare your mats for a deeper clean without causing harm.
Apply Cleaner and Scrub Thoroughly
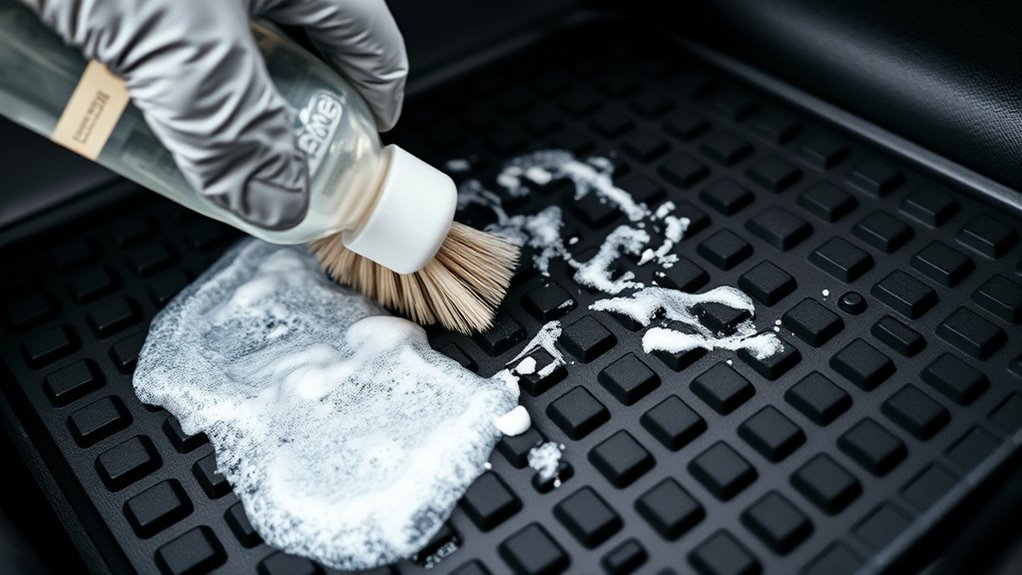
Once you’ve pre-rinsed the mats, spray them evenly with a diluted automotive degreaser like Purple Power or Road Warrior, mixed between a 2:1 and 4:1 ratio.
Next, grab a medium bristle brush and scrub the mats in circular motions, focusing on textured areas and grooves where dirt and grime hide.
Use a stiff-bristle brush for tight cracks and hard-to-reach spots to ensure a thorough cleaning. Agitate until stains lift from the surface.
Envision this:
- Spraying cleaner evenly across the mat
- Scrubbing deep into textured grooves
- Targeting stubborn stains with circular brush strokes
- Reaching tight cracks with a stiff-bristle brush
- Loosening grime for easy rinsing
This careful scrubbing guarantees your WeatherTech mats will be clean and ready for rinsing.
Rinse Off Cleaner and Dry Completely
After thoroughly scrubbing your WeatherTech mats, you’ll want to rinse off all the cleaner to remove soap and grime completely.
Use a garden hose or bucket to rinse thoroughly, holding the mats at an angle so water drains from textured grooves and cracks. This effectively removes soap residue.
Next, grab a microfiber towel to absorb excess moisture from both the top and bottom surfaces.
This step speeds up drying time and helps prevent mold.
Finally, air dry the mats in a shaded area to avoid sun damage.
Make sure they dry completely before reinstalling; this ensures the protective coating stays effective and prevents odors.
Proper drying protects your mats and keeps them looking great for longer.
Apply Protector and Condition the Mats
Although the mats must be completely dry, you can now apply a light, even coat of TechCare FloorLiner and FloorMat Protector to condition and safeguard their surfaces.
Just remember to avoid trapping moisture by ensuring the mats are dry before applying the protectant.
Ensure mats are completely dry before applying protectant to prevent moisture from being trapped.
Spray 5-10 drops at a time, covering all textured areas, cracks, and edges without causing excess buildup.
A damp sponge can help you spread the product evenly, enhancing coverage and preventing those uneven spots.
After application, let the mats dry naturally in a well-ventilated space before reinstalling.
Reinstall Mats and Maintain Regularly
Before you reinstall the mats, make sure they’re completely dry. This helps prevent mold and odors from developing inside your vehicle.
When you reinstall, guarantee each mat has a proper fit and secure placement. Lay them flat and evenly to avoid bunching or misalignment.
Regular inspection and cleaning help maintain their condition, prolong lifespan, and enhance vehicle appearance.
| Step | Action |
|---|---|
| 1 | Confirm mats are dry |
| 2 | Position mats in designated spots |
| 3 | Check for proper fit |
| 4 | Ensure mats lay flat and evenly |
| 5 | Inspect and clean regularly |
Consistent maintenance keeps your WeatherTech mats looking great and functioning well.
Frequently Asked Questions
What’s the Best Way to Clean Weathertech Mats?
You should remove your WeatherTech mats, rinse off dirt,
scrub with mild detergent and a soft brush.
Rinse thoroughly, then dry them.
For extra shine and protection, apply a rubber-safe protectant once they’re dry.
How Can I Make My Weathertech Mats Look New Again?
You can make your WeatherTech mats look brand-new again by scrubbing away every speck of dirt.
After that, dry them thoroughly.
Then, treat them with a rubber protectant that revives their shine and keeps them looking flawless forever.
Can I Use Dawn Dish Soap to Clean Car Mats?
Yes, you can use Dawn dish soap to clean your car mats.
It’s gentle yet effective, removing dirt and grease without damaging the rubber.
Just mix with warm water, scrub gently, then rinse thoroughly for best results.
What Is the Best Thing to Clean Rubber Floor Mats With?
You’ll want to use a diluted automotive degreaser like Purple Power or mild dish soap mixed with water.
Grab a soft-bristle brush, scrub gently, then rinse well to keep your rubber mats clean and damage-free.
Conclusion
Now that you know how to clean your WeatherTech mats in just five easy steps, keeping them looking sharp is a piece of cake.
By staying on top of regular maintenance, you’ll prevent dirt and grime from building up. This helps protect your investment for the long haul.
Remember, a little effort goes a long way, so don’t let your mats collect dust.
Give them the care they deserve, and enjoy a cleaner, fresher ride every time.
With just a bit of attention, your WeatherTech mats can stay in top condition. Regular cleaning ensures they not only look great but also function well.
So, make it a habit to clean your mats regularly, and you’ll reap the rewards for years to come.