How to Spray Paint in Cold Weather Step by Step
To spray paint in cold weather, it’s crucial to take specific steps to ensure a smooth finish despite the chill.
First, warm your workspace to at least 60°F and ensure good ventilation.
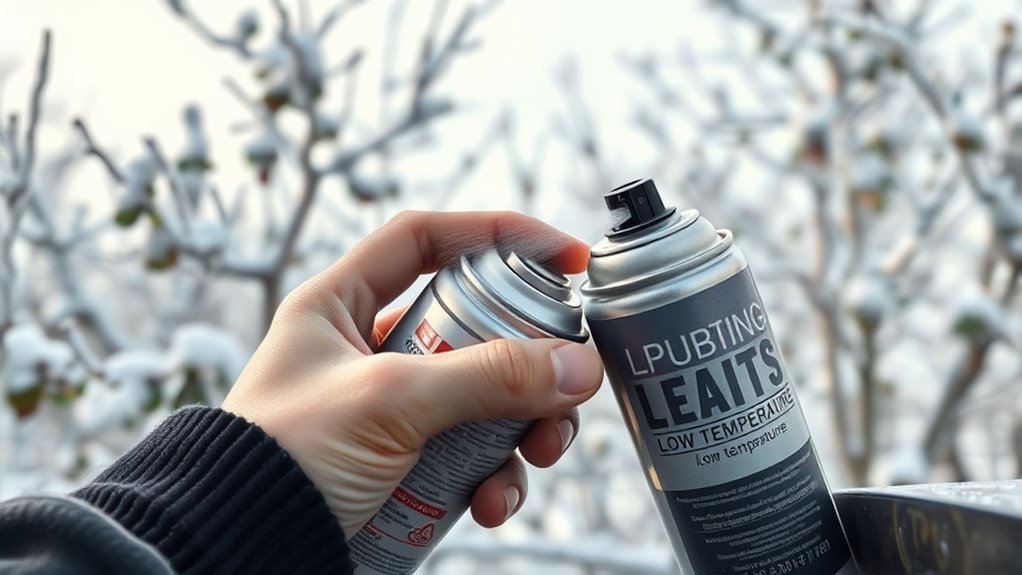
Choosing the right paint is essential; look for solvent-based options specifically designed for low temperatures.
Gently warm the spray cans to improve paint flow.
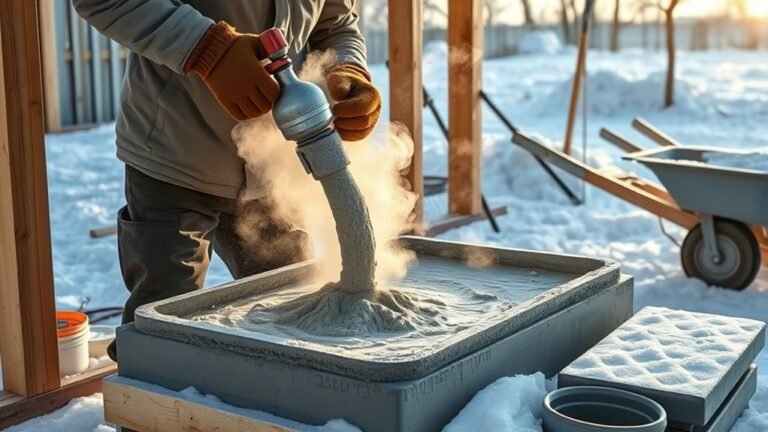
Next, pre-warm the surface with a heat gun to help the paint adhere better.
When applying, use thin, even coats and remember to extend drying times between layers.
If needed, use heaters or heat lamps to speed up the curing process.
Lastly, don’t forget to wear a respirator for safety.
By following these tips, you can avoid common issues and achieve a smooth finish even in cold weather.
Challenges of Spray Painting in Cold Weather

When you spray paint in cold weather, you face several challenges that can affect your finish.
Temperatures below 50°F slow down solvent evaporation, making drying times longer and increasing the risk of uneven surfaces.
Cold temperatures below 50°F slow solvent evaporation, extending drying and risking uneven paint surfaces.
If you spray near or below freezing, paint droplets may freeze before properly adhering, causing rough textures or peeling later on.
Cold surfaces can also collect moisture, leading to blushing or reduced gloss as the paint cures.
Improper curing from low temperatures often results in cracking or peeling over time.
Additionally, spraying in enclosed cold spaces can trap fumes and overspray, creating safety hazards and compromising paint quality.
Understanding these challenges helps you avoid common issues and achieve a smoother, more durable spray paint finish despite the cold.
Preparing Your Workspace for Cold Weather Painting
Cold temperatures can seriously impact your spray painting results. But setting up your workspace correctly helps you tackle these issues head-on.
Choose an enclosed, draft-free area like a garage or paint booth. This minimizes wind and temperature swings, creating a more controlled environment.
Use a space heater to raise the temperature to at least 60°F before you start spray painting. This makes a big difference in how the paint adheres and dries.
Don’t forget to cover floors and nearby objects with plastic sheeting. This protects them from overspray and keeps your workspace tidy.
Ensure proper ventilation by opening windows or running exhaust fans. This helps remove fumes safely while you work.
Pre-warming the object you’re painting improves paint adhesion and speeds up drying times. It’s a simple step that can lead to better results.
| Step | Action |
|---|---|
| Location | Use enclosed, draft-free area |
| Temperature Control | Heat space to 60°F or higher |
| Protection & Ventilation | Cover surfaces and ventilate well |
Selecting the Right Spray Paint for Low Temperatures
Although spray painting in low temperatures poses challenges, selecting the right type of spray paint can make a big difference in your results.
When spray painting in cold, opt for solvent-based paints as they generally perform better than water-based ones. Look for spray paints labeled for outdoor or all-weather use, ensuring better adhesion despite the cold.
Fast-drying, low-VOC, or low-odor options help avoid issues from slow evaporation in chilly conditions. Always check the manufacturer’s recommended temperature range on the can to confirm suitability.
Before use, slightly warm aerosol cans in warm water to improve spray flow and atomization.
Warming Techniques for Paint and Surfaces
Choosing the right spray paint is just the start; warming both the paint and the surface before application can considerably improve your results in chilly conditions.
One of the best tips and tricks I’ve done is warming spray paint cans by placing them in a bowl of hot water for a few minutes. This boosts spray flow and prevents clogging.
For painting in the cold, preheat the surface using a heat gun or hairdryer to help paint stick better and avoid moisture buildup. You can also wrap small parts in insulated materials or briefly warm them in an oven set to 150°F.
Keeping your workspace and painted items around 60-80°F speeds drying and curing. So, these warming techniques are essential for success when painting in cold weather!
Step-by-Step Spray Painting Process in Cold Conditions
When you’re ready to spray paint in chilly conditions, start by warming your paint cans in hot water for a few minutes to guarantee smooth flow.
Follow these steps for the best results:
Follow these steps for smooth, even coverage and a durable finish in cold weather spray painting.
- Preheat the surface with a heat gun or place it briefly in a warm area to prevent moisture buildup.
- Hold the can 10-12 inches from the surface and apply thin, even coats to avoid runs and ensure good adhesion.
- Let each coat dry for 15-30 minutes in a warm, dust-free space before adding the next layer.
- Once the final coat dries, apply a clear protective layer and allow extra curing time in a warm environment.
Using hot water to warm your paint helps maintain consistency and improves your spray painting process in cold weather.
Managing Ventilation and Paint Fumes Safely
Since spray paint releases harmful fumes, it’s essential to work in a well-ventilated area or outdoors to keep the air safe.
Open windows and doors, or use exhaust fans to create continuous airflow. This helps direct fumes away from your breathing zone.
Always wear a respirator mask rated for paint fumes, especially in enclosed spaces.
Avoid small, unventilated areas where fumes can build up quickly.
After painting, keep ventilating until all fumes dissipate. This process may take hours depending on the conditions.
| Ventilation Tip | Reason |
|---|---|
| Work outdoors | Prevents fume accumulation |
| Use exhaust fans | Promotes air circulation |
| Open windows and doors | Allows fresh air to replace fumes |
| Wear a respirator mask | Protects lungs from harmful fumes |
Tips for Drying and Curing Paint in Cold Weather
To get your paint to dry and cure properly in cold weather, you’ll need to keep the temperature steady around 50°F or higher using heaters or heat lamps.
Make sure there’s good airflow to avoid moisture buildup.
But be careful to avoid cold drafts that can slow drying.
Also, expect to double or even triple the usual curing time before handling your project.
Temperature Control Strategies
Although cold weather can slow down the drying process, you can speed things up by keeping the painted surface and surrounding area warm—ideally above 50°F.
Effective temperature control is key to ensuring your paint dries and cures properly. Here’s how you can manage it:
- Use portable heaters or heat lamps to maintain a steady temperature in your workspace during and after painting.
- Apply thin, light coats to reduce drying time and avoid runs or drips.
- Allow extra drying time—often twice as long as usual—to make sure the paint fully cures.
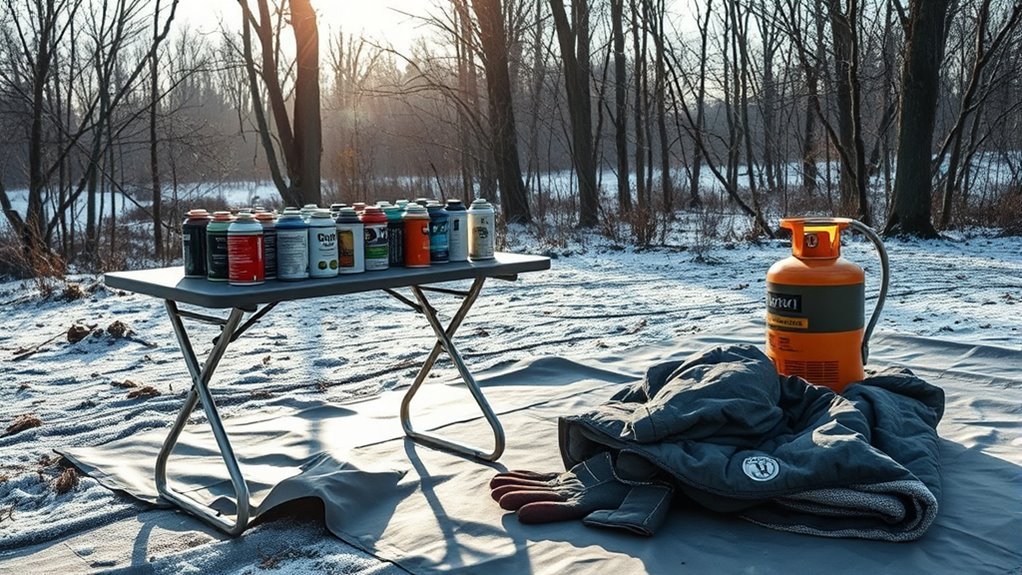
- Store spray cans and paint materials indoors before use to prevent freezing and maintain spray quality.
Ventilation and Airflow
Keeping the temperature steady is just one part of helping your spray paint dry properly in cold weather.
You also need to guarantee good ventilation and consistent airflow around the painted surface. Open windows or use fans to promote airflow, which helps remove paint fumes and moisture.
Position fans so the airflow moves evenly across the object without stirring up dust or causing overspray.
Consider using exhaust vents or portable exhaust fans to actively pull fumes away from your workspace, preventing buildup that can affect drying.
Keep your ventilation running not only during spraying but for an extended period afterward to dilute residual fumes and support proper curing.
This approach ensures your paint dries evenly and adheres well, even in lower temperatures.
Extended Curing Times
When temperatures drop, paint takes much longer to cure, sometimes stretching from hours into several days.
To manage these extended curing times, try these tips:
- Keep the painted object in a warm environment above 50°F; placing it inside a cardboard box can help trap heat.
- Use a container of hot water near the painted item to gently raise the ambient temperature and speed up curing.
- Apply thin, light coats to promote even drying and reduce soft spots caused by slow curing.
- Ensure good ventilation to remove moisture and solvents, which aids the curing process even in cold weather.
Following these steps helps you achieve a smooth, fully cured finish despite chilly conditions.
Common Mistakes to Avoid When Spray Painting in Winter
Don’t ignore the impact of cold temperatures on your spray paint’s drying and finish quality.
You also can’t skip proper ventilation, since trapped fumes indoors can be dangerous and affect curing.
Let’s look at how these mistakes can ruin your winter painting project.
Ignoring Temperature Effects
Although cold weather might seem manageable, ignoring its effects on spray painting can ruin your project.
You need to address temperature issues before starting. Here’s what to avoid:
- Using spray paint straight from the cold—warm the cans with hot water briefly to improve atomization and prevent rough texture.
- Painting on cold surfaces—this slows drying and causes runs or uneven finishes.
- Ignoring humidity and moisture—these can lead to blushing, clouding, or low gloss in your paint.
- Applying thick coats—cold conditions require thin, multiple layers for proper adhesion and to avoid drips.
Skipping Ventilation Measures
Since cold weather often prompts you to seal off your workspace, it’s essential to maintain proper ventilation while spray painting.
Skipping this step can cause dangerous fume buildup, posing serious health risks.
Don’t completely seal your area; inadequate airflow lets paint fumes and solvents linger, lowering air quality and safety.
Avoid neglecting exhaust fans or vents—they help remove overspray and harmful fumes.
Without proper ventilation, solvents get trapped, leading to poor paint curing and a subpar finish.
Also, be aware that enclosed spaces can accumulate hazardous gases like carbon monoxide when ventilation is insufficient.
To protect yourself and ensure a quality paint job, always monitor and improve airflow, even when it’s cold outside.
Ventilation is non-negotiable for safe and effective winter spray painting.
Frequently Asked Questions
What Is the Coldest Temperature You Can Spray Paint At?
You can spray paint as low as 32°F (0°C) using specialized low-temperature paints.
However, it’s best to avoid painting below 40°F (4°C) to prevent poor adhesion and finish problems.
Always check your paint’s instructions.
What Happens if You Paint Below 10 Degrees?
Painting below 10 degrees is like trying to write on ice—your spray paint won’t stick right,
dries too slow, and cracks like brittle glass.
You’ll end up with uneven, peeling coats that ruin your project’s finish.
How to Dry Spray Paint in the Winter?
You dry spray paint in winter by placing your item in a warm, draft-free space between 60-75°F.
Use a heater or lamp gently, and avoid humidity.
Wait 24-48 hours to guarantee proper curing before handling.
Will Paint Cure at 40 Degrees?
You can’t rush a river, and paint won’t fully cure at 40 degrees.
You’ll need to warm the space or choose special paints designed for cold weather to avoid tacky, soft finishes.
This will help guarantee proper drying.
Conclusion
Spray painting in cold weather can feel like an uphill battle, but with the right prep and techniques, you’ll nail it every time.
Remember to keep your paint and surfaces warm. This is crucial because cold temperatures can affect the paint’s performance.
Choose the right products, like paints specifically designed for low temperatures.
And don’t forget to work in a well-ventilated space to avoid inhaling fumes.
Avoid common pitfalls, like spraying too thickly or moving too slowly, and you’ll have a smooth finish that dries just right.
With these tips, winter won’t be a roadblock—it’ll be just another season to show off your skills.
So, embrace the chill and get out there! With the right approach, cold weather spray painting can yield fantastic results. Your skills will shine, and your projects will look great, no matter the season.