10 Easy Steps to Install Garage Door Weather Stripping
Installing garage door weather stripping is a simple yet effective way to keep your garage insulated and protected from the elements. Proper weather stripping can block drafts, prevent moisture from entering, and enhance energy efficiency.
In just ten easy steps, you can replace your old weather stripping and enjoy a more comfortable garage space. Follow this guide to ensure a perfect fit for your garage door.
First, check your current weather stripping for damage and measure your garage door accurately.
Gather tools like a utility knife and adhesive.
Carefully remove old stripping and clean the door edges and channels thoroughly.
Cut and install new bottom and side seals to fit snugly, adding a threshold seal for extra protection against drafts.
Finally, test the door for gaps and adjust as needed to ensure a tight seal.
Keep following for detailed tips on perfect installation.
Assess the Condition of Existing Weather Stripping
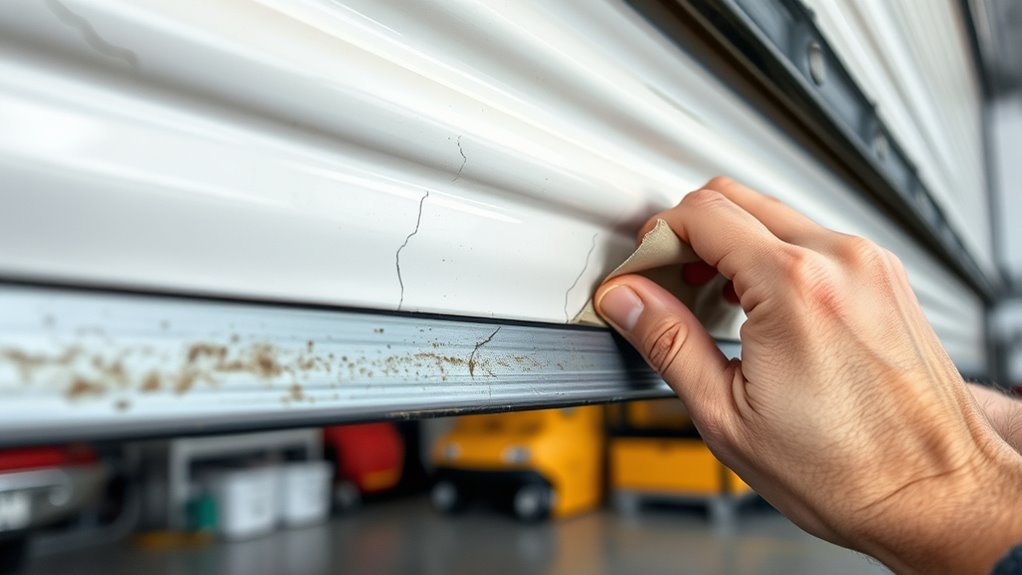
Before replacing your garage door weather stripping, you should carefully inspect the existing seal for any cracks, tears, or brittleness along the edges.
Walk around the door, checking the bottom, sides, and top for visible damage.
Look for gaps where the weather stripping meets the garage floor or door frame, as these indicate air leaks.
Press or bend the strip to test its flexibility; if it feels hardened or brittle, it’s time to replace it.
Also, examine the weather stripping for dirt, debris, or mold that can affect its sealing ability.
Finally, take precise measurements of the current weather stripping’s length and width to ensure your replacement matches the manufacturer’s specifications perfectly and provides an effective seal.
Gather Necessary Tools and Materials
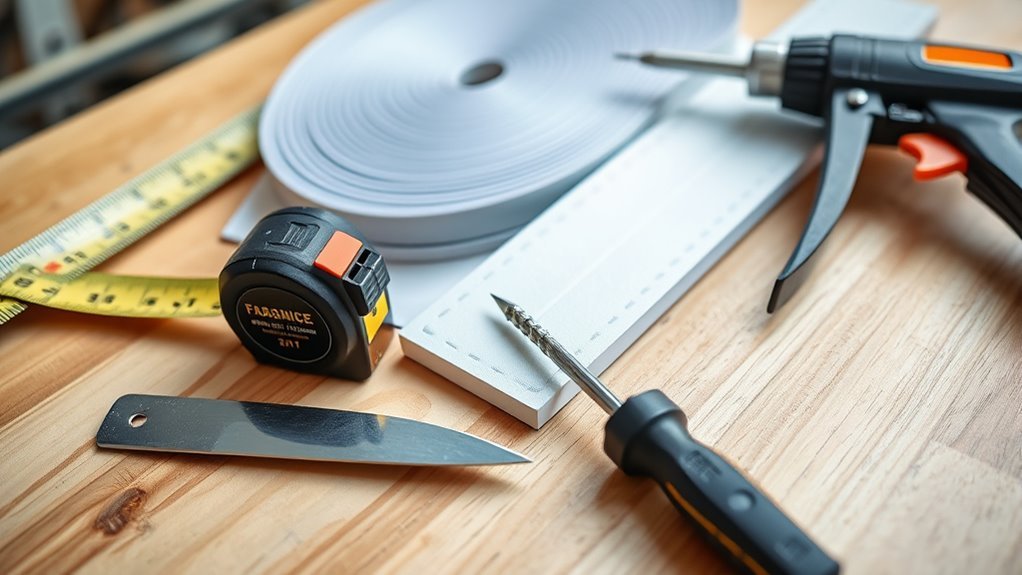
After evaluating your garage door’s weather stripping and noting the measurements, gather the tools and materials needed for a smooth replacement.
You’ll want to have the right tools on hand to avoid interruptions during installation. Essential materials include weatherstripping suited for your door, adhesive or heavy-duty tape if it’s a stick-on type, and cleaning supplies to prepare the surface.
Make sure to have these tools ready:
- Measuring tape and utility knife for accurate sizing and cutting.
- Drill or screwdriver if your weatherstripping requires screws or nails.
- Cleaning cloths or cleaners to remove dirt and ensure proper adhesion.
Having everything prepared lets you install new weatherstripping efficiently.
Being fully prepared ensures a quick and effective weatherstripping installation every time.
This way, you’ll ensure a tight, lasting seal.
Measure Your Garage Door Accurately
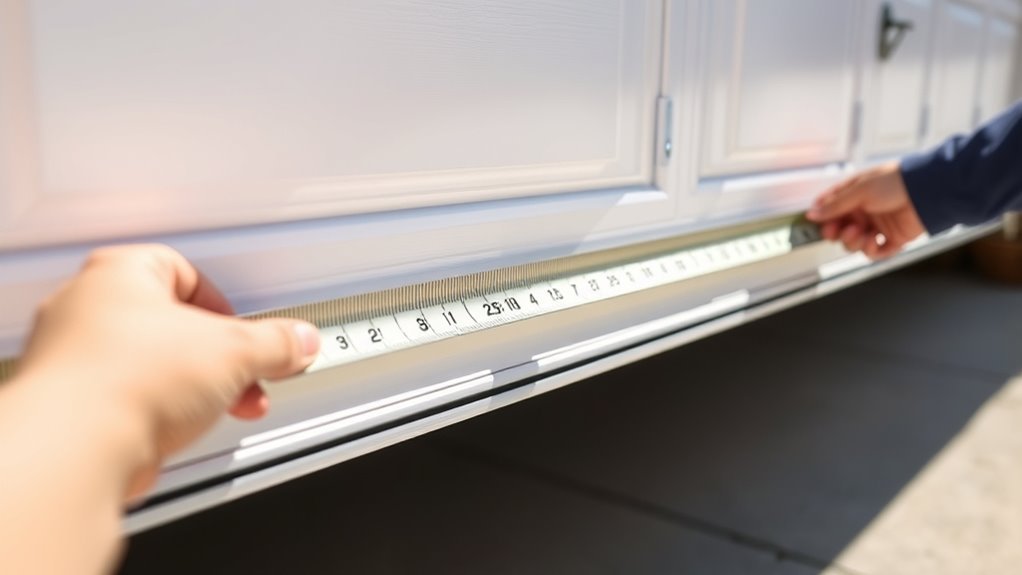
When you measure your garage door, use a tape measure to capture the full width and height while the door is fully open.
Measure from jamb to jamb to get the exact dimensions needed for your weather stripping.
To guarantee a perfect fit, record measurements at multiple points along the top, sides, and bottom edges.
Pay special attention to any uneven gaps that may affect sealing.
Add a few extra inches to your measurements to allow for trimming during installation.
Double-check all your garage door dimensions before purchasing weather stripping. This ensures it will seal properly and prevent drafts.
Accurate measurements are key to achieving a snug fit that enhances your garage’s energy efficiency and protection from the elements.
Remove Old Weather Stripping Carefully
Since old weather stripping can be stuck firmly in place, you’ll want to wear work gloves and open your garage door fully to access the bottom edge safely.
When you remove the old weather stripping, do it carefully to avoid damaging the garage door or the track where the seal sits.
Keep these tips in mind:
- Gently pull or pry the weather stripping from the metal track using steady pressure.
- Expect some resistance; use a flat pry bar or screwdriver for stubborn sections.
- Remove the entire old strip before preparing the surface for new installation.
Taking your time to carefully remove the old weather stripping ensures a clean surface and helps your new seal fit perfectly.
Clean the Door and Channels Thoroughly
Before you install new weather stripping, make sure to remove all dirt and debris from the bottom edge of the door.
Clear out the channels where the weatherstrip will slide to prevent any misalignment.
Keeping these areas clean helps the new seal fit properly and work effectively.
Remove Dirt and Debris
Although it might seem like a simple step, removing dirt and debris from your garage door and its channels is essential for effective weather stripping installation.
You need to thoroughly clean the surfaces to ensure proper adhesion and sealing. Start by using a damp cloth to wipe down the bottom edge of the door, removing dust, dirt buildup, and debris.
Don’t forget to clean the metal channels where the weather stripping will sit.
To maintain a clean surface and improve debris removal, follow these tips:
- Use mild detergent for stubborn dirt and grease.
- Dry all surfaces completely to prevent moisture issues.
- Regularly inspect and clean to avoid future dirt buildup.
Proper maintenance guarantees your weather stripping works efficiently and lasts longer.
Clear Weatherstrip Channels
When you clear the weatherstrip channels, you guarantee the new sealing fits smoothly and works effectively.
Start by cleaning the garage door and weatherstrip channels using a damp cloth or brush to remove debris, dirt, and dust.
Make sure the channels are free of obstructions for an easy fit of weatherstripping.
Next, inspect for damage, such as rust or corrosion, and repair any issues before proceeding.
Use a shop vacuum or compressed air to ensure thorough cleaning by removing loose debris from hard-to-reach spots.
Finally, wipe the channels with a dry surface cloth to promote ideal adhesion.
This careful preparation ensures the weatherstrip channels are ready to hold the new seals securely and function properly for long-lasting protection.
Cut New Weather Stripping to Size
To get a perfect fit, you’ll need to measure each edge of your garage door carefully and mark those measurements on the new weather stripping.
Accurate measuring guarantees proper sizing, so grab your tape measure and pencil.
Mark the lengths clearly on the weather stripping before you cut.
When cutting, use a utility knife or scissors to trim along the marks, leaving about ½ inch extra on each end. This allows you to adjust as needed during installation.
Remember to:
- Measure all edges precisely to avoid gaps.
- Cut straight for a clean fit.
- Test-fit pieces before securing to ensure proper sizing.
Install the Bottom Seal Properly
Before installing the new bottom seal, make sure you remove the old one carefully by pulling it free from the metal track.
Wear work gloves to protect your hands during this process.
Next, clean the bottom channel thoroughly with a damp cloth to remove any dirt or debris.
This ensures the groove is clear for a proper fit.
To install the weatherstripping, guide the seal section by section into the metal track.
Make sure it slides fully into the groove.
Once in place, trim the excess seal on each side to about 1/2 inch for a snug fit.
You can use a utility knife or electric scissors for this task.
Finally, test the garage door’s closure to confirm the bottom seal fits properly and blocks out drafts effectively.
If you spot any gaps, make adjustments as needed.
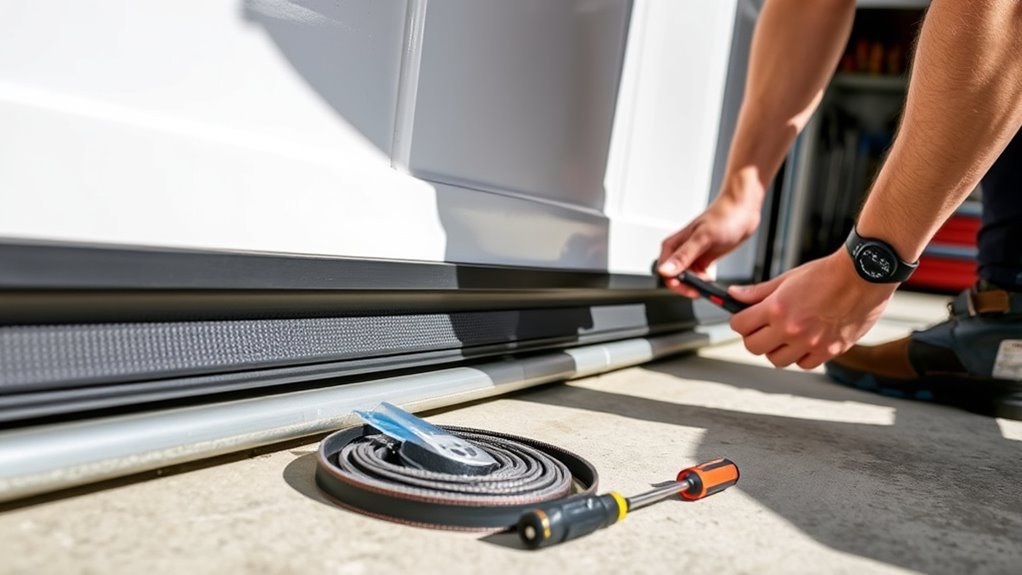
Attach Weather Stripping to the Door Sides and Top
Although attaching weather stripping to the door sides and top requires careful measurement, you’ll find it straightforward by cutting the strips to the exact lengths of the door edges before installation.
Start by measuring the door sides and top accurately to ensure a perfect fit.
When you install weather stripping, position the flexible flap so it lightly contacts the door without causing resistance.
Secure strips using screws, nails, or adhesive, making sure to align parallel with the door edges.
After securing, close the door to check the seal.
Adjust as needed to seal gaps and prevent drafts effectively.
Remember to slightly overlap the top and side seals for continuous weatherproofing.
Here are some key points to follow:
- Take precise measurements for door sides and top.
- Secure strips aligned parallel to edges.
- Close door check to ensure tight seal.
Add a Threshold Seal for Extra Protection
Once you’ve secured weather stripping around the door’s edges, adding a threshold seal on the garage floor provides an extra layer of defense against water, dirt, and debris.
To install garage door weather stripping effectively, measure your garage door opening’s width and cut the threshold seal accordingly.
This garage floor seal, usually made of rubber or vinyl, sticks to the floor with a heavy-duty adhesive.
Position it carefully to form a tight, waterproof garage barrier without hindering the door’s movement.
This garage door seal complements the weather stripping installation by enhancing garage door protection and ensuring a durable, waterproof garage environment.
For ongoing garage door maintenance, inspect the threshold seal regularly and replace it every few years to keep your door seal functioning at its best.
Test the Door Seal and Make Adjustments
After installing the weather stripping, close your garage door and carefully check for any gaps, light leaks, or uneven contact along the seal to guarantee a proper fit.
A thorough inspection ensures the door seal is tight and aligned correctly without hindering door movement.
Focus on these key adjustments:
- Mark contact points during door operation with tape or a marker to identify where the weather stripping touches or rubs.
- Ensure only the flexible part of the weather stripping contacts the door jamb or floor, avoiding resistance.
- Test the garage door multiple times, opening and closing fully to confirm smooth operation and consistent sealing.
Making precise adjustments after this inspection will keep the seal tight, protect against drafts, and maintain proper garage door alignment for long-lasting performance.
Frequently Asked Questions
How to Put on Weather Stripping on a Garage Door?
You’ll measure and cut the weather stripping to fit your garage door edges.
Next, clean those edges to ensure a good seal.
Then, position and secure the stripping so it seals well but doesn’t block movement.
Finally, test the door’s operation to make sure everything works smoothly.
What Nails to Use for Garage Door Weather Stripping?
Use galvanized or stainless steel nails, 1 to 1.5 inches long, with small heads to avoid damage.
For rubber or vinyl, pick nails with plastic washers to prevent tearing and guarantee a secure, lasting hold.
This will help ensure your weather stripping stays in place and functions effectively.
What Are Common Problems With Door Sealing Strips?
Think of door sealing strips as your garage’s armor.
Cracks, warping, or dirt can create chinks, letting drafts sneak in.
Misalignment or wear from use can break the seal,
so keep an eye on their condition.
How Do I Seal Gaps Around My Garage Door?
You seal gaps around your garage door by measuring them, then installing weather stripping along the bottom, sides, and top edges.
Use adhesive or fasteners to secure it tightly, ensuring no drafts or water can slip through.
Conclusion
By following these simple steps, you’ll keep your garage cozy and energy-efficient.
Imagine Jane, who noticed drafts and rising energy bills.
After installing new weather stripping, her garage stayed warmer, and her heating costs dropped noticeably.
You can achieve the same comfort and savings by taking the time to assess, clean, and seal your garage door properly.
A little effort now means long-term protection against the elements and lower bills.
In conclusion, investing a bit of time in garage door weather stripping can make a significant difference.
Not only will it enhance comfort by eliminating drafts, but it will also lead to lower energy bills in the long run.
So, take those steps today to ensure your garage remains cozy and energy-efficient, just like Jane’s.
Don’t wait—start assessing, cleaning, and sealing your garage door now for lasting benefits!