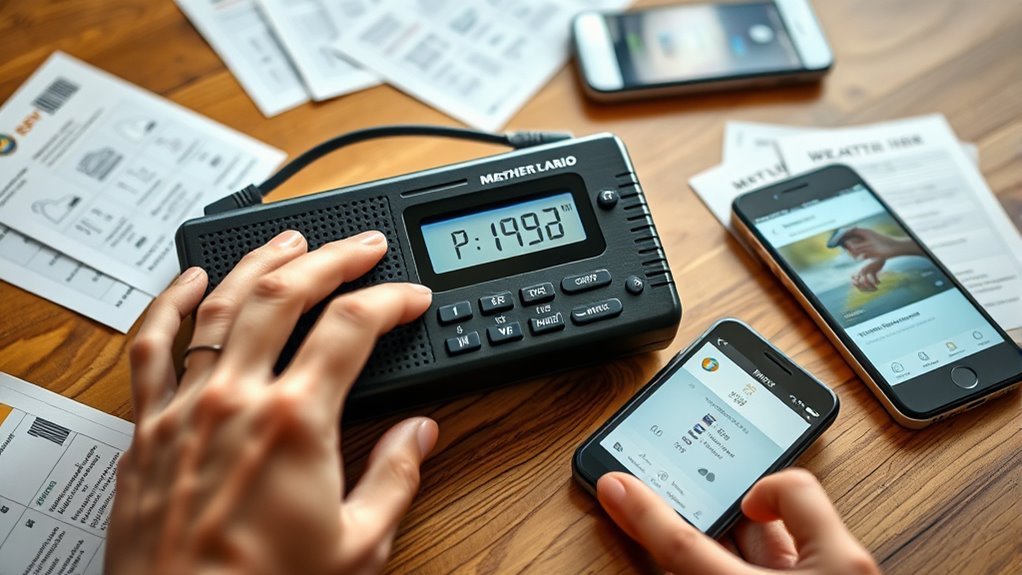
How to Set Midland Weather Radio in 5 Easy Steps
To set up your Midland weather radio, follow these simple steps to ensure you receive important local alerts.
First, it’s crucial to select the correct NOAA channel for your area. This way, you’ll get timely information on weather-related emergencies.
Next, make sure your radio is powered. You can do this by either installing fresh batteries or plugging in the power adapter.
Now, let’s program your location. Enter your county’s six-digit S.A.M.E. code to receive precise warnings tailored to your area.
Once that’s done, it’s time to customize your settings. Adjust the alert types and volume so you only hear the notifications that matter to you.
Finally, don’t forget to test your radio to confirm it’s receiving alerts properly. This is a great way to ensure you’re fully prepared for any weather situation.
Stay safe!
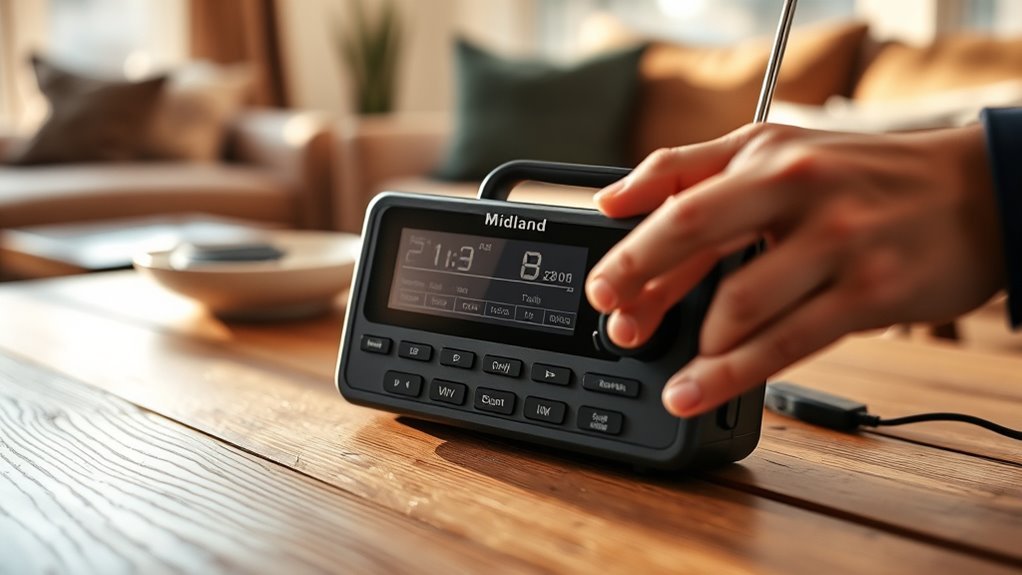
Selecting the Correct NOAA Channel
Before you can receive accurate weather alerts, you need to select the correct NOAA channel on your Midland weather radio.
NOAA channels range from 1 to 7, each broadcasting on a specific frequency between 162.400 MHz and 162.550 MHz.
These channels cover distinct geographic areas, so picking the right one guarantees you get local alerts relevant to your location.
To find your county’s designated frequency, check weather.gov or local government websites.
Proper channel selection prevents you from receiving unrelated warnings from distant transmitters.
Most Midland weather radios let you manually set the channel or automatically scan all NOAA channels.
Taking the time to set the correct frequency is essential for effective local alert reception on your weather radios.
Installing Batteries and Powering the Radio
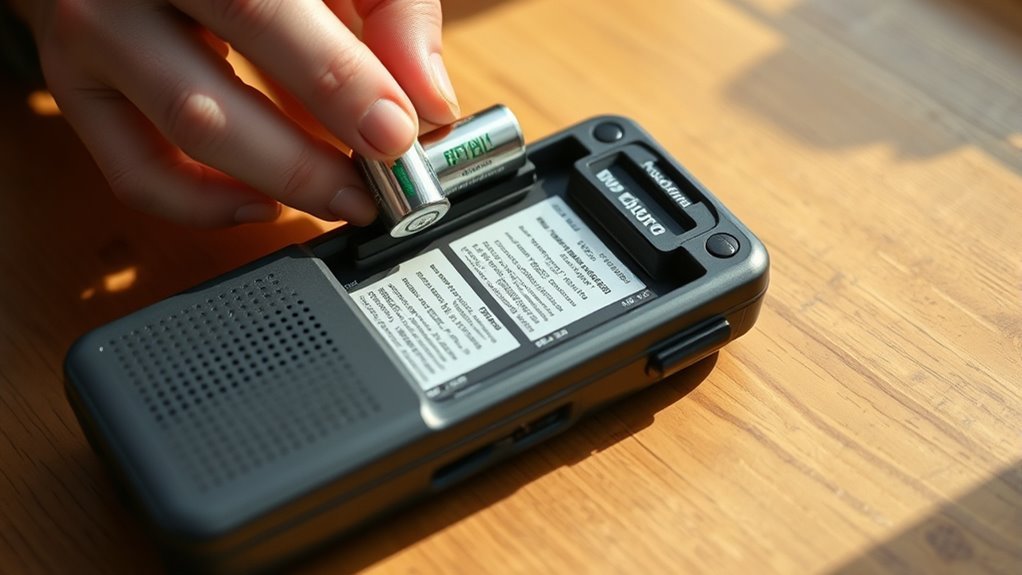
Once you have selected the correct NOAA channel, install three AA batteries into the back compartment of your Midland weather radio, making sure to align them with the correct polarity.
Insert three AA batteries into your Midland weather radio, ensuring proper polarity alignment for accurate operation.
After inserting the batteries, turn on the power switch and check that the display lights up, showing the default time like 12:00 AM.
To keep your radio operational during power outages, always use fresh batteries as backup power.
For continuous use, connect the included A/C power adapter to the radio and plug it into a wall outlet.
This setup ensures your Midland weather radio stays powered whether plugged in or running on battery backup.
Remember to replace batteries regularly to maintain reliable backup power when unplugged or during outages.
Programming Your Location Using S.A.M.E. Codes
Although setting up your Midland weather radio may seem complex, programming your location using S.A.M.E. codes is straightforward once you access the “SET LOCATION” menu.
Start by selecting either “NAME” or “FIPS” mode.
To program your alert zones accurately, enter the six-digit FIPS code for your county, which you can find on weather.gov or through local emergency management.
You can program up to 25 different S.A.M.E. codes if you want alerts for multiple locations.
After entering each code, make sure you save it before moving on to the next.
This ensures your radio will notify you of weather warnings and watches specific to your programmed areas, keeping you informed and prepared.
Customizing Alert Types and Volume Settings
While setting your Midland weather radio to alert you for specific locations is essential, customizing the types of alerts and their volume guarantees you only hear the warnings that matter most to you.
Use the menu system to access ALERT MODE, where you can program alerts by selecting or deselecting alert types like voice messages or siren alarms.
Access ALERT MODE via the menu to customize alert types, choosing between voice messages and siren alarms.
You can also enable or disable weekly test alerts to avoid unnecessary interruptions.
For volume settings, adjust the alert volume independently from regular radio volume either by pressing dedicated buttons during an alert or through the setup menu.
This level of customization lets you tailor your weather radio’s notifications precisely, ensuring you stay informed without being overwhelmed.
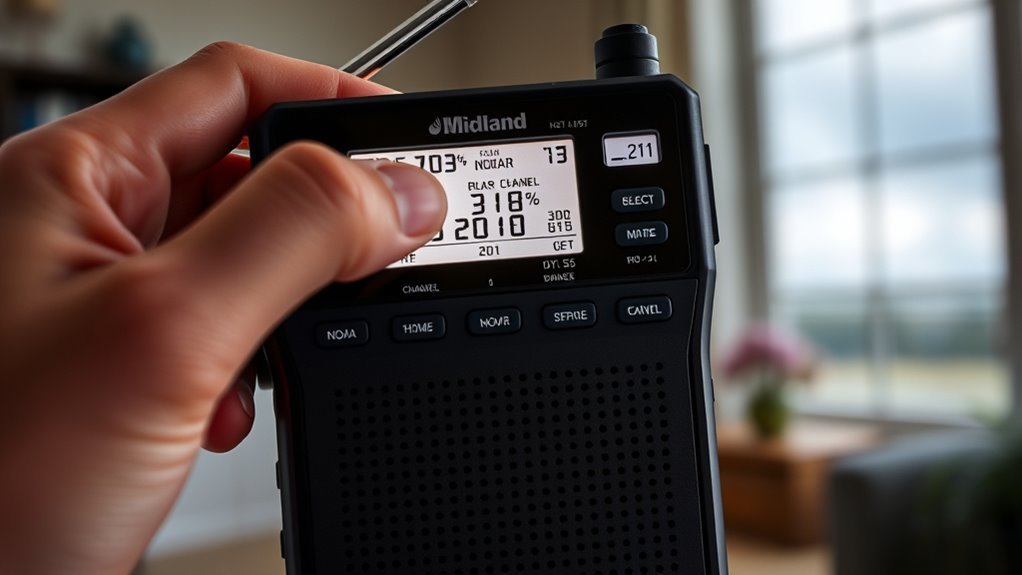
Testing and Confirming Weather Alert Reception
To guarantee your Midland weather radio is ready to alert you during emergencies, you need to test and confirm its reception regularly.
Turn on the radio and use the Alert test feature, usually found in the menu or by pressing the Alert button, to listen for the test tone.
Make sure the radio is SET to the correct NOAA Weather Radio channel for your area.
Check the signal strength indicator to ensure stable reception.
Finally, confirm the alert siren sounds during a test alert, proving your radio is properly programmed.
| Step | Action | Purpose |
|---|---|---|
| 1 | Turn on radio | Activate device |
| 2 | Access Alert test via menu | Verify signal reception |
| 3 | Check signal strength indicator | Ensure clear NOAA channel |
| 4 | Confirm correct channel SET | Receive accurate alerts |
| 5 | Listen for alert siren | Confirm alert system functionality |
Frequently Asked Questions
How Do I Set My Midland Weather Radio?
You turn on your Midland weather radio,
press MENU, select “SET LOCATION,”
choose your county and state,
set the time and date,
pick the NOAA channel for your area,
then save settings to activate weather alerts.
How Do I Reset My Midland Radio?
Though resetting might feel like starting over, you just press the tiny reset button with a paperclip for five seconds or unplug power and batteries briefly.
This clears glitches, letting you quickly restore your Midland radio’s settings.
How to Set Time on Midland Er310 Weather Radio?
You press and hold “SET” until the display flashes.
Then, use the arrow keys to adjust hours and minutes.
Confirm each adjustment by pressing “SET” again.
After a few seconds, the radio saves the settings and exits time setting automatically.
How to Set a Channel on Midland Radio?
Like tuning a radio to your favorite song, you’ll press the CHANNEL button and scroll through NOAA channels with the SEARCH knob.
Then hit ENTER to lock in. Don’t forget to turn ON the ALERT switch to catch updates!
Conclusion
Now that you’ve set up your Midland weather radio, you’re practically ready to outrun a tornado!
By selecting the right NOAA channel, installing batteries, programming your location with S.A.M.E. codes, customizing alerts, and testing the reception, you’ve guaranteed you won’t miss any critical weather updates.
Staying informed has never been this simple—or this essential.
Keep your radio close, and you’ll always be one step ahead of whatever Mother Nature throws your way.
In conclusion, setting up your Midland weather radio ensures you stay prepared for any weather emergency. With the right NOAA channel and customized alerts, you can swiftly respond to changing conditions.
So, don’t underestimate the power of being informed—having your radio ready means you’re always equipped to handle whatever comes your way!