How to Program a Weather Radio in 7 Easy Steps
To program your weather radio in 7 easy steps, you’ll be ready for any weather emergency in no time!
First, insert backup batteries and power it on. This ensures your radio works even during power outages.
Next, select your preferred language and set your location.
Then, choose your state and county to get local alerts tailored to your area.
Make sure to set the current time accurately so you can stay updated with timely alerts.
Select the correct broadcast channel for your area, as this helps in receiving the most relevant information.
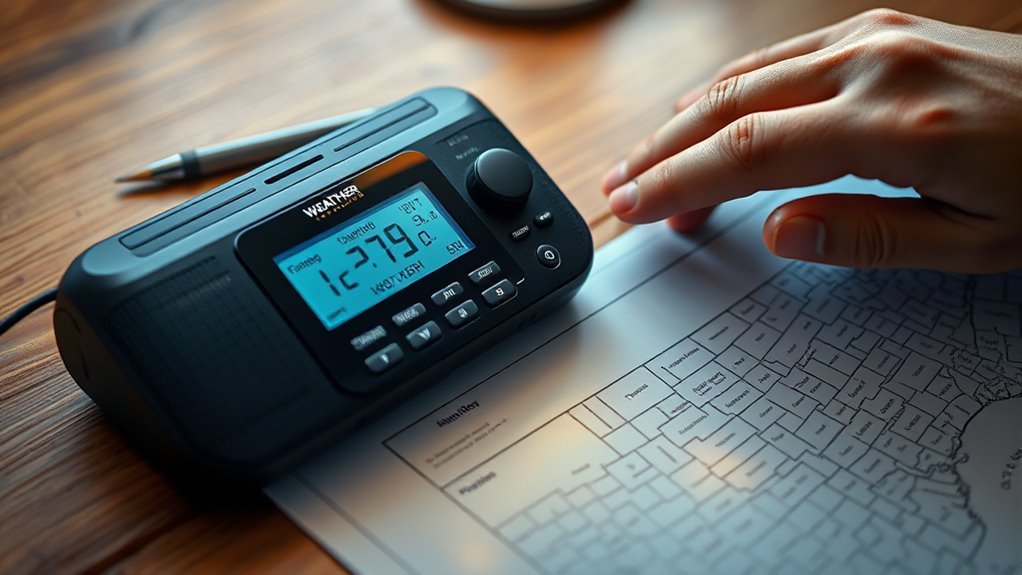
Save your settings, confirm programming, and keep the antenna fully extended for optimal reception.
Lastly, keep the radio on for continuous alerts.
Once you’re done, you’ll be well-prepared to handle any weather emergency.
Don’t forget to learn how to optimize your setup for the best performance!
Power On and Insert Backup Batteries
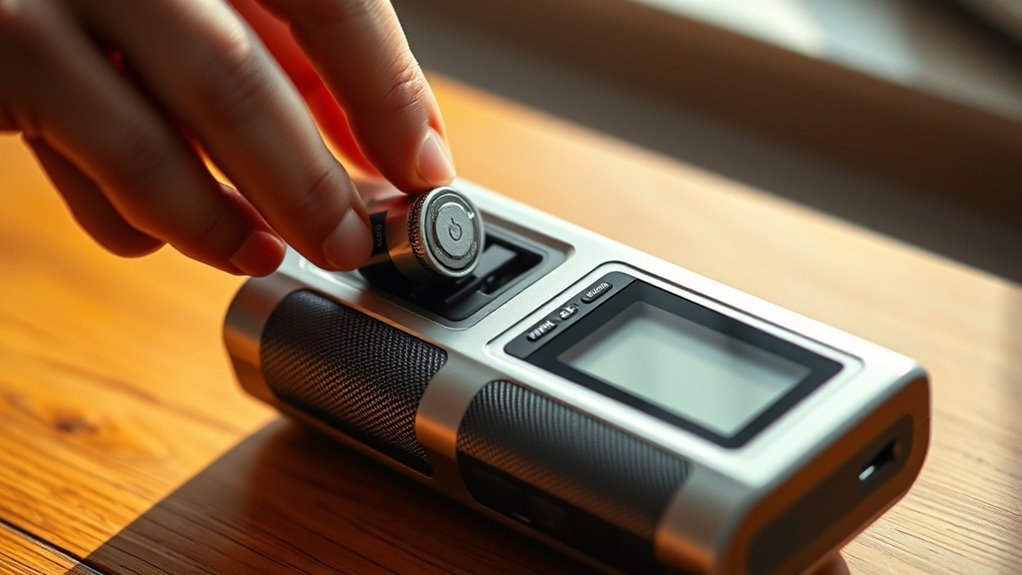
Before you begin programming your weather radio, insert three AAA batteries into the designated compartment to provide backup power.
Make sure the batteries are seated correctly and their terminals make good contact to avoid any power interruptions.
Next, connect the included AC adapter to a standard electrical outlet, then plug it into the radio’s DC jack for continuous power.
Once connected, turn the power switch to the “ON” position to activate the radio.
Extending the antenna fully will help improve signal reception, ensuring you get timely alerts.
By setting up both the main power source and backup batteries, you’ll keep your weather radio running smoothly, even during power outages.
This simple step guarantees your safety alerts won’t be missed.
Select Language and Location Settings
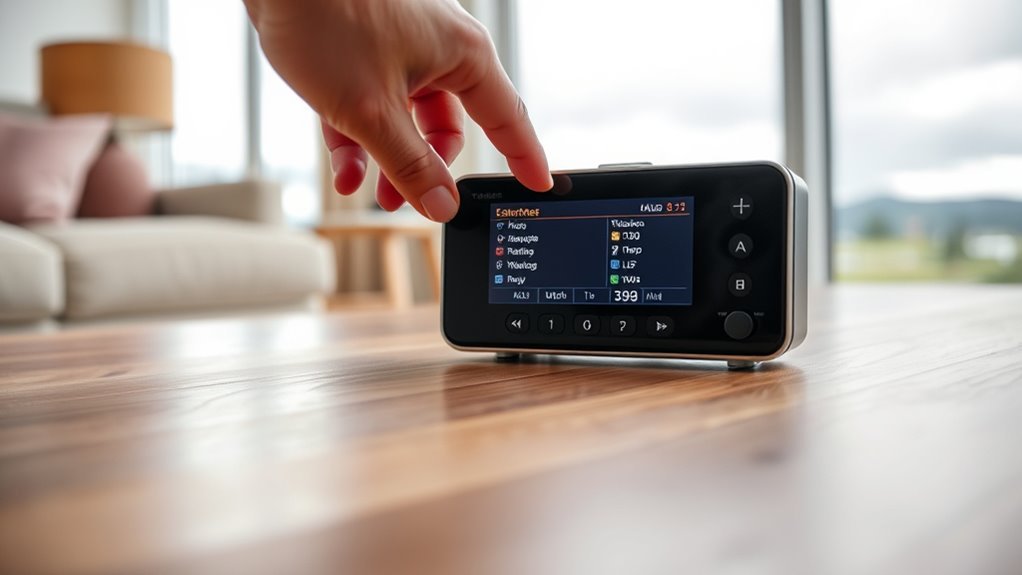
How do you make sure your weather radio gives alerts in a language you understand and covers the right area?
First, access the menu to set language. Press ‘select,’ then choose your preferred language from the available options.
This guarantees alerts come through clearly. Next, it’s time to set location.
You can choose ‘any,’ ‘single,’ or ‘multiple’ locations depending on your needs. Selecting the right location helps tailor alerts accurately.
Remember to press ‘select’ after each choice to save your settings. Confirm your location details carefully to guarantee the radio alerts you for the correct geographic area.
Configure State and County Details
Now that you’ve set your language and general location, it’s time to configure your state and county details.
Use the location menu to select your country, then scroll to find and confirm your state and county.
Make sure you choose the correct county to receive accurate weather alerts.
Selecting Your State
Where do you start when setting up your weather radio?
Begin by navigating to the location menu and selecting “USA.”
From there, scroll through the list of states using the arrow keys until you find your state.
Once highlighted, press “select” to confirm your choice.
This step is essential because NOAA Weather Radios deliver alerts tailored to your specific location, guaranteeing you receive timely and accurate weather warnings.
Properly setting your state allows the radio to filter relevant information before you move on to selecting your county.
Taking the time to correctly configure your state ensures your weather radio stays focused on your area’s weather conditions, so you won’t miss important updates or alerts.
Choosing Your County
Once you’ve set your state, you’ll need to choose your county to ensure your weather radio delivers alerts specific to your immediate area.
Begin by selecting “set location” in the menu. Then, decide if you want to monitor a single or multiple counties based on your alert needs.
Navigate to “01 empty,” choose “USA” (or your country), then pick your state and the exact county you want alerts for.
After each selection, press “select” to confirm and lock in your choices.
Make sure the county you pick matches your actual location; otherwise, you might miss critical warnings.
For Canadian users, select the country, province, and county similarly to ensure your weather radio tailors alerts precisely to your county.
Confirming Location Settings
After selecting your county, it’s important to confirm your location settings to make sure your weather radio targets alerts correctly.
Start by steering to the ‘set location’ menu and choose ‘single’ or ‘multiple’ locations as needed.
Select ‘USA’ as your country, then use the arrow keys to find your state.
Next, scroll to your county and press ‘select’ to confirm.
Double-check that the displayed state and county are correct before saving.
Confirming these details ensures your weather radio receives accurate, area-specific alerts.
| Step | Action |
|---|---|
| 1. Set Location | Navigate to ‘set location’ |
| 2. Select Country | Choose ‘USA’ |
| 3. Select State | Use arrows to find state |
| 4. Select County | Scroll and confirm county |
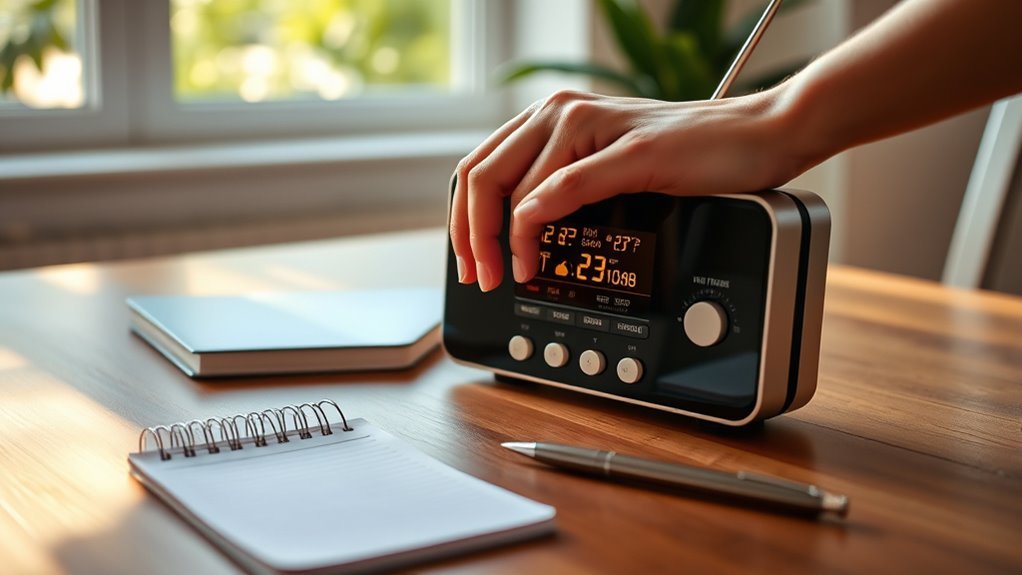
Set the Current Time
To set the current time, start by pressing the “SET TIME” button.
Then, use the arrow keys to adjust the hour.
After that, fine-tune the minutes with the “UP” and “DOWN” buttons.
Finally, press “SELECT” to confirm your settings.
Make sure to verify that the display shows the correct time.
Adjusting Hours and Minutes
How do you set the current time on your weather radio?
Start by entering the time setting menu and pressing the ‘select’ button. When adjusting hours, use the arrow keys to scroll through the numbers until you reach the correct hour.
After that, press ‘select’ again to move to adjusting minutes. Use the arrow keys to fine-tune the minutes, making sure the displayed time matches your local time precisely.
This step is essential for receiving timely alerts and ensuring your radio functions properly.
Once you’ve set both hours and minutes accurately, press ‘select’ one last time to save your settings.
Confirming Time Settings
Once you’ve adjusted the hours and minutes, you’ll need to confirm the time settings by pressing the ‘select’ button again.
This final step locks in the time you set, ensuring your weather radio operates accurately.
Before confirming, double-check that the AM/PM indicator matches your local time if your device uses a 12-hour clock format.
Accurate time settings are vital because they allow your weather radio to provide timely alerts during severe weather events.
If the time is off, you might miss important warnings or receive them late.
By confirming the time settings properly, your radio stays synchronized with local time, helping you stay safe and informed.
Don’t skip this step—it’s essential for your weather radio’s best performance.
Choose the Correct Broadcast Channel
Although choosing the correct broadcast channel might seem simple, it’s essential for receiving accurate and timely weather alerts.
First, find your local NOAA weather radio station frequency, typically between 162.400 and 162.550 MHz.
Use the SET CHANNEL function on your radio to program this exact frequency.
Confirm your selection by tuning in and checking the radio display.
Different areas may have distinct frequencies, so verify yours on the NOAA website or local office.
Programming the right broadcast channel ensures you get precise alerts and avoid false alarms.
| Location | Frequency (MHz) | Notes |
|---|---|---|
| City A | 162.400 | Primary local channel |
| City B | 162.425 | Backup frequency |
| City C | 162.450 | Main weather alerts |
| City D | 162.475 | Secondary coverage |
| City E | 162.550 | Extended range channel |
Save Settings and Confirm Programming
After selecting the correct broadcast channel, you’ll want to save your settings to make sure your radio remembers them.
To save settings, press the “MENU” button to exit programming mode.
Press the MENU button to exit programming mode and save your radio settings securely.
Before finalizing, confirm programming by checking that the channel is correctly tuned and displayed on the screen.
Then, activate the radio using the “WEATHER/SNOOZE” button to verify it receives alerts from your chosen channels.
Don’t forget to adjust the volume to ensure alerts are audible during emergencies.
Here’s how to confirm programming effectively:
- Check the displayed station matches your selected broadcast channel.
- Activate test alerts to verify signal reception.
- Adjust volume for clear alert sound.
Following these steps helps you save settings accurately and confirm programming for reliable weather updates.
Maintain Antenna Position and Keep Radio On
To guarantee your weather radio reliably receives alerts, keep the antenna fully extended and position it away from metal objects or electronic interference.
Make sure the antenna remains undamaged and unobstructed to maintain superior signal strength.
If you live in an area with weak reception, consider using an external antenna jack with a larger outdoor antenna to boost performance.
Equally important, keep the radio on at all times, especially during severe weather threats, so you don’t miss critical updates.
Regularly check both the antenna and power status to ensure your weather radio functions correctly.
Frequently Asked Questions
What Frequency Should I Set My Weather Radio On?
You should set your weather radio to the NOAA frequency that matches your location, usually between 162.400 MHz and 162.550 MHz.
Check weather.gov/nwr to find the exact frequency for your county or region.
What Are the 7 Frequencies for NOAA?
Picture seven clear channels slicing through the static: 162.400, 162.425, 162.450, 162.475, 162.500, 162.525, and 162.550 MHz.
You’ll tune into these for NOAA’s essential weather updates anywhere you go.
How Do I Set the Time on a NOAA Weather Radio?
You press the “SET TIME” button,
use the arrows or dial to adjust hours and minutes,
then confirm with “ENTER.”
Some radios auto-set time from the broadcast,
but you should always double-check it matches your local time.
How to Make Sure Your Weather Radio Is Working?
Like tuning a crystal radio in the 1920s, you’ll test your weather radio weekly on Wednesdays between 11 a.m. and noon.
Make sure it’s powered, antenna extended, and the alert tone sounds for local broadcasts.
Conclusion
Now that you’ve gently guided your weather radio through these simple steps, you’re all set to stay comfortably ahead of any surprises nature might send your way.
With the right settings in place, your radio becomes a quiet guardian, ready to whisper timely updates whenever the skies decide to change their tune.
Keep it powered and positioned well, and you’ll enjoy peace of mind wrapped in a warm, reliable safety net.
Remember, staying informed is key! Your weather radio ensures you’re never caught off guard.
By following these easy steps, you’ve equipped yourself for unpredictable weather.
So sit back, relax, and let your weather radio keep you in the loop. After all, being prepared is the best way to face whatever nature throws your way!