How to Program Midland Weather Radio in 3 Easy Steps
To program your Midland weather radio in three easy steps, follow these simple instructions to ensure you receive accurate weather alerts for your area.
First, press the MENU button and use the arrow keys to navigate to the location settings.
Second, select your state, county, and the NOAA Weather Radio channel for your area.
This step is crucial for getting the most relevant updates.
Third, customize alert codes by activating the ones you want, then save your settings and exit the menu to enable relevant alerts.
This ensures you stay informed during severe weather events.
Keep going to discover tips for fine-tuning alerts and advanced settings that can enhance your experience!
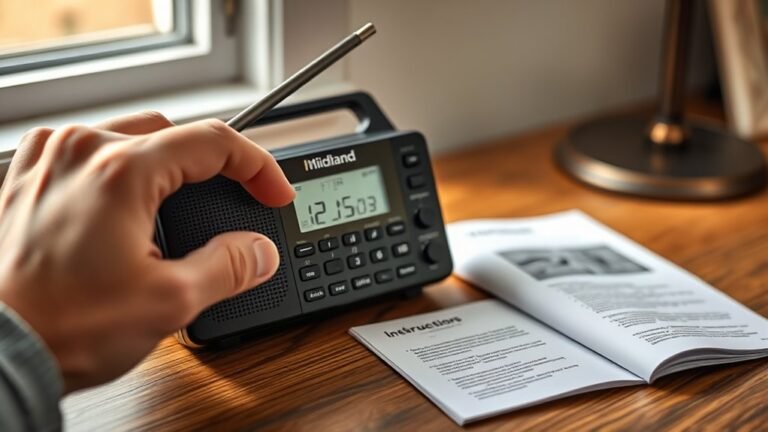
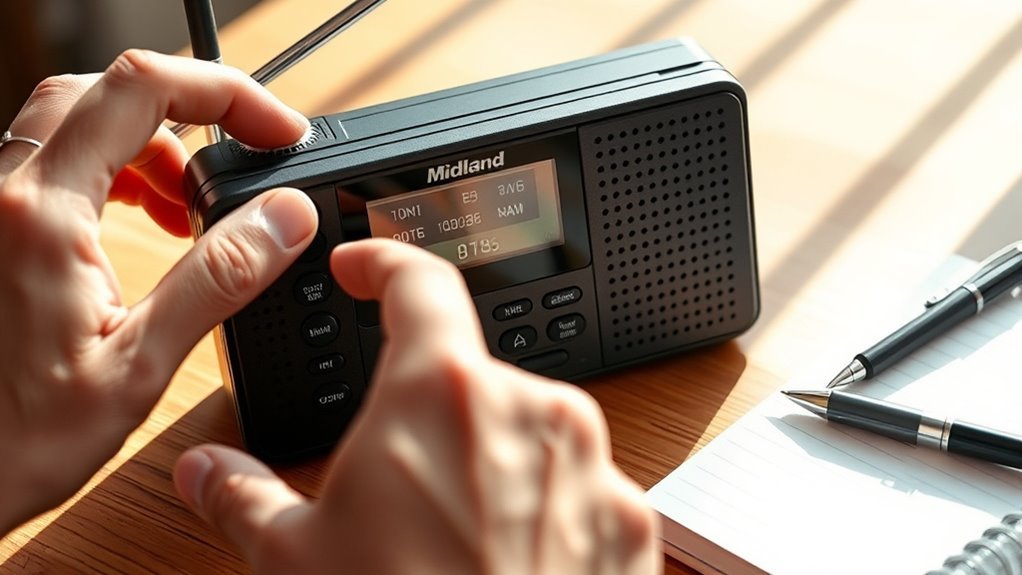
Accessing and Navigating the Menu
To access the main menu on your Midland Weather Radio, press the MENU button.
The display will show various options like clock, calendar, and settings.
Use the arrow keys for navigation, moving up, down, left, or right to select different features.
When the option you want is highlighted, press SELECT to enter that setting mode.
Sometimes, you may need to hold down the MENU button to program specific functions.
The display will guide you with prompts such as “SET TIME.”
Once you finish adjusting settings, you can exit the menu by pressing MENU again or following on-screen instructions to confirm your changes.
This straightforward process guarantees you can efficiently program your device.
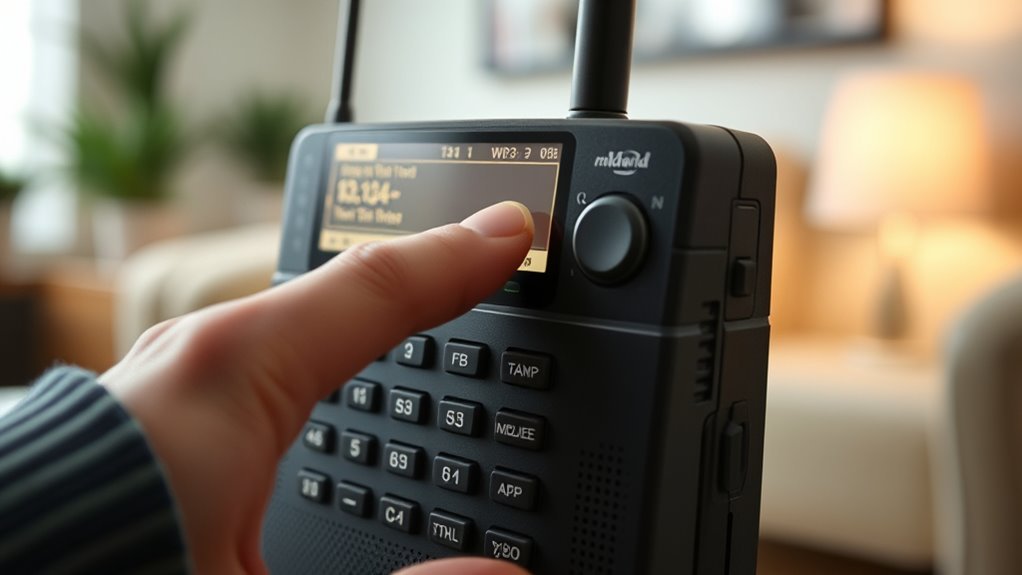
Setting Location and Channel for Weather Alerts
Though programming your Midland Weather Radio may seem complex, setting your location and channel for weather alerts is straightforward when you follow the menu prompts carefully.
Press MENU, navigate to SET LOCATION, and choose SINGLE or MULTIPLE counties depending on your needs.
Select USA, then your STATE and COUNTY to receive precise alerts.
Next, access SET CHANNEL to pick the NOAA Weather Radio channel covering your area, like 162.400 MHz for Channel 1.
Always confirm your choices by pressing SELECT and save your settings to ensure your radio is properly programmed for timely alerts.
| Step | Action | Example |
|---|---|---|
| SET LOCATION | Press MENU, select SINGLE or MULTIPLE | Choose MULTIPLE for 3 counties |
| Select State | Navigate to your STATE | Texas |
| Select County | Pick your COUNTY | Travis |
| SET CHANNEL | Select NOAA channel | Channel 1 (162.400 MHz) |
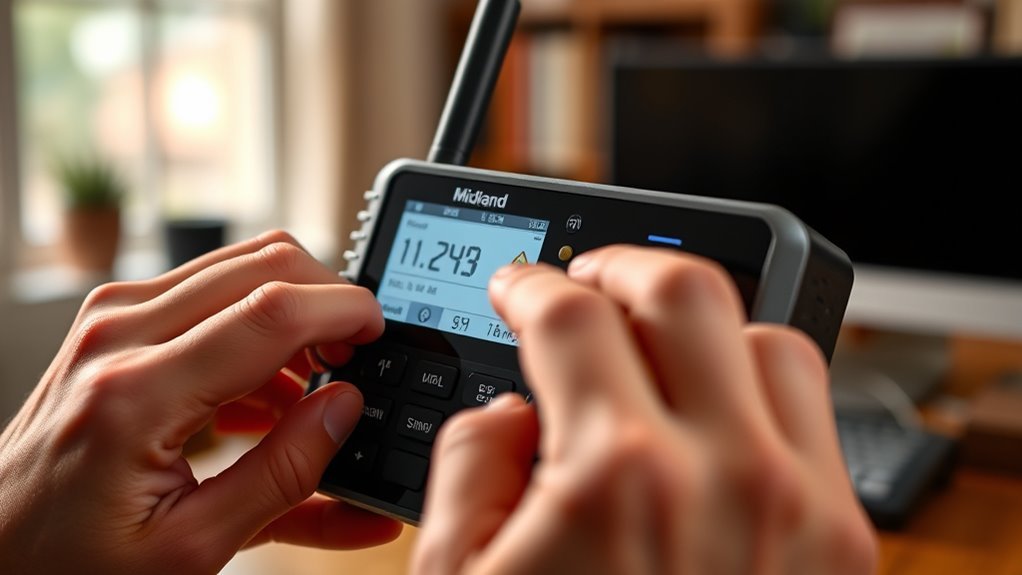
Customizing and Saving Alert Codes
When customizing alert codes, start by accessing the SET LOCATION menu to select up to nine specific FIPS or NAME codes for your area.
Enter a 6-digit FIPS code or choose the NAME option to input your state and county, ensuring weather alerts are tailored to your location.
Once you’ve selected your codes, you can toggle each alert on or off by highlighting it, pressing the MENU button, then using the UP or DOWN arrows to activate or deactivate it.
Next, visit the ALERT MODE menu to set how you want to receive notifications. This includes enabling or disabling voice alerts and siren alarms for each code.
Finally, save your programming by confirming your selections and exiting the menu. This way, your radio only signals relevant weather alerts.
Frequently Asked Questions
How Do I Reset My Midland Radio?
You reset your Midland radio by holding the “MENU” and “SNOOZE” buttons simultaneously until it clears.
Alternatively, you can use a paperclip for the reset pinhole or remove the batteries briefly.
How Do I Set the Location on a Midland Weather Radio?
Setting your location on a Midland Weather Radio is a piece of cake!
Just hit MENU, pick “SET LOCATION,” choose SINGLE or MULTIPLE,
select your state and county, then save. You’ll stay in the loop, no sweat!
How to Set Time on Midland Er310 Weather Radio?
You press and hold MENU until “SET TIME” appears.
Then use the arrow keys to adjust hours.
Press SELECT, set minutes, choose AM or PM, and press SELECT again.
Finally, press MENU to save and exit the time setting.
How to Use Midland Emergency Radio?
Using your Midland emergency radio is a breeze—just turn it on, plug it in, and hit the WEATHER/SNOOZE button to catch alerts.
Don’t forget to activate the ALERT switch to stay ahead when storms roll in.
Conclusion
Now that you’ve programmed your Midland weather radio, you’re not just tuning into alerts—you’re tuning into safety.
Like a lighthouse guiding ships through a storm, your radio will steer you clear of danger with timely warnings.
By accessing the menu, setting your location, and customizing alerts, you’ve taken control of your safety.
Staying prepared is crucial, and being informed is key.
Let your weather radio be the calm in any storm.
In the end, having a well-programmed Midland weather radio means you’re equipped to handle any weather emergency.
It keeps you connected and aware, ensuring that you and your loved ones stay safe.
So embrace this tool, stay alert, and remember: your safety is in your hands.