How to Program a Midland Weather Radio in 3 Easy Steps
To program your Midland weather radio in three easy steps, first access the SET LOCATION menu to pick your home county for accurate alerts.
Next, decide if you want SINGLE or MULTIPLE counties to receive nearby warnings—just make sure they share the same transmitter.
Finally, go to SET CHANNEL to find a strong, static-free frequency and confirm alert tones sound clearly.
Follow these basics, and you’ll be ready to get timely weather updates with confidence.
Keep exploring for deeper setup tips.
Selecting Your Location and County Settings
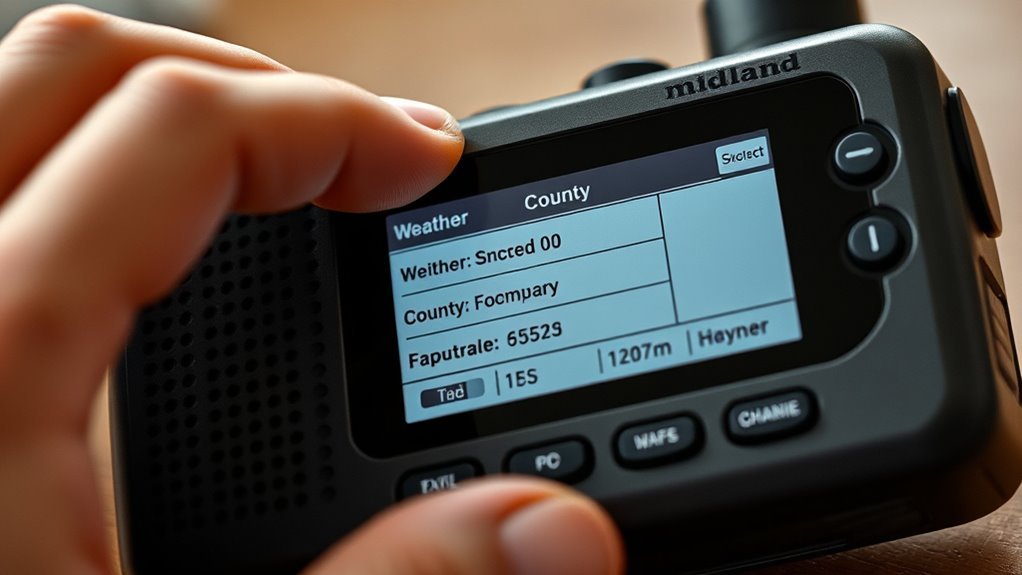
Before you program your Midland Weather Radio, you’ll need to select your location by accessing the MENU and choosing SET LOCATION.
Once there, you can decide whether to choose SINGLE for one county or MULTIPLE if you want alerts for several counties.
Start by programming your home county first to ensure you get timely alerts for your primary location.
Use the arrow keys to scroll through the options, pressing SELECT to confirm your country (USA or CANADA), state, and then the specific county or parish.
If you select MULTIPLE, program “01 SAME” for your home county, then add other counties as “02 SAME,” “03 SAME,” and so on.
Be sure to check that all counties share the same transmitter to receive accurate alerts before you program your radio.
Choosing Single or Multiple Counties for Alerts
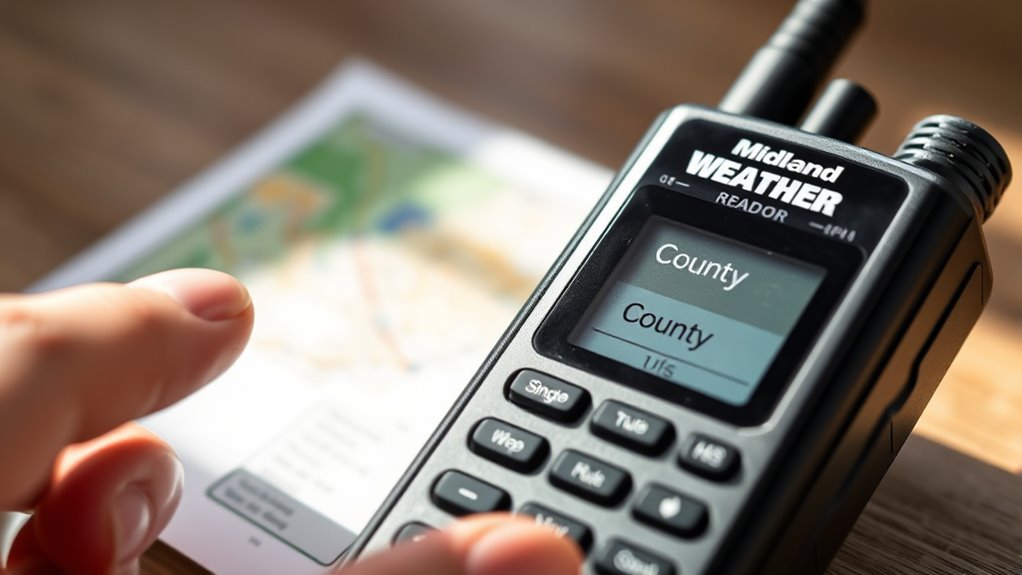
When you set up your Midland Weather Radio, choosing between single or multiple counties for alerts lets you tailor notifications to your needs.
To program your radio, use the SET LOCATION menu to select SINGLE if you want alerts only for your home county. If you prefer monitoring multiple counties, select MULTIPLE.
Use the SET LOCATION menu to choose SINGLE for one county or MULTIPLE to monitor several counties at once.
Start programming by selecting your home county first, then add adjacent counties via the 02 SAME, 03 SAME options, or the NEARBY feature.
Make sure all chosen counties are served by the same transmitter, so your radio receives alerts properly.
Switching between single and multiple counties helps you manage alert frequency and avoid overload during severe weather.
This careful selection ensures you get timely, relevant alerts without unnecessary distractions.
Setting the Frequency and Confirming Signal Quality
Although selecting your location is crucial, setting the right frequency guarantees you receive clear weather alerts.
Start by using the MENU button to access the SET CHANNEL option.
Use the arrow keys to scan through available frequencies, listening carefully for a strong signal with minimal static.
Focus on clarity—avoid channels with crackling or distortion.
Typically, Channel 1 (162.400 MHz) is recommended for the Lake Charles area, but always confirm your local signal strength by scanning.
Once you select a channel with consistent audio quality, press MENU to confirm your choice.
Finally, verify the alert tone sounds properly on your chosen frequency.
Frequently Asked Questions
How Do I Set My Midland Weather Radio?
You turn on your Midland weather radio,
press MENU, then select SET LOCATION.
Choose single or multiple counties,
pick your region,
select your county or province,
save settings by pressing MENU,
and exit to finish programming.
How to Setup a Weather Radio?
You turn on your weather radio, access the menu, and select your location.
Next, choose single or multiple counties based on your needs.
Then, tune to a clear NOAA channel and save your settings.
This guarantees you receive accurate weather alerts for your area.
How to Set Time on Midland Er310 Weather Radio?
Think of setting your Midland ER310’s time like tuning a clock’s heartbeat.
Just press MENU, navigate to “SET TIME,” adjust hours and minutes with arrows,
pick AM or PM, then press MENU to lock in your new rhythm.
How Do I Reset a Midland Radio?
You can reset your Midland radio by pressing the reset button with a paperclip, or unplugging it, removing batteries for 30 seconds, then reinserting them.
Some models let you reset through the menu—check your manual to confirm.
Conclusion
Now that you’ve gently tailored your Midland weather radio to your area, you’re all set to receive helpful heads-ups just when you need them.
By choosing the right counties and fine-tuning the frequency, you’ve created a cozy connection that keeps surprises at bay.
Keep your radio close, and you’ll always be in the loop, ready to face whatever the skies have in store with confidence and calm.
With your Midland weather radio programmed correctly, you’ll stay informed about severe weather alerts and forecasts.
This proactive approach ensures that you’re prepared for any unexpected weather changes.
So, keep your radio handy and enjoy peace of mind knowing you are connected to live updates in your region!