7 Easy Steps to Install Garage Door Bottom Weather Stripping
To install garage door bottom weather stripping effectively, follow this simple seven-step guide. A well-installed weatherstrip is essential for keeping your garage protected from drafts, moisture, and pests.
This easy process will not only enhance the energy efficiency of your garage but also prolong its lifespan.
First, start by measuring your door’s width and any gaps that need sealing.
Next, carefully remove the old stripping, taking care not to damage the door.
Once that’s done, clean the bottom of the door thoroughly to ensure a good bond.
Then, cut the new weatherstrip to size, adding a bit extra for overlap.
Position the new strip correctly along the edge of the door, ensuring it aligns well with the frame.
Securely staple or nail it in place for a firm hold.
Finally, test the seal by closing the door and checking for drafts or leaks, making adjustments as needed.
Following these steps will help you achieve an effective, airtight seal and protect your garage.
Measure Your Garage Door and Gaps

Before you buy any weather stripping, measure your garage door carefully to guarantee a proper fit.
Start by taking precise garage door measurements, noting the full width and height. Use a tape measure to check for gaps around the garage door—pay attention to the floor, sides, and top where air might leak.
Measure the garage door’s full width and height, checking for gaps on all sides where air may escape.
Don’t forget to include about a half-inch extra in your weather stripping size to ensure the garage door seal overlaps properly.
Also, observe the shape and size of any existing weather stripping to choose a compatible replacement.
Accurate measurements are essential for a successful seal installation, preventing drafts and moisture from entering.
Taking time on this step will ensure your new garage door seal fits snugly and performs well.
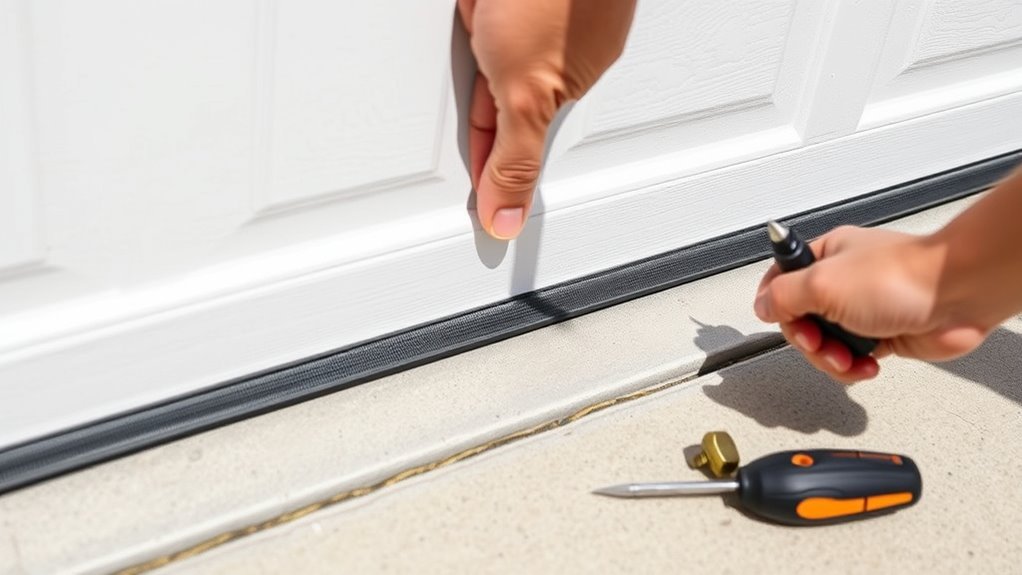
Remove the Old Weatherstripping
Before you start, put on protective gloves to keep your hands safe from sharp edges.
Open the garage door fully and gently remove the old weatherstripping using a flathead screwdriver or pry bar.
Once it’s off, clear the door surface to prepare for the new seal.
Wear Protective Gloves
Wearing protective gloves is vital when removing old weatherstripping. They shield your hands from sharp edges, staples, and rusted nails.
Gloves not only protect your skin but also improve your grip. This makes it easier to remove the weatherstripping safely.
Choose gloves that fit well to maintain dexterity. This way, you can handle tools and fasteners without difficulty.
As you work, gloves help prevent injuries from staples or nails embedded in the old seal. Prioritizing safety while removing weatherstripping ensures you avoid cuts or punctures, which could delay your project.
Don’t skip this step—wearing gloves is a simple yet essential precaution. It protects your hands throughout the removal process and prepares you for the next steps in installing new weatherstripping.
Gently Remove Seal
Although the task might seem straightforward, you’ll want to gently pull or pry the old weatherstripping away from the bottom of your garage door.
Applying even pressure will help you avoid damage.
Removing the old seal carefully prevents harm to the door and makes the new installation easier.
Follow these steps to remove the weatherstripping effectively:
- Wear work gloves to protect your hands from sharp edges or debris.
- Use a flathead screwdriver or pry bar to loosen any stubborn clips or fasteners holding the old seal.
- Remove nails, staples, or screws securing the weatherstripping, hammering staples flush if needed.
After removal, clean the garage door’s bottom surface thoroughly.
This ensures the new weatherstripping adheres properly and functions well.
Clear Door Surface
Once you’ve carefully removed the old weatherstripping, focus on clearing the door’s surface to guarantee a proper seal for the new strip.
Wear work gloves to protect your hands while handling the old weather seal.
Gently pull away any remaining pieces from the door bottom, using steady pressure.
For stubborn adhesive or debris, use a flathead screwdriver or pry tool to loosen it without damaging the door.
Next, thoroughly remove all dirt, debris, and old adhesive from the door bottom and track.
Wipe the clear door surface with a clean rag to ensure it’s dry, smooth, and free of dust.
Taking these steps to clean the area properly will help you install the new weatherstripping securely and ensure an effective, long-lasting seal.
Clean the Door Bottom and Channel
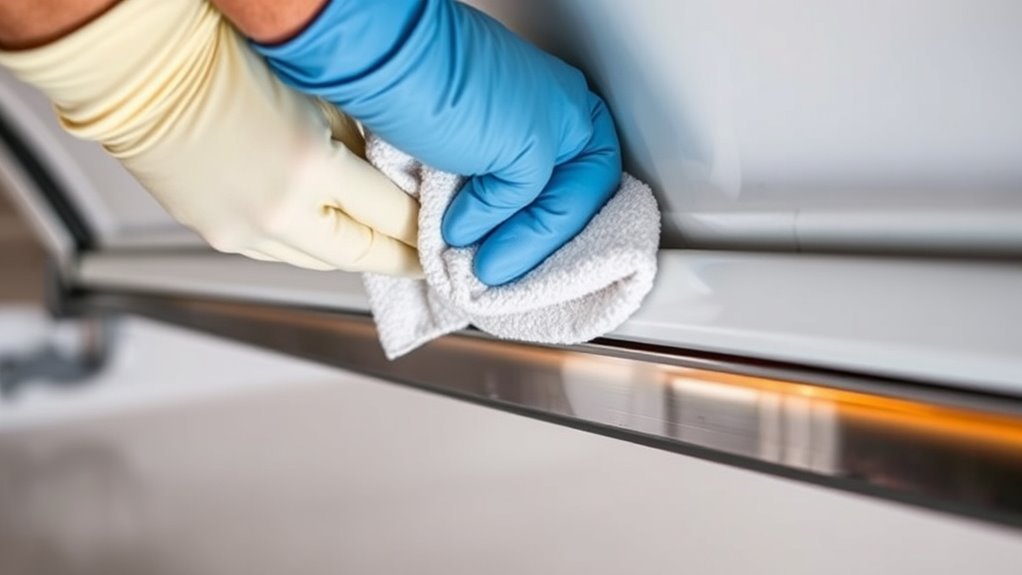
Before installing new weather stripping, you should thoroughly clean the bottom of your garage door and its channel.
Thoroughly clean the bottom of your garage door and channel before installing new weather stripping.
This step ensures the new weather seal adheres properly and functions effectively.
To clean the bottom of the garage door and channel, follow these key actions:
- Use a damp cloth to remove dirt, dust, and debris from the garage door’s bottom surface.
- Clear the channel of old weather stripping remnants and grime using a scraper or flathead screwdriver.
- Wipe the channel dry and apply a garage door lubricant spray to reduce friction and ease installation.
Taking time to clean the door bottom and channel will help your weather seal fit snugly and last longer.
This protects your garage from drafts and pests!
Cut the New Weatherstripping to Size
When you cut the new weatherstripping to size, measure your garage door’s bottom edge carefully and mark the length on the strip to guarantee a perfect fit.
Make sure to measure your garage door accurately using a tape measure, then add about half an inch extra to your measurement to allow for any shrinkage or misalignment.
Use a pencil or marker to clearly mark where you’ll cut the weather seal.
When you cut the weather, choose sharp scissors or a utility knife to create a clean, straight edge.
After the initial cut, trim the weatherstrip gradually, checking how it fits along the door edge to avoid overcutting or leaving gaps.
This careful approach ensures your new weather seal will protect against drafts effectively.
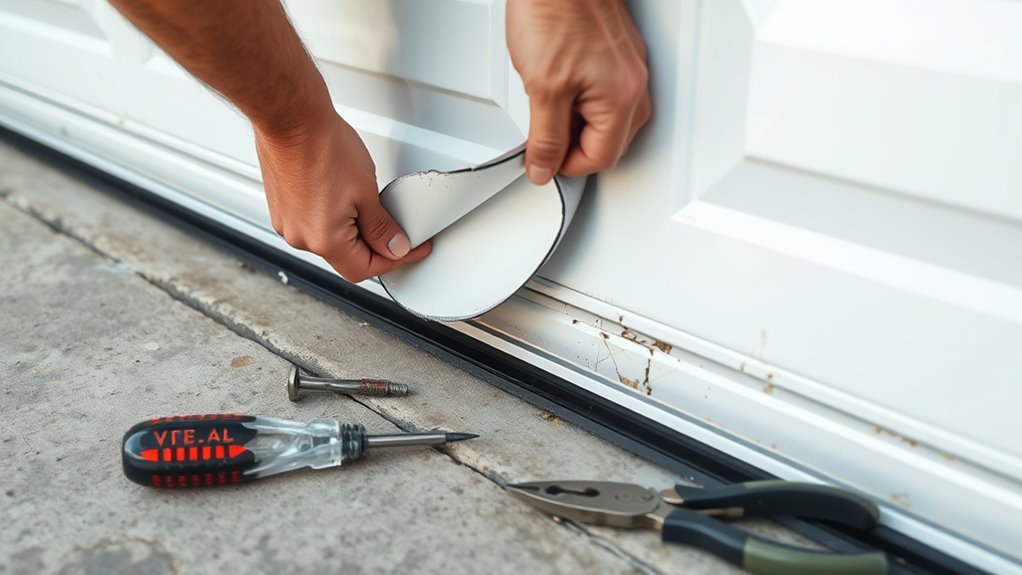
Position the Weatherstripping Correctly
How you position the weatherstripping determines how well it seals your garage door against drafts.
Proper seal alignment guarantees maximum efficiency and prevents unwanted air from entering your garage.
To position it correctly, follow these steps:
- Make sure the weatherstripping overhangs the inside of the garage door, allowing it to sit flush against the floor for an effective seal.
- Align the weatherstrip so its end matches or slightly extends past the door edge, avoiding contact with the frame or hardware.
- Avoid placing the overhang outside the door unless the outside ground level is much lower than inside, preventing gaps or damage.
Taking these simple steps can really make a difference in keeping your garage comfortable!
Secure the Weatherstripping in Place
Although positioning the weatherstripping correctly is essential, securing it firmly guarantees it stays in place and maintains a tight seal against drafts.
Start by stapling the weatherstripping every 3 inches along the bottom of the garage door to secure it evenly.
Staple weatherstripping every 3 inches along the garage door bottom for even, secure attachment.
Between the staples, use nails, especially near the bottom roller brackets for an extra firm fit.
If nails are already in the brackets, remove them first, then re-nail after attaching the weatherstripping to ensure a solid hold.
For thicker or less pre-drilled brackets, drill holes as needed before inserting nails or staples.
Hammer the nails flush with the weatherstripping surface so they don’t interfere with the door’s operation and maintain a neat, tight seal.
This method keeps your weatherstripping secure and effective.
Test the Seal and Make Adjustments
Once you’ve secured the weatherstripping firmly in place, it’s time to check the seal by closing the garage door and inspecting the bottom edge for any gaps or light leaks.
Use a flashlight or slide a piece of paper under the door to spot areas where light or drafts pass through.
If you find any, make adjustments by repositioning the weatherstrip or tightening staples to ensure an airtight seal.
Then, reopen and close the door several times to confirm the seal holds without restricting movement.
Finally, perform a water test by pouring a small amount of water along the bottom edge to check for leaks inside.
Follow these steps:
- Detect light leaks with a flashlight or paper test.
- Adjust the weatherstrip for a snug, airtight seal.
- Conduct a water test to confirm no water penetrates.
Frequently Asked Questions
What Is the Best Way to Seal the Bottom of a Garage Door?
The best way to seal your garage door bottom is by installing a flexible, weather-resistant rubber or vinyl seal that fits snugly.
Make sure you clean, measure accurately, and secure it tightly to prevent drafts and water.
Taking these steps will help ensure a proper seal for your garage door.
Can You Replace the Weather Stripping on the Bottom of a Garage Door?
Yes, you can replace the weather stripping on your garage door’s bottom.
Just remove the old strip, measure and cut the new one.
Then securely install it to guarantee a tight seal against drafts and pests.
How to Attach Weather Stripping to Door Bottom?
You slide the weather stripping into the door’s bottom groove.
Then, secure it with nails or staples every few inches.
Make sure it’s aligned tightly and check the door operates smoothly afterward to guarantee a proper seal.
How to Install MD Bottom Garage Door Seal?
Think of your garage door as a fortress, and the MD bottom seal as its moat.
You’ll cut it to size, clean the channel, slide it in firmly, then test and adjust for a perfect, draft-proof fit.
Conclusion
By installing bottom weather stripping, you can reduce energy loss by up to 10%. This helps keep your garage warmer in winter and cooler in summer.
Following these easy steps guarantees a tight seal that blocks drafts, dust, and pests from entering. Taking just a little time now means big savings on energy bills and a more comfortable space.
So, don’t wait—seal that gap! Enjoy a cozier, more efficient garage all year round.
In conclusion, investing a bit of time into adding bottom weather stripping is a smart choice. Not only will it enhance your garage’s comfort, but it will also contribute to energy savings.
Don’t miss out on the benefits of a well-sealed garage. Get started today and make your garage a more inviting and efficient space!