Create a Weather Station With Arduino in 5 Simple Steps
To create a weather station with Arduino in just 5 simple steps, you’ll need to gather some essential components.
Start with sensors like the DHT22 for measuring temperature and humidity, along with the BMP280 for pressure readings.
Once you have your sensors ready, the next step is to wire everything carefully to your Arduino board.
Don’t forget to connect a display for data visualization, so you can easily read the information your station collects.
Now it’s time to program the Arduino to collect and display the sensor readings effectively.
Be sure to test and calibrate your setup to ensure accurate results.
Finally, consider enhancing your weather station with additional sensors or remote features.
This will take your project to the next level and expand its capabilities.
Keep going to uncover detailed tips and tricks for each step!
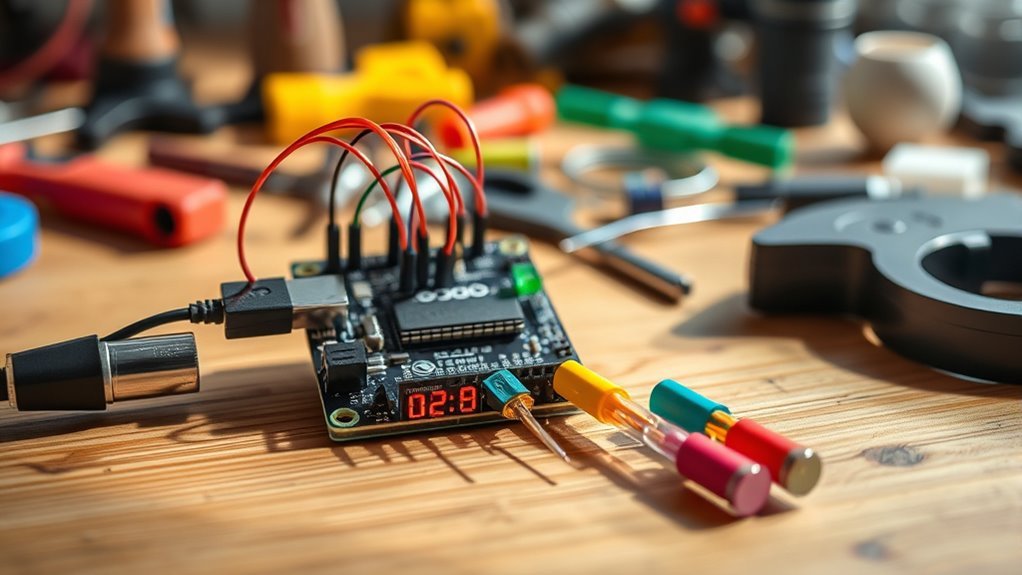
Gather All Necessary Components
Before you start building your Arduino weather station, you’ll need to gather all the necessary components.
Gather all the essential components before beginning your Arduino weather station project for a seamless build experience.
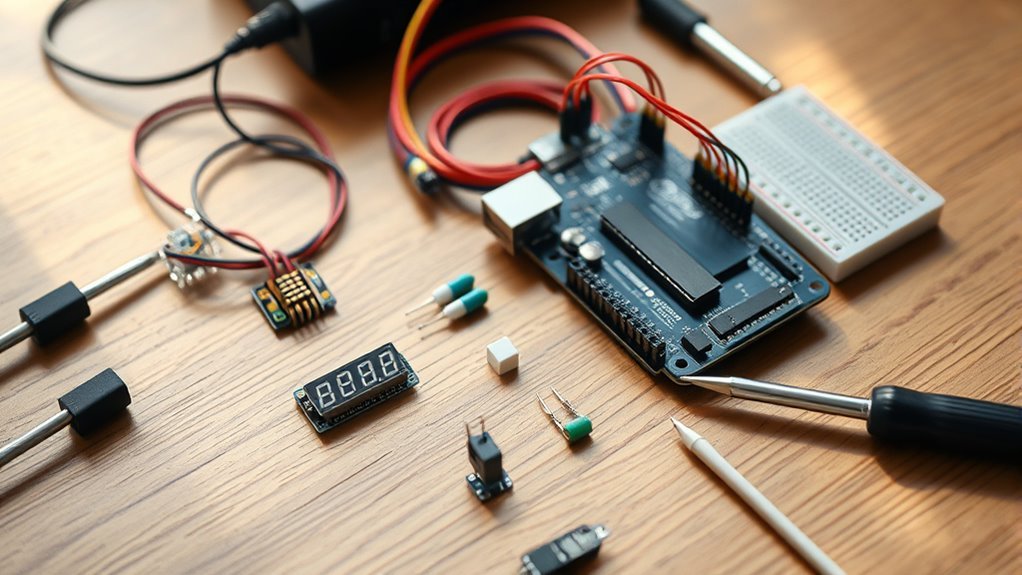
The core of your project is the Arduino board—either an Uno or Nano—to serve as the central controller.
You’ll want sensors like the DHT22 for temperature and humidity, the BMP280 for atmospheric pressure, and an anemometer to measure wind speed.
These sensors collect the essential environmental data your weather station will process.
Don’t forget connecting hardware such as jumper wires and breadboards to link everything properly.
You can also include an OLED or LCD display module to visualize data in real time.
Optional components like SD card modules allow data logging, and Wi-Fi modules enable remote access.
Collecting these components upfront guarantees a smooth build process for your Arduino weather station.
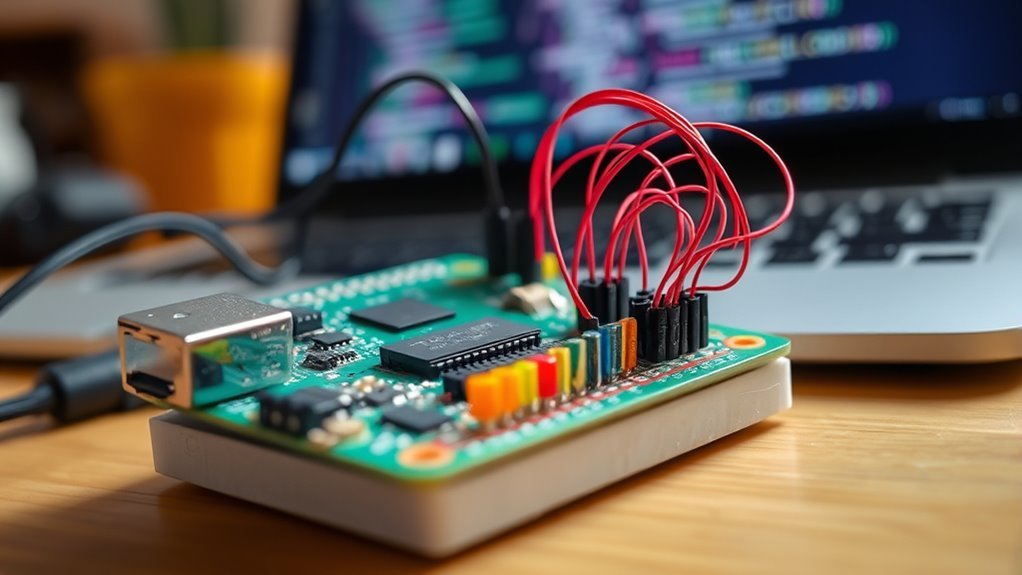
Assemble and Wire the Hardware
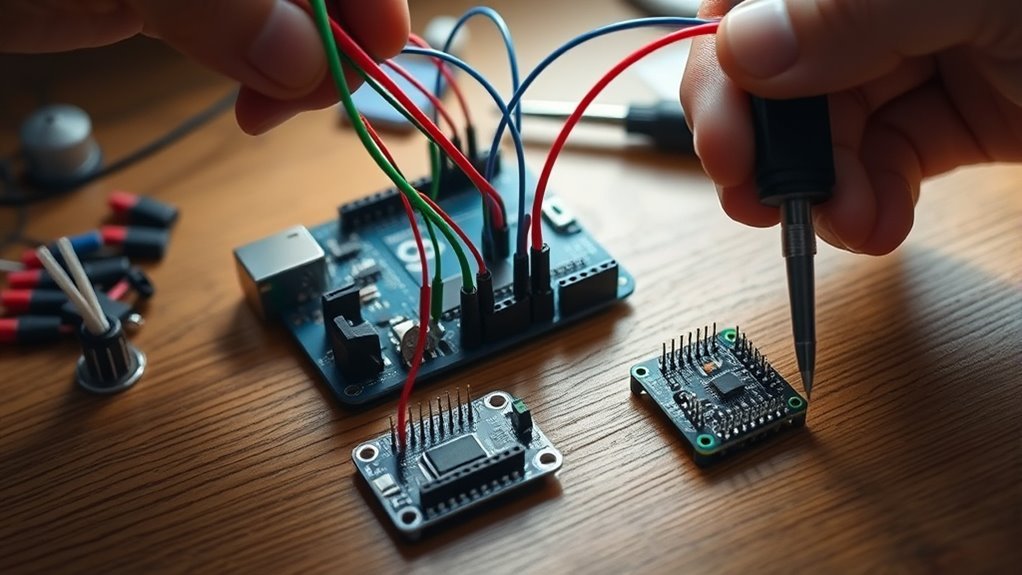
With all your components ready, you can start assembling and wiring the hardware for your Arduino weather station.
Connect the DHT22 sensor’s VCC to 5V, GND to ground, and Data to digital pin D2 on the Arduino.
For the BMP280 sensor, wire VCC and GND to the power rails, then connect SDA and SCL to Arduino pins A4 and A5.
Attach the 16×2 LCD display similarly, sharing the I2C lines (SDA and SCL) with the BMP280.
Make sure all sensors and the display share a common ground with the Arduino to avoid issues.
Use jumper wires to secure every connection, following each component’s pinout carefully.
| Component | Connection Summary |
|---|---|
| DHT22 | VCC-5V, GND-GND, Data-D2 |
| BMP280 | VCC-5V, GND-GND, SDA-A4, SCL-A5 |
| LCD Display | VCC-5V, GND-GND, SDA-A4, SCL-A5 |
| Common Ground | All GND connected together |
| Wiring | Use jumper wires securely |
Program the Arduino for Sensor Data
Although assembling the hardware is crucial, you’ll now focus on programming the Arduino to read and process data from your sensors.
Start by including the necessary sensor libraries like DHT.h or Adafruit_BME280.h in your Arduino code.
Next, define sensor pins and initialize sensor objects within the setup() function.
Then, inside the loop() function, use functions like readTemperature() and readHumidity() to gather sensor data periodically.
Here’s how to make your Weather Station code effective:
- Initialize sensors properly in setup() to avoid errors.
- Read sensor values regularly with appropriate delays (e.g., delay(5000)).
- Display data using Serial.print() for real-time monitoring and debugging.
This approach guarantees your Arduino efficiently handles sensor data for an accurate Weather Station.
Test and Calibrate Your Weather Station
Once you power on your weather station, you’ll want to compare its sensor readings against a trusted reference like a digital thermometer or barometer to verify accuracy.
To calibrate, adjust your code parameters or add offsets based on differences from the reference device.
Use stable environmental conditions or certified weather stations for fine-tuning.
Also, regularly check sensor connections to avoid inconsistent readings caused by loose wires.
And don’t forget to document your calibration steps and results for consistent accuracy and easier troubleshooting!
| Sensor Type | Reference Device | Calibration Method |
|---|---|---|
| Temperature | Digital Thermometer | Adjust offset in code |
| Pressure | Barometer | Apply calibration factor |
| Humidity | Certified Weather Unit | Compare & fine-tune |
Enhance and Customize Your Project
After calibrating your sensors for accurate readings, you can expand your weather station’s functionality by adding new features.
Focus on sensor customization and expandability to make your project truly unique. Here’s how you can enhance and customize your project:
Emphasize sensor customization and expandability to personalize and elevate your weather station project.
- Add additional sensors like rain gauges or UV sensors to gather more extensive weather data.
- Integrate Wi-Fi modules (ESP8266 or ESP32) for remote monitoring and real-time updates anywhere.
- Customize your web interface using HTML, CSS, and JavaScript to create intuitive dashboards, alerts, and personalized graphs.
Frequently Asked Questions
Can I Power the Weather Station With Solar Energy?
Yes, you can power your weather station with solar energy.
Just connect a suitable solar panel and a rechargeable battery to guarantee continuous power.
This setup ensures that your system keeps running smoothly, even during cloudy days or at night.
How Do I Protect Sensors From Extreme Weather Conditions?
Like a knight wears armor, you safeguard sensors with weatherproof enclosures and UV-resistant coatings.
Sealing gaps and elevating sensors guarantees durability.
Just as a fortress withstands storms, it keeps your data accurate and safe from extreme weather.
What Is the Average Lifespan of Arduino Weather Station Components?
You can expect Arduino weather station components to last around 3 to 5 years, depending on exposure to elements and quality.
Regular maintenance and proper protection will help you extend their lifespan considerably.
Can I Connect the Weather Station to My Smartphone?
You can connect your weather station to your smartphone like a bridge linking two worlds.
By using Bluetooth or Wi-Fi modules, you’ll easily monitor real-time data right from your phone.
This way, you’ll stay informed wherever you go.
How Do I Store Historical Weather Data for Analysis?
You can store historical weather data by saving sensor readings to an SD card or sending them to a cloud service via Wi-Fi.
This way, you’ll easily access and analyze your data over time.
Conclusion
By following these five simple steps, you’ll turn your Arduino into a reliable weather station, much like planting a seed that grows into a flourishing garden of data.
You’ll not only learn about electronics and programming but also gain real-time insights into your environment.
Keep experimenting and customizing—each tweak adds a new branch to your project’s tree, making it uniquely yours and endlessly rewarding.
Embrace the process and watch your creation thrive.
In conclusion, creating a weather station with Arduino is an exciting journey that combines technology and nature.
As you explore electronics and programming, you’ll develop valuable skills while gaining insights into your local climate.
Remember, every modification you make enhances your project and personalizes your experience.
So, dive in, experiment freely, and enjoy the rewards of your unique weather station!