How Do You Program a Midland Weather Radio in 3 Easy Steps
To program your Midland weather radio effectively, follow these three easy steps. First, power it up by inserting three AA batteries and connecting the A/C adapter.
Next, set your location. This involves selecting your state and county or multiple counties through the menu. Then, choose the NOAA channel that corresponds to your area.
Lastly, enable the alerts you want in the settings menu. Make sure to save them before exiting.
These steps will ensure you receive timely weather warnings. If you want to get the most out of your radio, don’t hesitate to keep exploring its features!
Preparing Your Midland Weather Radio for Programming

Before you start programming your Midland weather radio, make sure you insert three AA batteries for backup power and connect the included A/C adaptor for continuous operation.
Insert three AA batteries and connect the A/C adaptor to ensure continuous power for your Midland weather radio.
This guarantees your radio stays powered even during outages.
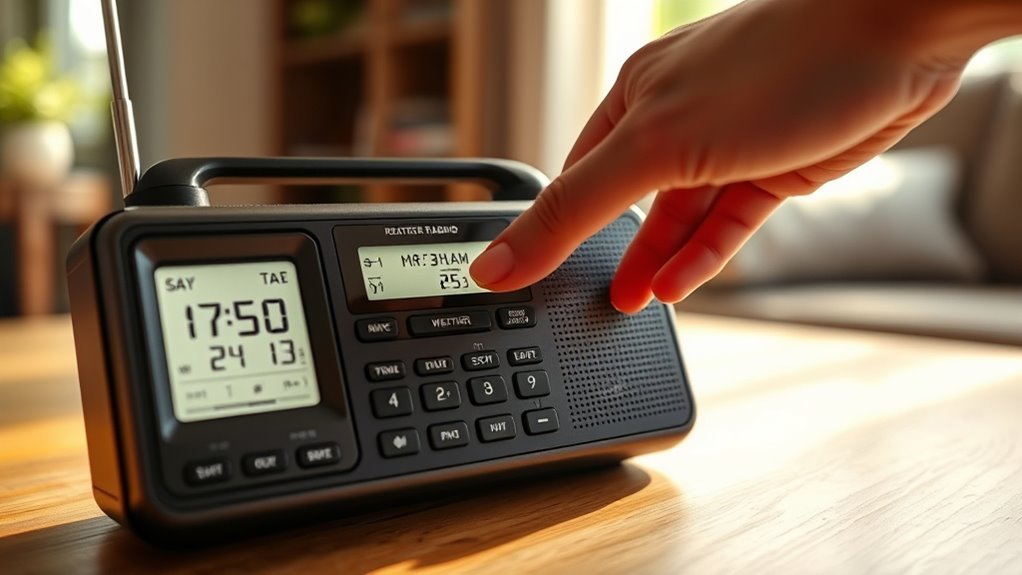
Once powered, turn on the device and wait for the display to show 12:00 AM, signaling it’s ready for setup.
Use the MENU button to access the main programming options.
Familiarize yourself with the buttons and display layout to navigate the settings smoothly.
Knowing which buttons control functions like scrolling and selecting will make the setup process quicker and less frustrating.
Properly preparing your radio by securing power and understanding the controls lays the groundwork for a successful programming experience.
Setting Your Location and NOAA Channel

How do you guarantee your Midland weather radio delivers timely alerts for your area?
Start by programming your location through the main menu.
Select “SET LOCATION” and choose either SINGLE or MULTIPLE counties.
For SINGLE, pick your state and specific county; for MULTIPLE, add all relevant counties served by the same transmitter.
Next, set the NOAA channel by accessing “SET CHANNEL” and selecting the channel number tied to your county.
You can confirm this channel at weather.gov/nwr/counties.
Make sure to match your radio’s frequency with the NOAA transmitter, usually around 162 MHz in the VHF band.
Finally, save your settings to ensure your radio receives accurate alerts tailored to your location.
This step is essential for effective weather monitoring.
Configuring Alerts and Saving Your Settings

Once you’ve set your location and NOAA channel, the next step is configuring the alerts you want your Midland weather radio to notify you about.
To program your radio, access the main menu by pressing the MENU button. Then, navigate to SET ALERT or ALERTS.
Here’s what to do next:
- Use arrow keys to browse alert types like tornadoes or severe thunderstorms.
- Press the SELECT BUTTON to enable or disable each alert.
- Confirm your selections carefully to guarantee proper coverage.
- Exit the menu to save settings, watching for the “SAVING” message or return to the main screen.
- Test your setup by triggering a test alert or waiting for an official broadcast.
Following these steps guarantees your Midland radio alerts you promptly and accurately.
Frequently Asked Questions
How Do I Set My Midland Weather Radio?
You turn on your Midland weather radio, press MENU, navigate to “SET LOCATION,” and select your area.
Then, set the time using the arrow keys.
Finally, save your settings.
This guarantees you’ll get accurate local weather alerts.
How to Setup a Weather Radio?
You power on your weather radio, enter the menu, set your location and time,
select the correct NOAA channel, customize alert preferences, then save your settings.
This guarantees you receive timely weather updates specific to your area.
How to Set a Channel on Midland Radio?
You press MENU, then use the arrow keys to find “SET CHANNEL.”
Scroll through NOAA channels 01 to 22, highlight your choice, and hit SELECT.
Wait for “SAVING” to confirm your channel is set correctly.
How to Set Time on Midland Er310 Weather Radio?
You press MENU until “SET TIME” appears, then hit SELECT.
Use the arrow keys to adjust hour, minute, and AM/PM, pressing SELECT to save each.
Finish by pressing MENU or just wait for the display to revert.
Conclusion
Now that you’ve programmed your Midland Weather Radio, you’re ready to stay informed and safe.
Just like tuning an old-time radio dial, setting your location and alerts guarantees you catch every important weather update without hassle.
Remember, keeping your settings saved means you won’t have to fiddle with them again.
With these simple steps, you’ve equipped yourself with a reliable tool to face whatever Mother Nature throws your way—no crystal ball needed!
In conclusion, by following these easy steps to program your Midland Weather Radio, you ensure that you receive timely alerts and updates.
This preparation is crucial for staying safe during severe weather conditions.
So, enjoy peace of mind knowing your radio is ready to keep you informed and protected when it matters most!