Replace Door Bottom Weather Strip in 5 Easy Steps
To replace your door bottom weather strip in five easy steps, you can improve your home’s energy efficiency and comfort. An effective weather strip not only protects against drafts but also helps maintain indoor temperatures, saving you money on energy bills.
First, remove the old strip carefully using a putty knife to avoid damage.
Next, measure the door width and gap to select and cut the new strip accurately.
Then, attach the new strip securely, whether adhesive or nailed.
Finally, test the seal by closing the door and adjust for tightness.
Keep following these steps to ensure your door seals perfectly and saves energy efficiently.
Removing the Old Weather Stripping
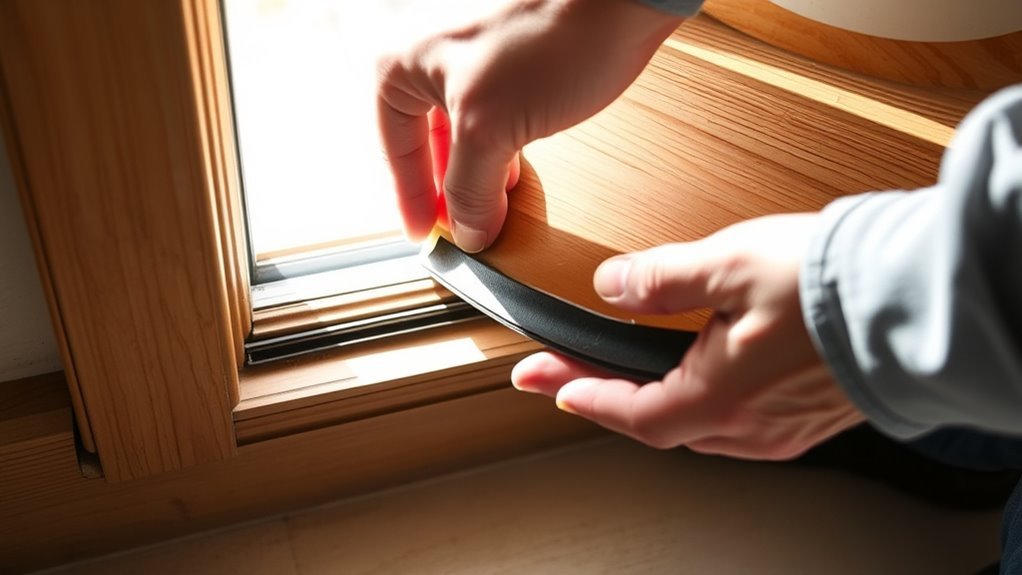
Before you install the new weather strip, you’ll need to remove the old one carefully.
Start by inspecting the door bottom to see how the existing door sweeps are attached—whether with nails, staples, screws, or adhesive.
Use a putty knife or flat-head screwdriver to gently pry off the old weather stripping without damaging the door surface.
If the strip is glued or nailed down, work slowly along the edges to loosen it.
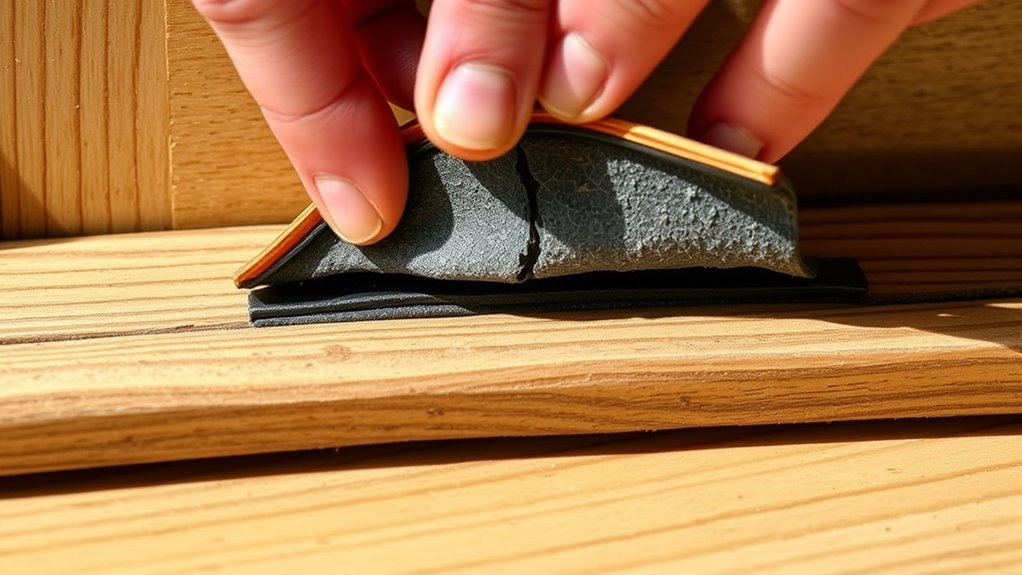
Remove any nails or staples, saving them if they’re still in good shape for reuse.
Once the old strip is off, clean the door bottom thoroughly, removing all adhesive residue and debris.
A clean surface guarantees the new weather strip will adhere properly and function effectively.
Measuring and Selecting the Replacement Strip
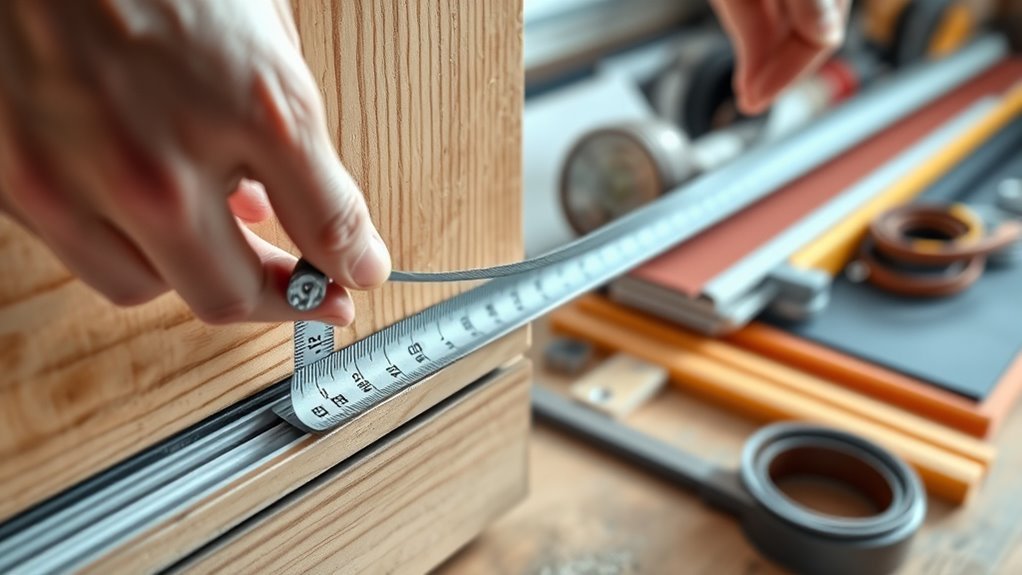
Since accurate measurements guarantee a proper fit, start by measuring the door’s bottom width at several points using a tape measure.
Check for any variations along the bottom of the door to ensure you get the right length.
Also, measure the gap thickness where the strip will sit to pick a replacement that seals properly without obstructing closure.
Bringing the old weather strip or exact measurements to the store helps you select the best match for your exterior doors.
| Measurement Aspect | Notes |
|---|---|
| Length (multiple points) | Ensures consistent fit |
| Gap Thickness | Matches sealing and door closure |
| Irregularities | Account for uneven bottom edges |
| Strip Length | Slightly longer than measurements |
Cutting the New Weather Strip to Size

After measuring your door’s bottom and selecting the right replacement strip, you’ll need to cut it to fit perfectly.
Start by marking the exact length on the new weather strip with a pencil or marker.
When cutting, choose the proper tool: heavy-duty scissors work well for foam or felt, tin snips for metal strips, and a saw for reinforced types.
Always cut the weather strip slightly longer than your measurement to allow for easy adjustments.
Once cut, double-check the piece against your door’s bottom to ensure a proper fit.
If necessary, trim a little more for a snug seal.
Careful cutting guarantees your new weather strip will block drafts effectively and last longer.
Attaching the New Weather Stripping
When you’re ready to attach the new weather stripping, make sure it aligns perfectly with the door bottom or kerf cut to guarantee a snug fit.
Proper alignment is key when installing new weather stripping at the bottom of your door to prevent drafts and moisture.
Follow these steps:
- For adhesive-backed strips, peel the backing and press firmly along the door bottom.
- If using screws or nails, drill pilot holes to avoid splitting, then fasten securely without overtightening.
- With snap-in or slide-on types, carefully push or slide the strip into place, ensuring a tight fit.
Testing and Adjusting the Door Seal
How can you be sure your new weather stripping is doing its job?
Start by closing the door on a piece of paper or a dollar bill, then try pulling it out. If it slips easily, your door seal needs adjustment.
Use a feeler gauge or the bill to check for gaps between the door and weather stripping at multiple points. This will help ensure an even seal.
To fix leaks, adjust the door latch or strike plate to increase pressure without forcing the door closed.
Applying a light layer of petroleum jelly or chalk along the weather stripping helps identify weak spots, as the material transfers to the door or frame.
Regularly inspect and readjust the door seal over time to maintain an airtight, energy-efficient barrier.
Frequently Asked Questions
Can You Replace the Weather Strip on the Bottom of a Door?
Yes, you can replace the weather strip on your door’s bottom.
Just remove the old one, measure carefully, and choose the right type.
Install it properly to keep drafts and bugs out while improving your home’s energy efficiency.
How to Remove Bottom Door Weather Stripping?
You’ll gently pry off the old weather stripping with a putty knife or flat-head screwdriver.
If it’s nailed or stapled, remove those first.
For adhesive-backed strips, peel slowly and clean any residue thoroughly before installing new stripping.
How to Replace the Bottom Door Sweep?
Replacing the bottom door sweep is like fitting a puzzle piece perfectly.
You’ll measure, cut, align, then slide or screw the new sweep in place.
This ensures the door closes tightly without gaps or resistance.
Can I Replace a Door Sweep Without Removing the Door?
You can replace a door sweep without removing the door if it snaps or slides into a kerf or screws on the edge.
But if it’s nailed, glued, or stapled, you might need to remove the door for proper replacement.
Conclusion
Replacing your door’s bottom weather strip is like giving your home a warm, protective hug against the chilly winds outside.
By removing the old strip, measuring carefully, cutting precisely, and attaching the new one, you’re sealing in comfort and keeping the elements at bay.
Just like tending a garden, a little care now guarantees your door stays strong and welcoming.
Test and adjust the seal to ensure it fits just right.
Enjoy the cozy peace you’ve created inside your home.
In conclusion, replacing your door’s bottom weather strip is a straightforward task that enhances comfort and energy efficiency. By following these five easy steps—removing, measuring, cutting, attaching, and adjusting—you can effectively protect your home from drafts and moisture.
So roll up your sleeves and give your door the care it deserves for a cozier living space!