How to Ensure Paint Will Dry Properly in Cold Weather
To ensure paint dries properly in cold weather, it’s essential to choose the right products and follow specific steps. Opt for paints that are specially formulated for low temperatures, and steer clear of water-based types that are prone to freezing.
Before you start painting, warm your paint indoors to help it flow better.
Make sure to prep your surfaces thoroughly, ensuring they are dry and frost-free.
Aim to paint during the warmest part of the day when temperatures are above 50°F.
After you’ve painted, keep both the air and the surface warm for at least 24 hours. You can use heaters or heat lamps for this purpose.
By following these steps, you’ll help prevent peeling and cracking in your paint job.
For more detailed tips on prepping and timing your project, keep exploring!
Understanding the Effects of Cold Temperatures on Paint
When you paint in cold weather, you’ll notice the drying process slows down because low temperatures reduce the evaporation of water and solvents.
Cold temperatures increase paint viscosity, making it thicker and harder to apply evenly. This leads to longer drying times and affects the curing process, as the chemical reactions that harden the paint slow down or stop altogether.
Poor curing can cause paint adhesion problems, resulting in peeling, cracking, or softer coatings. Water-based paints are especially vulnerable—freezing conditions can ruin them completely.
To avoid these issues, you need to understand how cold weather impacts your paint and choose products formulated for low-temperature paint applications.
Proper preparation helps ensure a durable, smooth finish even when conditions aren’t ideal.
Selecting the Right Paint for Cold Weather Conditions
You’ll want to pick paints specifically formulated for cold weather, like oil-based or winter-rated water-based options that perform well at 35°F or lower.
Check the label for fast-drying features and additives that help paint flow and cure in chilly conditions.
Also, store and handle your paint properly to maintain its effectiveness when temperatures drop.
Cold-Weather Paint Types
Choosing the right paint for cold weather can make all the difference in achieving a smooth, durable finish. Cold-weather paints are specially formulated for low-temperature application, guaranteeing proper paint curing even when temperatures drop.
You’ll find options designed to maintain ideal drying times and flow despite the chill. Consider these types for your project:
- Oil-based paints cure through oxidation, working well down to 40°F.
- Water-based paints usually need above 50°F, but some are formulated for low-temperature use as low as 35°F.
- Specialized cold-weather paints include additives to speed drying times.
- Fast-drying solvent-based paints like Quick Touch shorten curing times.
- Always check manufacturer specs for cold-weather suitability.
Picking the right paint ensures your project won’t suffer from poor adhesion or extended drying times.
Temperature-Specific Formulations
Selecting the right paint for cold weather means paying close attention to temperature-specific formulations.
You’ll want cold-weather paints designed for low temperature curing, often labeled as winter-grade formulations.
These paints contain additives that enhance drying in cold conditions and improve paint adhesion despite the chill.
Oil-based paints usually perform better here since they cure through oxidation and handle lower temperatures more effectively.
On the other hand, water-based paints need higher temps, typically above 50°F.
So if you go that route, be sure the product is specially formulated for cold use.
Always check the manufacturer’s temperature recommendations to match your project’s conditions.
Choosing the right formulation ensures your paint dries properly and sticks well, even when temperatures drop.
Storage and Handling
Proper storage and handling play an essential role in ensuring paint performs well in cold weather.
You need to keep your paint in a climate-controlled space to prevent freezing and maintain its consistency.
Temperature fluctuations can cause separation in paints containing multiple components, so consistent warmth is key.
Before applying, bring your paint indoors or warm it gently to the recommended temperature for proper flow and adhesion.
Don’t forget to stir or shake thoroughly to restore uniform consistency, especially after cold storage.
Consider additives made for cold-weather use to enhance drying and application.
- Store paint between 60°F and 75°F in a climate-controlled area.
- Avoid freezing temperatures during storage.
- Warm paint cans before use to application temperature.
- Stir paint thoroughly before applying.
- Use cold-weather additives to improve flow and drying.
Preparing Your Paint for Low-Temperature Application
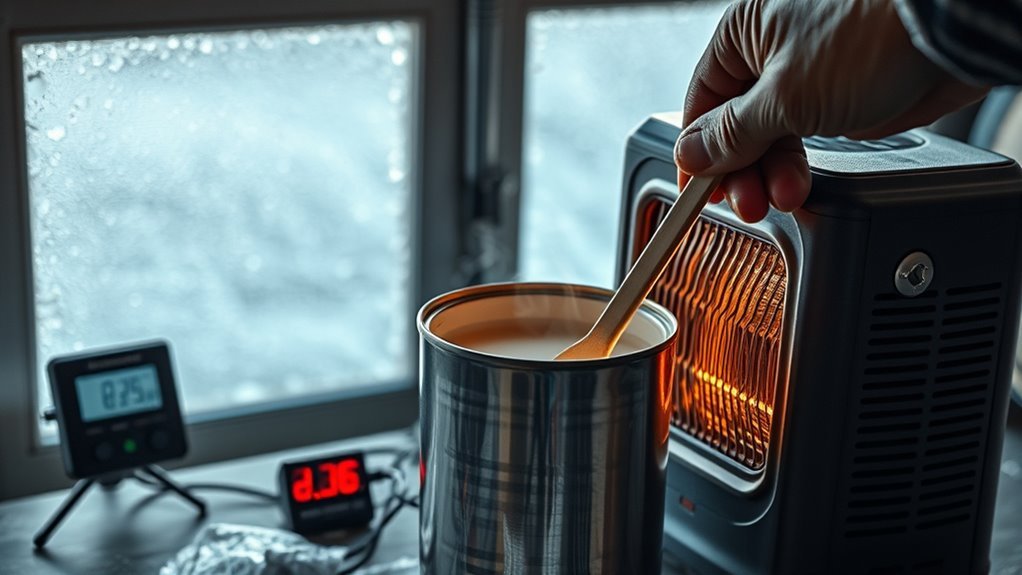
When you prepare paint for use in cold weather, warming the cans indoors for at least 24 hours helps maintain the right consistency.
This preparation step reduces viscosity, making the paint easier to apply and improving drying in low-temperature conditions.
Before you start, slightly warm the paint by placing cans in hot water or a heated space to enhance flow.
Always shake or stir the paint thoroughly to distribute pigments and additives evenly.
During application, keep paint containers and tools insulated or close to your body to prevent cold exposure.
For the best results, choose paints rated for low-temperature drying, which perform well even at 35°F.
Proper preparation guarantees your cold-weather painting project goes smoothly and dries properly despite the chilly environment.
Timing Your Painting Project for Optimal Drying
Although cold weather presents challenges, you can guarantee your paint dries properly by timing your project during the warmest hours of the day—typically between 10 a.m. and 4 p.m.—when temperatures peak.
Proper timing ensures the temperature supports drying and prevents issues caused by cold or damp weather. Before starting, check the forecast for consistent, mild conditions to avoid setbacks.
Here’s how to time your painting project for ideal drying:
- Schedule painting when temperatures stay above 50°F.
- Choose consecutive days with stable weather and low humidity.
- Plan to paint during midday warmth, avoiding early morning or late evening.
- Ensure no rain, snow, or freezing temperatures are expected within five days.
- Confirm surface temperature is suitable before beginning.
Following these tips maximizes drying efficiency despite cold weather challenges.
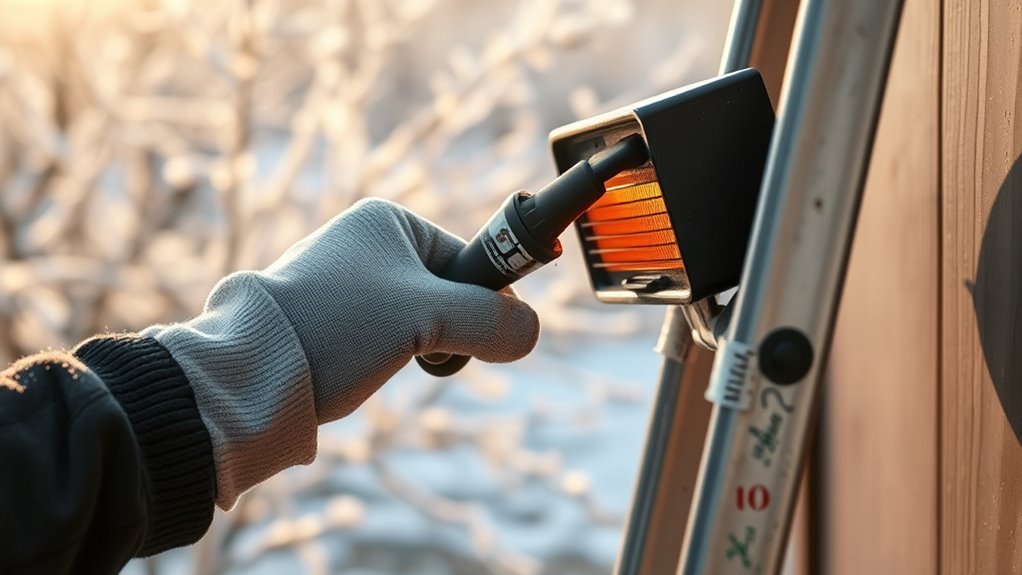
Monitoring Surface and Air Temperatures Before Painting
Before you start painting, always check both the air and surface temperatures with a reliable thermometer.
Remember, the surface should be at least 50°F, as it can be cooler than the air, especially in shaded or windy spots.
Using an infrared thermometer helps you get an accurate reading on materials like metal or wood to guarantee proper drying conditions.
Surface Temperature Measurement
Since surface temperature directly affects paint adhesion and drying, you’ll want to measure it carefully using an infrared thermometer.
This tool helps you get an accurate surface temperature reading, which should be at least 50°F before you start painting.
Always compare the surface temperature to the ambient air temperature because shaded or windy areas can cause cooler surfaces.
Monitor temperature fluctuations throughout the day to find the best painting window.
Remember, the surface must stay above the minimum temperature for at least 24 hours after applying paint to ensure proper drying.
- Use an infrared thermometer with a digital readout for precision.
- Check surface temperature in the morning and late afternoon.
- Compare surface temperature to ambient air temperature.
- Record temperature fluctuations during your project.
- Confirm surface stays above minimum temperature post-application.
Air Temperature Monitoring
When you’re preparing to paint in cold weather, you need to monitor both the air and surface temperatures closely.
Using reliable thermometers is key to ensuring they meet the minimum 50°F threshold.
Use an infrared thermometer to measure surface temperature.
It can differ markedly from the air temperature, especially in shaded or cold-adjacent areas.
Keep an eye on temperature fluctuations throughout the day.
This helps you avoid drops that could extend drying times or cause adhesion problems.
Checking weather forecasts also helps ensure consistent temperatures during and after painting.
| Parameter | Recommended Action |
|---|---|
| Air Temperature | Confirm it stays above 50°F |
| Surface Temperature | Measure with infrared thermometer |
| Temperature Fluctuations | Monitor regularly throughout day |
| Drying Times | Adjust if temperatures vary |
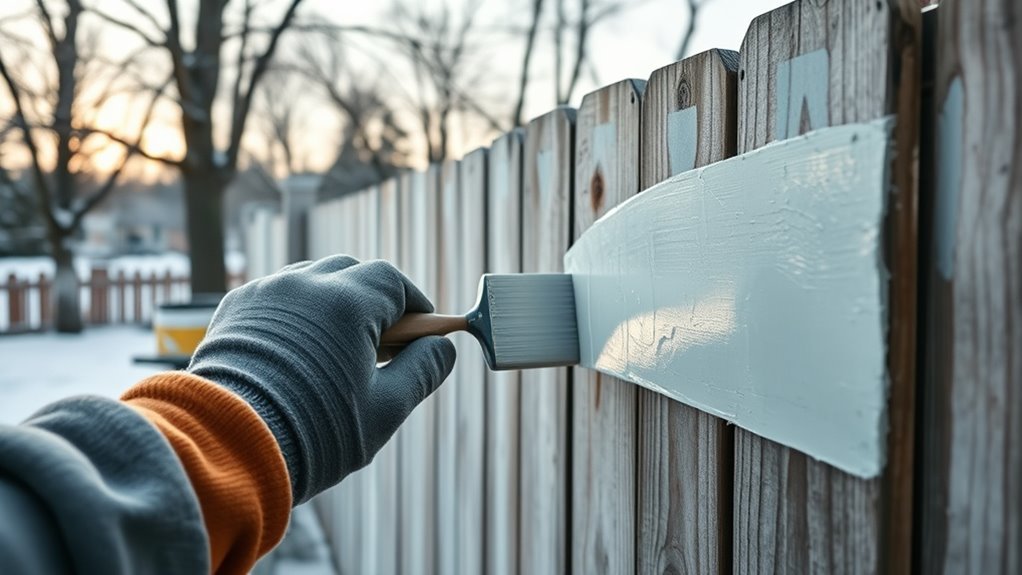
Proper Surface Preparation in Cold Weather
Proper surface preparation plays a crucial role in guaranteeing paint dries well in cold weather.
You need to address moisture and temperature carefully to promote adhesion and proper drying.
Before painting, make sure the surface is dry and free from frost or ice, as moisture hinders curing.
Use a moisture meter to confirm levels are below 15%.
Remove loose paint and debris to avoid peeling later.
If the surface is cold, pre-heat it to at least 50°F to improve paint bonding.
Also, avoid painting right after snow or rain—wait 24 hours for complete drying.
- Guarantee surface is dry, no frost, dew, or ice
- Check moisture levels are under 15%
- Remove loose paint, dirt, and debris
- Pre-heat surfaces below 50°F before painting
- Wait at least 24 hours after moisture exposure
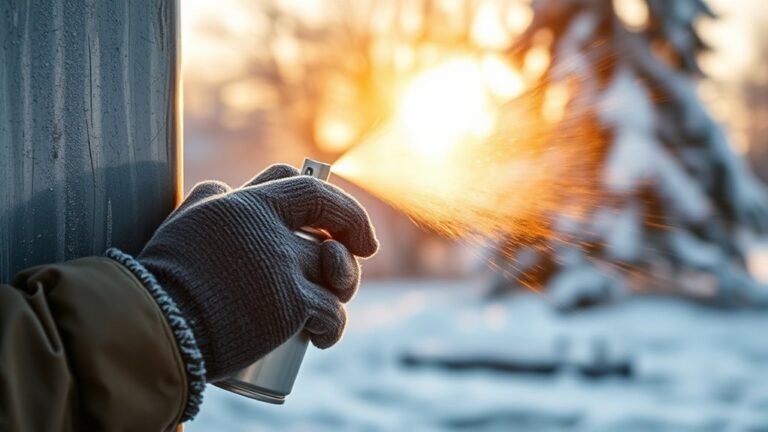
Using Tools and Techniques Suited for Cold Weather Painting
Although cold weather poses challenges for painting, using the right tools and techniques can guarantee your paint dries properly and adheres well.
Utilize paint heaters and heat lamps to keep both the paint and surfaces warm during application.
Incorporate cold-weather additives to improve paint flow and sprayability despite low temperatures.
Store spray cans and paints close to your body or in insulated containers to maintain ideal temperature.
Choose brushes with nylon or polyester bristles since they remain flexible in the cold.
Remember, extended drying times are normal, so plan accordingly.
Confirm proper ventilation even when using heat lamps to avoid trapping fumes.
Applying paint during the warmest part of the day also helps maximize drying efficiency and improves overall results in cold conditions.
Creating Ideal Environmental Conditions to Aid Drying
To help your paint dry correctly in cold weather, you need to create the right environmental conditions.
Managing temperature, humidity, and surface preparation is key to reducing drying time.
Controlling temperature, humidity, and preparing surfaces properly ensures faster, more even paint drying.
Guarantee both outdoor and surface temperatures stay above 50°F for at least 24 hours after painting.
Choose midday for painting to take advantage of higher ambient conditions and sunlight.
Avoid high humidity and windy weather, as they can trap moisture and cause uneven drying.
Keep surfaces dry—free from frost, dew, or moisture—and wait several days after rain or snow before starting.
- Maintain temperatures above 50°F for 24 hours post-application
- Paint during midday for ideal ambient conditions
- Use heat or infrared lamps to raise surface temperature gently
- Avoid high humidity and windy conditions
- Ascertain thorough surface preparation and dryness before painting
Storing Paint Correctly to Maintain Quality in Winter
When temperatures drop, you need to store your paint in a climate-controlled space above 50°F to keep it from freezing and losing its quality.
Maintaining a stable temperature during storage is essential because fluctuations can cause the paint to separate or develop lumps.
Always keep paint cans tightly sealed to prevent moisture from getting in, which can ruin the drying and curing process.
If you’re storing large quantities, consider using paint heaters or blankets designed to maintain warmth.
Regularly check your stored paint for signs of freezing, like a lumpy texture, and discard any compromised cans to avoid poor application later.
Proper storage ensures your paint stays consistent and ready to use, even during the coldest months.
Common Mistakes to Avoid When Painting in Cold Weather
Don’t ignore the temperature guidelines set by the paint manufacturer. If you do, you risk poor adhesion and slow drying.
Always check that the surface is completely dry before you start painting, especially after rain or snow.
Skipping these steps can cause peeling, bubbling, and a finish that won’t last.
Ignoring Temperature Guidelines
Although you might be enthusiastic to start painting, ignoring the manufacturer’s temperature guidelines can quickly ruin your project.
When you paint below the recommended surface temperature or air temperature—often 50°F for water-based paints—you risk poor adhesion and uneven drying times.
Skipping checks on environmental conditions like humidity and upcoming weather also compromises curing, leading to paint failure.
Not storing or using paint formulated for cold weather causes thickening and poor performance.
Always monitor these factors to avoid costly mistakes.
- Follow recommended temperature guidelines strictly.
- Check surface temperature before painting.
- Monitor weather forecasts for rain or snow.
- Use paints designed for cold conditions.
- Store paint properly to maintain consistency.
Painting On Wet Surfaces
If you paint on wet surfaces, you trap moisture beneath the paint. This prevents proper curing and increases the risk of peeling or bubbling.
In cold weather, wet conditions prolong surface moisture evaporation. So, applying paint before surfaces are dry leads to uneven adhesion and early failure.
Water-based paints over damp surfaces might freeze or hold moisture. This can cause soft spots or mildew over time.
To avoid these issues, always verify your surfaces are completely dry and free of frost or dew before painting.
This is especially important when temperature drops slow drying.
Painting on wet or damp surfaces compromises durability. It often results in costly repainting or repairs.
Frequently Asked Questions
How Cold Is Too Cold for Paint to Dry Outside?
You shouldn’t paint outside if temperatures drop below 50°F (10°C).
Below that, drying slows significantly.
And if it gets under 32°F (0°C), water-based paint can freeze, ruining it.
Always wait for warmer, consistent conditions to guarantee proper drying.
How to Help Paint Dry in Winter?
You can help paint dry in winter by using heaters or heat lamps.
Painting during the warmest part of the day is also a great strategy.
Choose low-temperature paints to ensure better results.
It’s important to ensure the surface is above 50°F.
Keep humidity low and avoid damp conditions for optimal drying.
Is October Too Late to Paint Outside?
October isn’t always a cold shoulder to outdoor painting—you can paint early in the month if temperatures stay above 50°F.
Just keep an eye on the forecast, and be ready to adapt as colder days approach.
How Long Does Paint Take to Dry Outside in Winter?
In winter, your paint can take 24 to 48 hours or more to dry outside.
Cold temperatures slow drying, so expect longer times than usual.
Plan accordingly and check the weather to avoid moisture delays.
Conclusion
Think of painting in cold weather like baking a cake in a chilly oven—it just won’t rise properly without the right conditions.
By choosing the right paint, prepping your surface, and monitoring temperatures closely, you guarantee your paint dries smoothly and lasts longer.
Remember, even a small mistake, like painting too early in the morning, can turn your project into a sticky mess.
Take your time, and your work will shine despite the cold.
In conclusion, successfully painting in cold weather requires careful planning and attention to detail. Use the right type of paint, ensure proper surface preparation, and keep an eye on temperature fluctuations.
By avoiding common pitfalls, such as painting at the wrong time, you can achieve a beautiful finish that withstands the elements.
With these strategies, you can ensure your paint dries properly and maintains its quality, even in chilly conditions.