How to Replace Bottom Door Weather Stripping in 5 Easy Steps
You’ll first want to check for gaps or damage that signal it’s time to replace your bottom door weather stripping.
This essential step ensures that your home stays energy-efficient and comfortable.
Next, carefully remove the old strip and clean the door’s edge thoroughly.
A clean surface will help your new strip adhere better and create a better seal.
Measure the gap under your door to pick the right new strip, then install it snugly along the bottom, trimming any excess.
Make sure it fits perfectly to prevent drafts from sneaking in.
Finally, rehang your door, making sure it seals tightly and adjusts as needed.
Keep going to uncover tips for a perfect fit and seal.
Identifying When to Replace Bottom Door Weather Stripping
If you notice visible gaps or cracks at the bottom of your door, it’s time to check the weather stripping.
Old weather stripping on your exterior door often loses effectiveness, letting drafts sneak in and raising energy bills.
Worn weather stripping lets cold air in and drives up your energy costs.
You’ll want to make sure the seal is intact by inspecting for peeling or flattened strips, moisture buildup, or dirt under the door.
These signs mean it’s time to remove the old strip and replace it.
Choose the right type of weather stripping to ensure better insulation and prevent air leaks.
While a rubber mallet isn’t needed right now, it will come in handy later for securing the new strip.
Catching these issues early helps keep your home comfortable and energy-efficient.
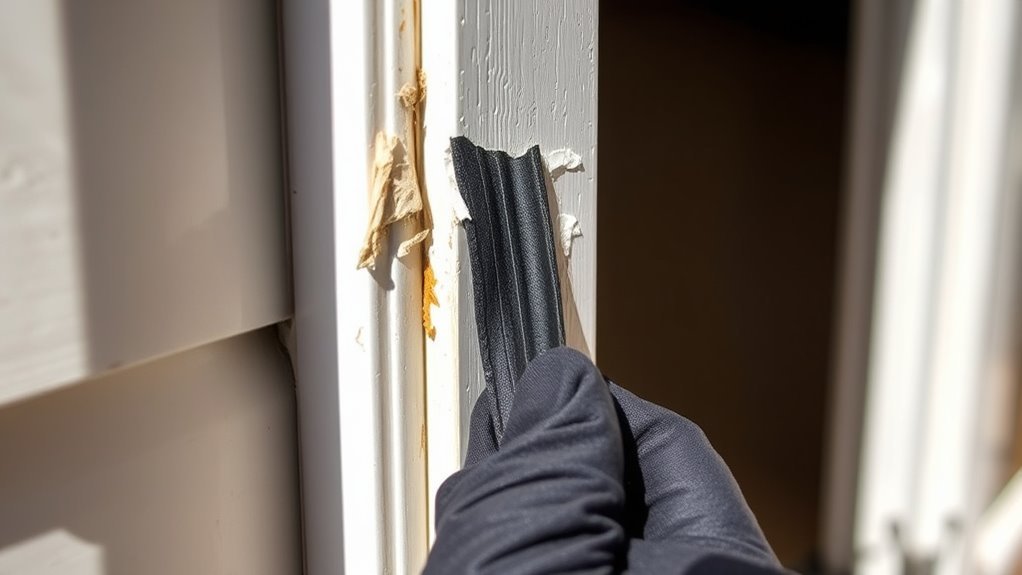
Removing the Old Weather Stripping and Preparing the Door

Once you’ve identified the worn weather stripping, start by carefully cutting and peeling it away using a utility knife or scissors.
Next, remove any staples, nails, or adhesive residue holding it in place with a putty knife or screwdriver.
Thoroughly clean the door’s bottom edge and frame with a damp cloth to eliminate dirt and leftover adhesive.
Before installing new weather stripping, consider protecting exposed wood surfaces by applying a wood preservative or sealant to prevent water damage.
To prepare the door effectively:
- Cut and peel off old weather stripping carefully.
- Remove fasteners and adhesive residue completely.
- Clean the door edge and frame thoroughly.
- Optionally, treat exposed wood with preservative or sealant.
This ensures a smooth, clean surface for your replacement weather stripping.
Measuring and Selecting the Right Replacement Weather Stripping
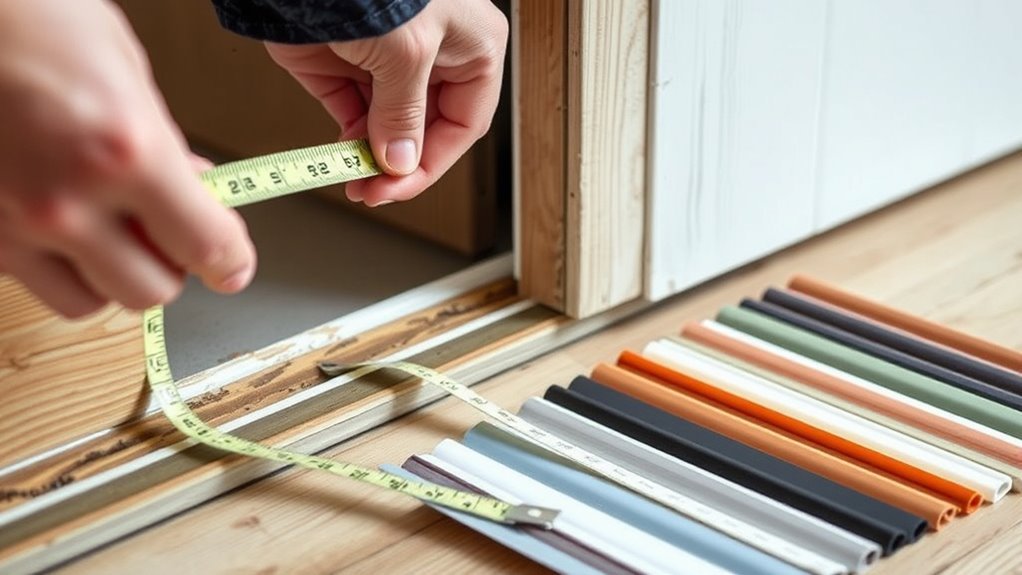
Although choosing the right replacement weather stripping can seem straightforward, measuring your door’s gap and understanding the types available will help you make a perfect match.
Start by measuring the gap at the bottom of your door with a ruler or tape measure to find the correct thickness needed.
Begin by measuring the gap beneath your door to determine the right thickness for weather stripping.
Next, check the width of the existing weather stripping or the groove in the door threshold to ensure the new strip fits properly.
Pick weather stripping made from durable materials like rubber, neoprene, or silicone that suit your climate.
Also, consider whether you want peel-and-stick, screw-on, or kerf-in types to match your door’s design.
Finally, always verify product labels to confirm compatibility with your measurements and door type.
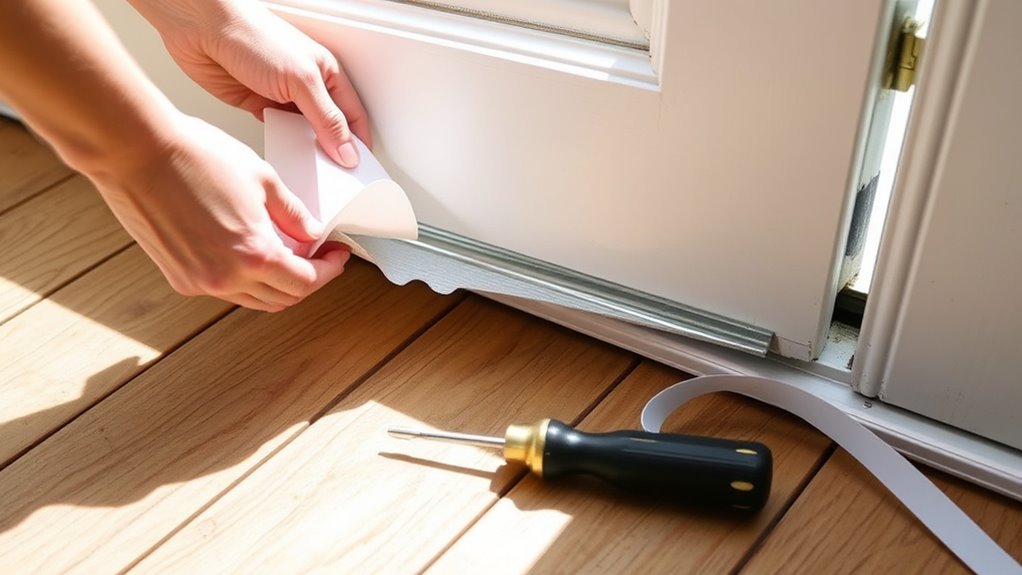
Installing the New Weather Stripping Correctly
Before securing the new weather stripping, make certain you align it carefully along the door’s bottom edge to guarantee an effective seal.
Position the strip so it sits flush against the threshold or floor surface.
Use a rubber mallet or the installation tools to gently press it into the groove, ensuring a snug fit.
After installation, trim any excess to avoid bunching or misalignment.
Remember to:
- Align the weather stripping precisely along the door’s bottom edge.
- Gently snap or press it into place with appropriate tools.
- Trim excess material to maintain a clean fit.
- Confirm the seal is flush to prevent drafts and water leaks.
This careful installation guarantees a tight, durable barrier without impeding door movement.
Rehanging the Door and Ensuring a Proper Seal
After installing the new weather stripping, you’ll need to rehang the door and make sure it seals properly.
Start by securely reinstalling the hinges. Make sure the door aligns correctly before closing it.
Begin by firmly reinstalling the hinges, ensuring the door lines up perfectly before shutting it.
Check that the weather stripping fits snugly against the threshold. If you notice sticking or gaps, adjust the door accordingly.
Test the door’s operation to confirm it swings smoothly without binding or leaving gaps.
Use a flashlight or an airflow test to spot any leaks between the door and weather stripping.
Tighten all hinge screws once alignment is perfect.
And remember to periodically recheck the door’s position over time to maintain an effective seal.
This careful rehanging ensures your door stays energy-efficient and draft-free.
Frequently Asked Questions
How to Remove Old Weather Stripping From the Bottom of a Door?
You’ll want to score along the edges with a utility or putty knife, then gently peel or pry the old weather stripping off.
Remove any staples or nails carefully, and clean off leftover adhesive before installing new stripping.
How to Replace Rubber Seal on Bottom of Door?
You cut the new rubber seal to match the old one’s length.
Then attach it with adhesive or screws.
Make sure the door bottom is clean first.
Finally, test the seal for a snug, airtight fit.
How to Replace the Bottom Door Sweep?
You’ll remove the old sweep by unscrewing or prying it off.
Then, clean the door bottom before you proceed.
Next, measure and cut the new sweep to size.
After that, attach it securely to the door.
Finally, test the door to guarantee a tight, smooth seal.
What Do You Call the Rubber Strip at the Bottom of a Door?
Think of it as your door’s faithful guardian—the rubber strip at the bottom is called a door sweep.
It keeps out drafts, bugs, and dirt, making your home cozier and more energy-efficient without you even noticing.
Conclusion
Now that you’ve replaced your door’s bottom weather stripping, imagine the cozy warmth staying inside. No chilly drafts sneaking through!
You’ve sealed out the cold and sealed in comfort, just like a snug jacket wrapping you on a blustery day.
With this simple fix, your home feels more inviting and energy-efficient.
Keep an eye on your weather stripping, and you’ll keep the cold outside where it belongs.
Remember, a little maintenance goes a long way.
By regularly checking and maintaining your weather stripping, you’ll enhance your home’s comfort and efficiency.
So, enjoy the warmth and take pride in your DIY skills!
With effective weather stripping, you ensure that your living space stays cozy while minimizing energy costs.
Keep it up, and your home will thank you!